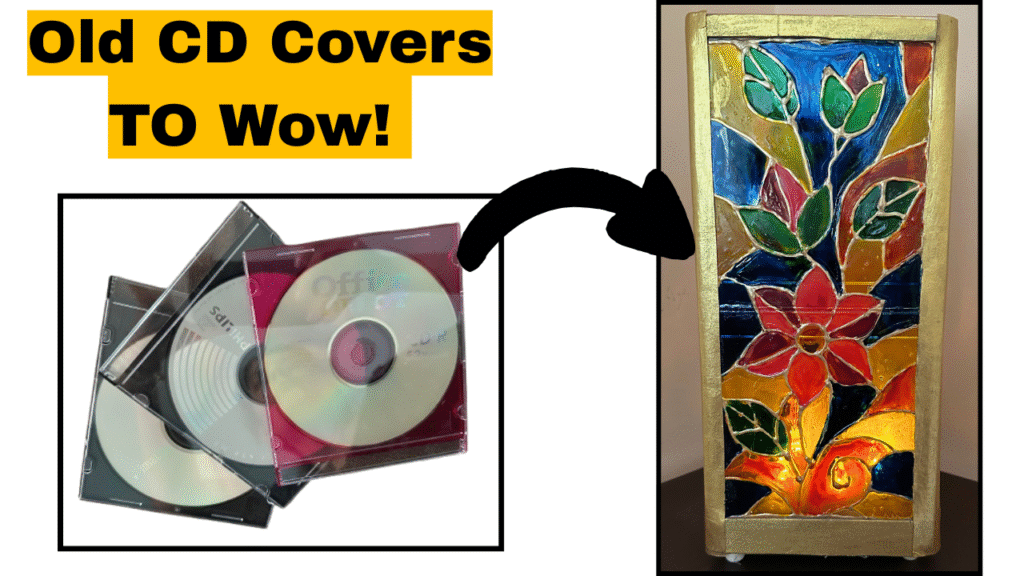
Recycle Old CD Covers Into Faux Stained Glass Lamp!
Description
I separated the top and bottom of the CD covers and used only the clear tops to create this glowing lamp. The colors come from homemade glass paints, giving it a vibrant, DIY touch.
This project is eco-friendly, reuses old CD covers, and makes a stunning home decor piece. Perfect as a handmade gift or a fun craft project!
Materials List
- CD covers
2. Food Colors
3. Clear Glue
4. Tulip Metallic Gold Dimensional Fabric paint
5. Paint Brushes
6. E 6000 Glue
7. School Glue
8. Foam Sheet Scraps (Or Cardboard from cracker boxes)
9. Glue Gun
10. Wooden Beads for legs (or Cardboard) (this is optional)
11. Acrylic paints
12. Flameless Votive Candles or Fairy Lights
Backstory
I’ve always wanted to create faux stained glass art, but I didn’t want to use plexiglass. I wanted something recycled and eco-friendly. Then I noticed a stack of old CD covers at home — and a lightbulb went off!
My husband was excited to learn that CD covers could be repurposed for crafting, and happily handed them over. That’s how the CD Cover Faux Stained Glass Lamp came to life!
The CD covers are sturdy and look just like plexiglass, so they were perfect for the project. I got to experiment with CD covers and my husband learned a little about recycling in the process.
All in all, this project was creative, fun, and successful .Turning old CD covers into a glowing piece of home decor!
To watch video tutorial, click on the video below.
Overview Of How To make CD Cover Lamp
Separate CD Covers
Take apart your CD covers and separate the front and back clear pieces from the colored ones.
Set aside the colored pieces. You’ll only use the clear parts.
2. Make Clear Panels
Take two clear parts place them so their thick short edges are touching each other. Apply E6000 glue on the edge of one CD cover and stick the two edges together forming a long panel.
Repeat until you have four panels (you’ll need eight clear parts total).
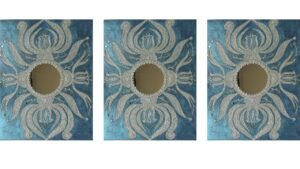
3. Trace Stained Glass Design
Place a stained glass template or pattern under a panel.
Using Gold Or Black Tulip paint, trace over the design on top of the plastic.
Do this for all four panels.
Let the paint dry completely.
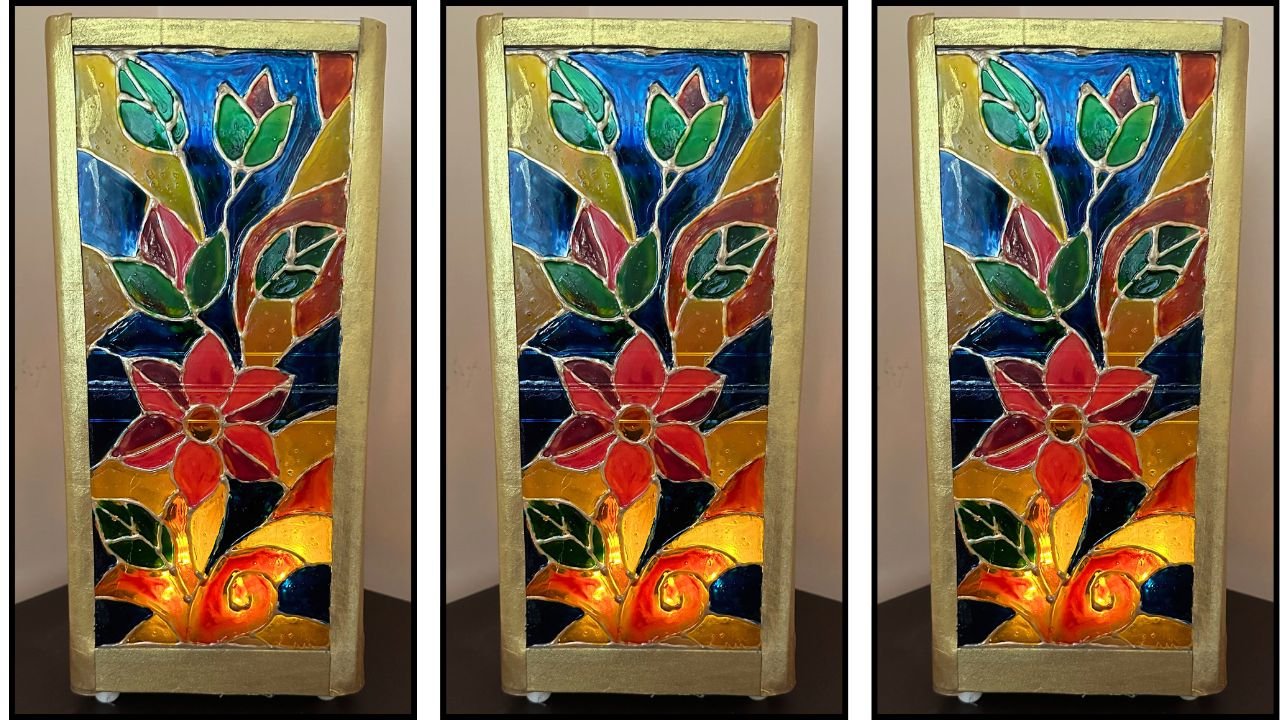
4. Paint the Panels
To make your own glass paint, mix a few drops of food color or acrylic paint with clear glue.
Fill in the traced sections with these paints to get a transparent stained glass look.
Allow the panels to dry fully.
5. Assemble the Lamp Box
Arrange the four decorated panels around a cardboard square to form a tall box shape.
6. Decorate the Edges
Peel off the outer layer of the cardboard, paint it gold, and cut it into long strips.
Fold the strips vertically and glue them over the corner edges of the lamp to hold the lamp box together and for a polished finish.
7. Add Foam Strip on Top
Cut a ½-inch wide strip from a thin foam sheet.
Glue it around the top open edge of the box for a neat border.
8. Make a Stand
Glue four wooden beads to the bottom of the box to create a simple, elegant stand.
9. Light It Up!
Place fairy lights or flameless votive candles inside the box.
Turn them on and enjoy your glowing stained glass lamp!
What I learned In the Process.
Tips & Tricks for Best Results
Stronger hold: Use E6000 glue instead of a hot glue gun to stick the CD cover edges.
Where to glue: The thicker edge where the front and back of the CD cover meet works best for gluing. The other short edge is too thin to stick securely.
Announcement
The printable PDF guide for CD cover lamp is now available on my Etsy store at
This handy guide brings everything together in one place
a materials list
step-by-step instructions with clear photos
lots of tips and tricks, plus a link to my video tutorial
and two printable templates; the main design and a bonus variation!
It’s a convenient, ready-to-print version of the project for just $5.
If you enjoyed this tutorial, check it out. It’s the perfect companion to help you make your own lamp easily and beautifully.
Final Word:
I hope you enjoyed this CD Cover Lamp DIY idea!
I’d love to hear what you think, so please leave a comment below if you have any questions, suggestions, or just want to share your thoughts. Your feedback truly means a lot to me.
And before you go, don’t forget to check out my other blog posts. You might just find inspiration for your next beautiful project.
Thank you so much for stopping by, and happy crafting!