Description
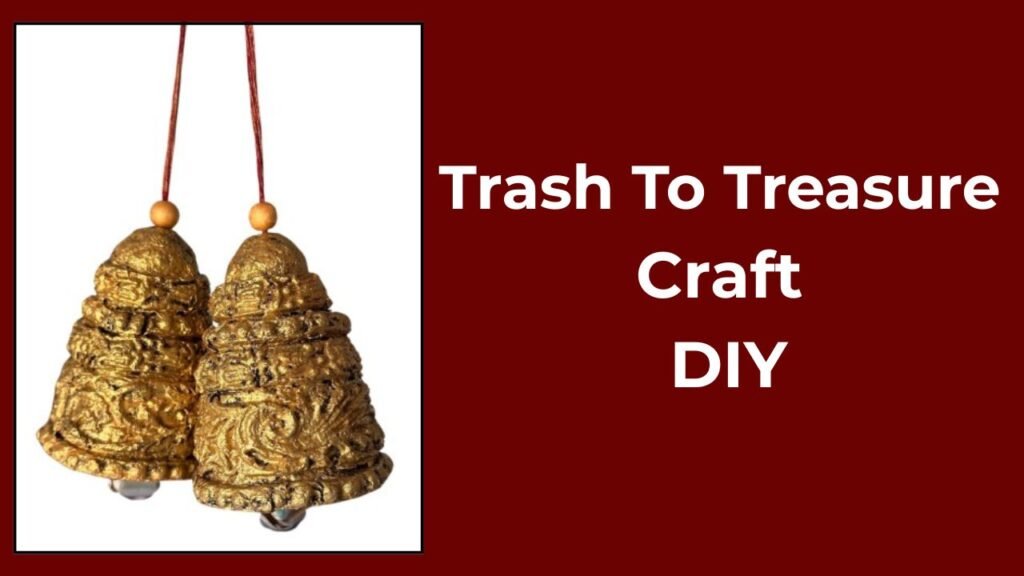
These decorative bells are made using light bulb packaging and paper mache. They’re easy to create, budget-friendly, and perfect for upcycling. You can even swap the packaging for plastic bottles if that’s what you have at home.
Material Used
1. Light Bulb packaging (plastic Bottle can be used)
2. Paper Mache Clay
3. Acrylic Paints
4. Paint Brushes
5. Jingle Bells
6. String
Backstory
A few months ago, after replacing some light bulbs, I decided to save the packaging—they had such an interesting shape, and I figured I’d find a use for them someday. Fast forward to now, when I was planning a paper mache clay project. I was sorting through my recycling stash when I came across the bulb packaging again, and suddenly the light bulb went off in my head! And that’s how these gorgeous decorative bells came to life.
Video Tutorial
Step-By-Step Written Instructions
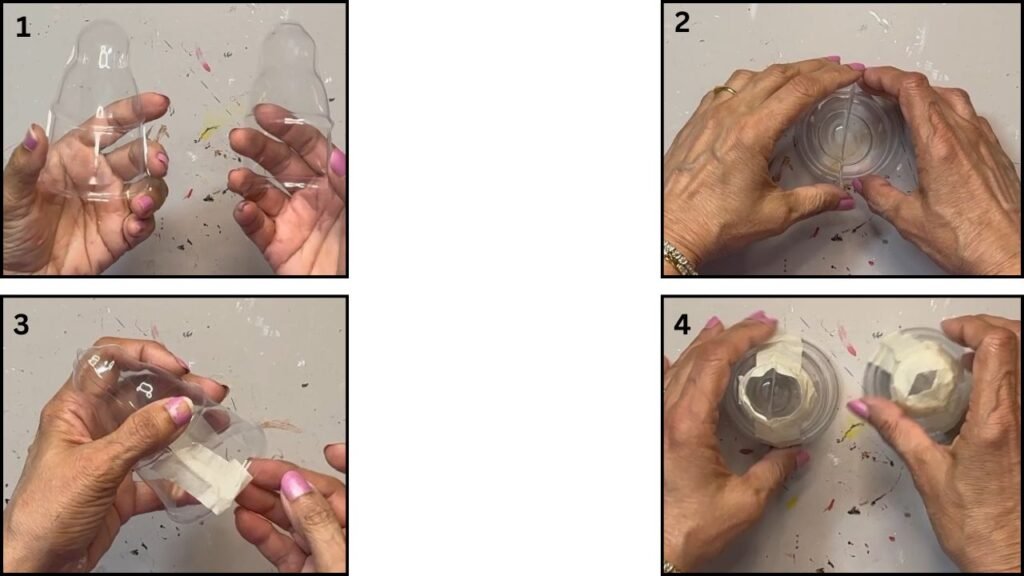
- Cut light bulb packaging in shape of a bell as shown

2. Take two bell shapes and join them together using masking tape as shown. This is a bell armature.
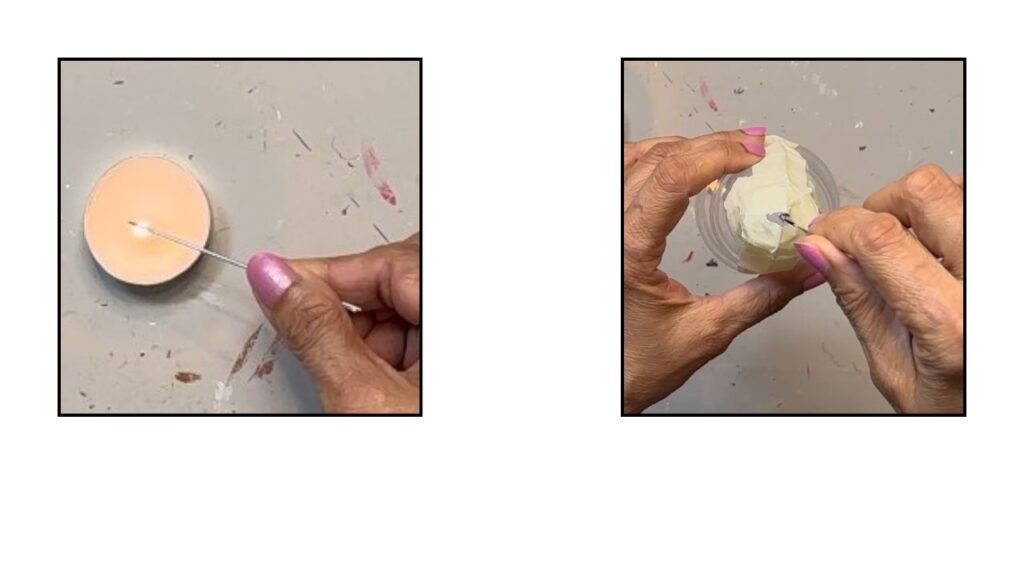
3. once the bell armature is made, heat a needle on a flame and poke a hole on the top of the bell as shown.
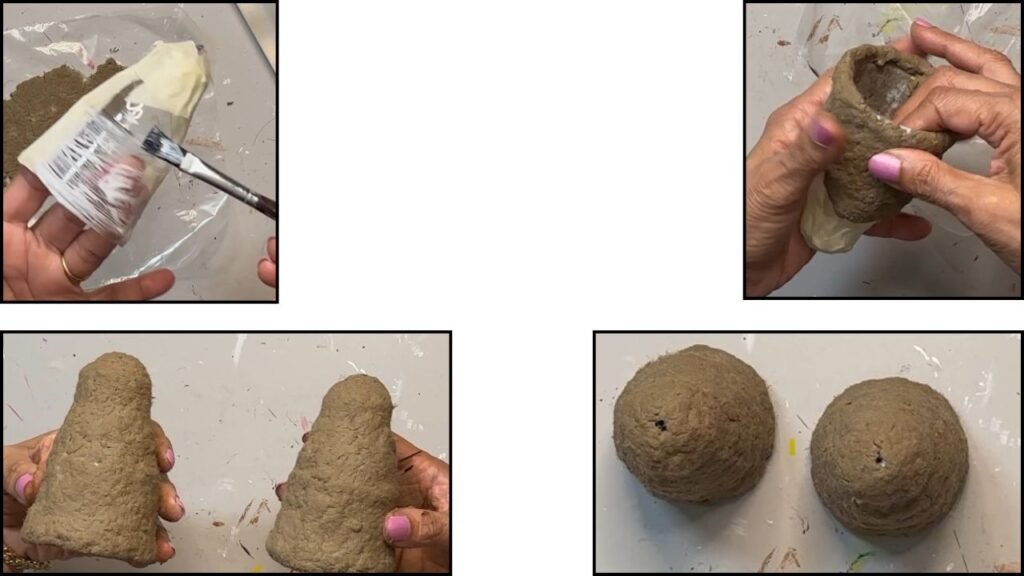
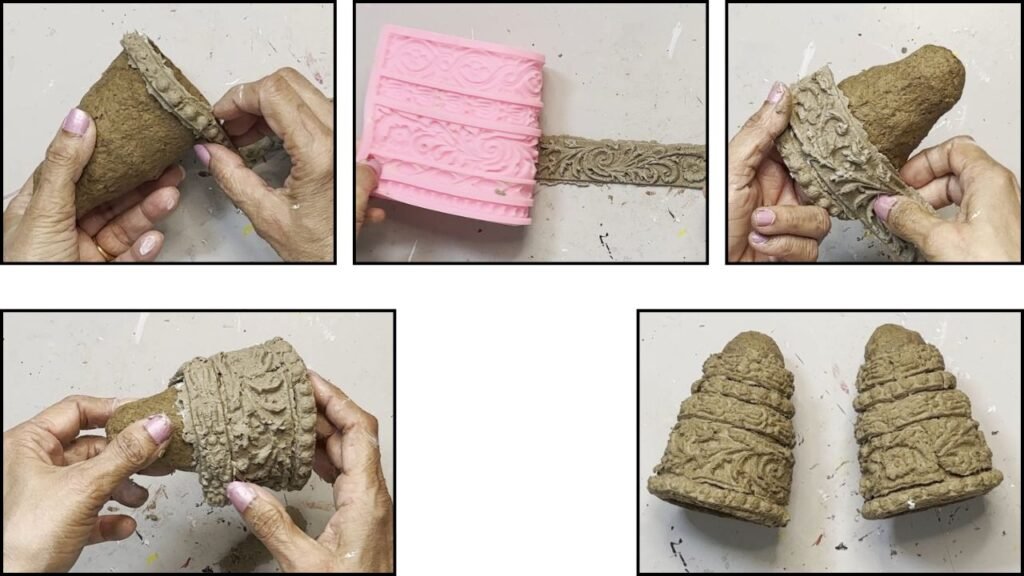
4. Next, cover the bells with paper Mache clay.
5. After the clay dries, using silicon mold and paper Mache clay make decorative borders and stick them on the bells as shown.
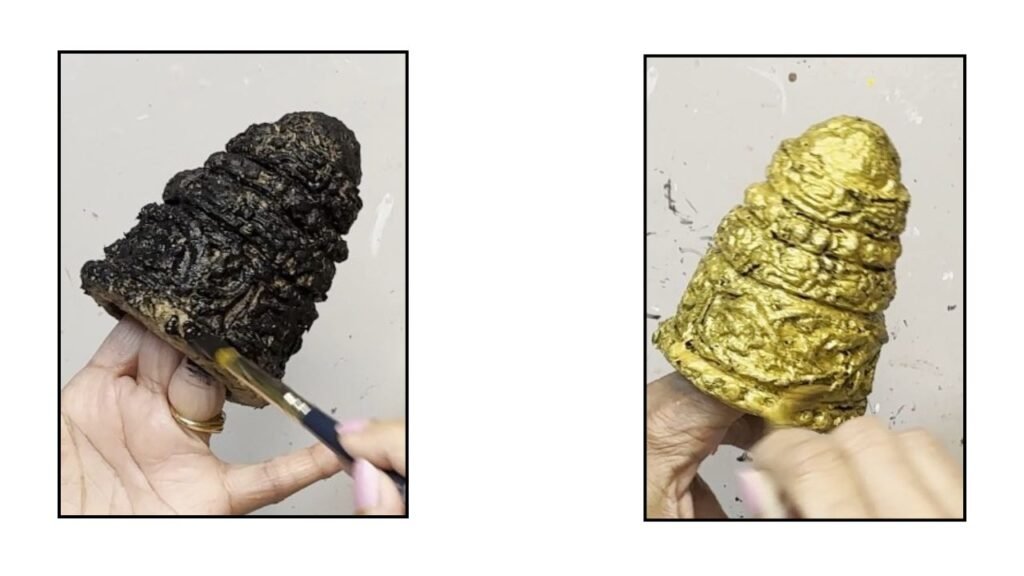
6. After the clay dries, paint the bells. Fist paint with black acrylic paint. When the paint dries, paint it over with Gold acrylic paint.
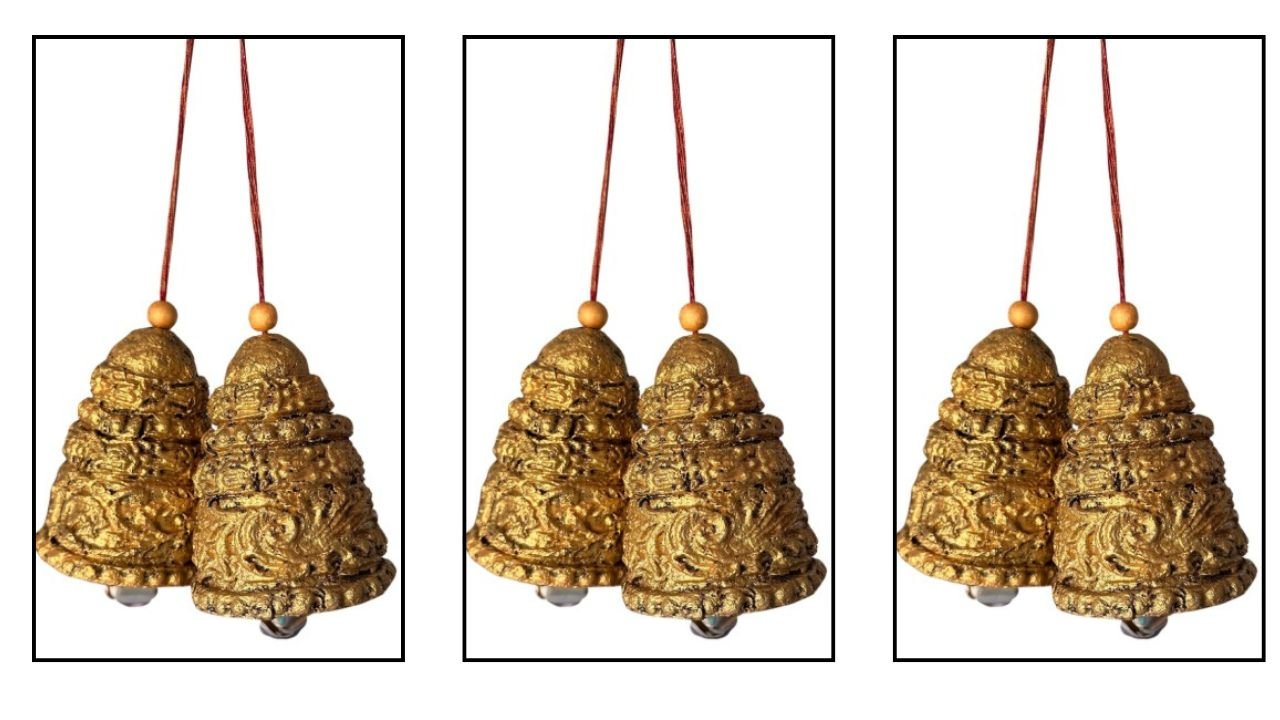
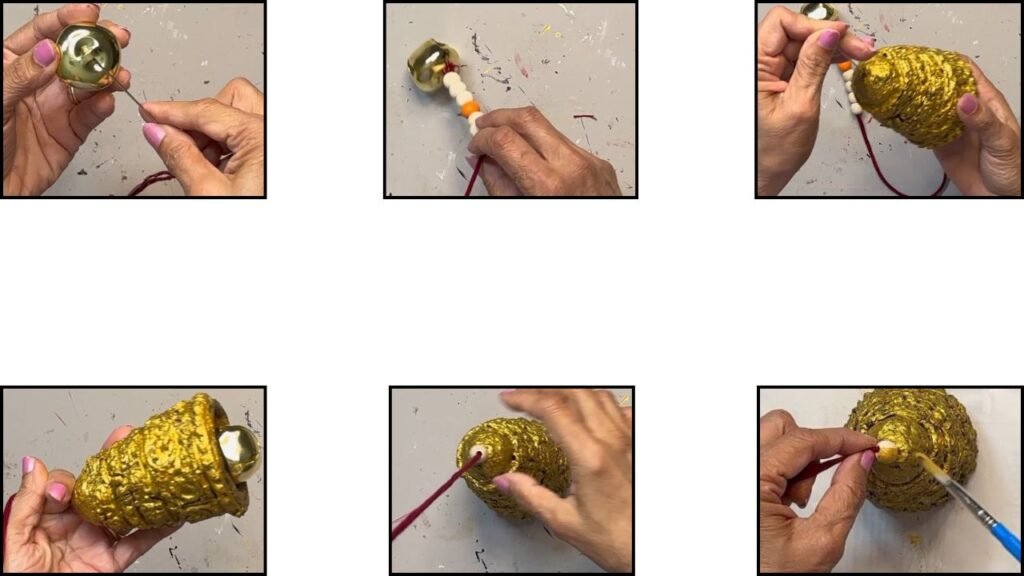
7. Once the paint dries, string a jumbo jingle inside the bell. I added a few wooden beads above the jingle bell to act as a stopper so the jingle doesn’t get pulled inside when you hold it by the string. After stringing the jingle, string another bead on top of the bell and paint the bead and the string with Gold acrylic paint.
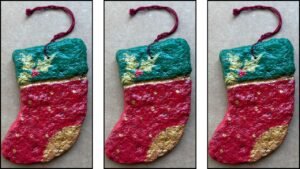
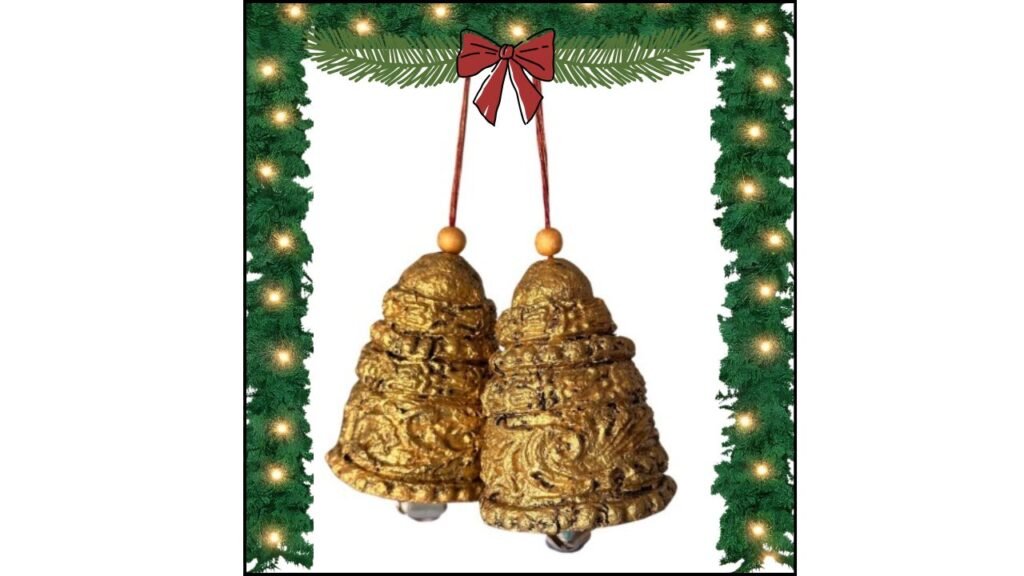
8. Now the bells are ready. This is how they look.
Tips And Tricks
- Alternative base:
If you don’t have plastic bottles or light bulb packaging, you can shape a cone from cracker-box cardboard and use it as your bell form. - Working with paper mache clay:
Paper mache clay is trickier than regular clay and may break as you work, but it’s very budget-friendly. So the little extra effort is totally worth it. - Don’t block the top hole:
When covering the bell with clay, be careful not to cover the hole at the top. Insert a pin or nail into the opening while you work so the hole stays open for stringing later.
Final Word
I hope you enjoyed this unique idea using light bulb packaging. If you can think of any other recyclable materials that would work for this project, feel free to share your ideas in the comments! Don’t forget to check out my other paper mache projects and DIY posts on the blog. I’d love to hear from you—let me know what DIY you’d like to see next.
Thanks for stopping by!