
Description
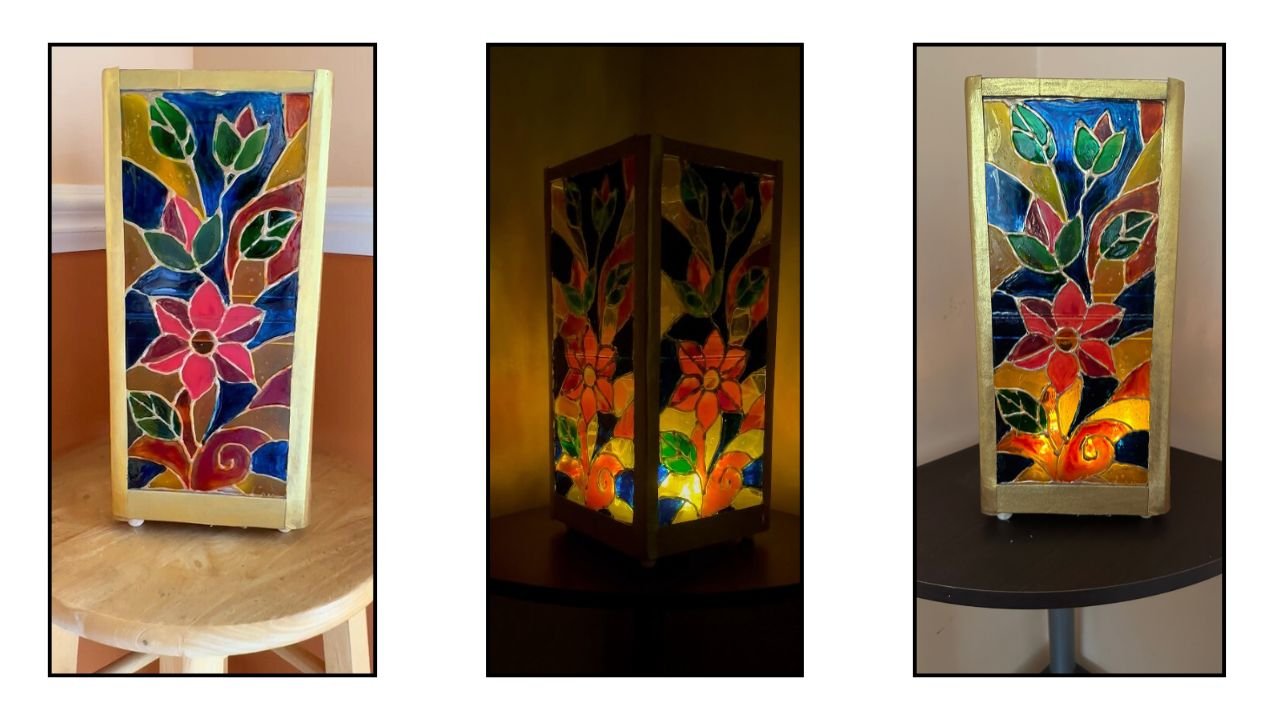
I created this faux stained glass lamp using clear part of CD cases and my own homemade glass paints. The colorful floral design glows beautifully when lit, making it a unique and vibrant piece of home decor.
Materials List
- CD Cases
- Food Colors
- Clear Glue
- Tulip Metallic Gold Dimensional Fabric paint
- Paint Brushes
- E 6000 Glue
- School Glue
- Foam Sheet Scraps (Or Cardboard from cracker boxes)
- Glue Gun
- Wooden Beads for legs (or Cardboard) (this is optional)
- Acrylic paints
Backstory
I’d been looking to make a faux stained glass project using discarded acrylic or glass. While browsing YouTube, I came across a beautiful CD cases stained glass lamp, and it felt like a sign…I had a stack of unused CD cases lying around! It was the perfect trash-to-treasure opportunity. Inspired, I got right to work and created my own version of a CD cases stained glass lamp, and I couldn’t be happier with the result.
Video Tutorial
This project is best understood by watching this step-by-step detailed video below. I have included written step-by-step instructions with photos for convenience.
Step-By-Step Written Instructions With Photos
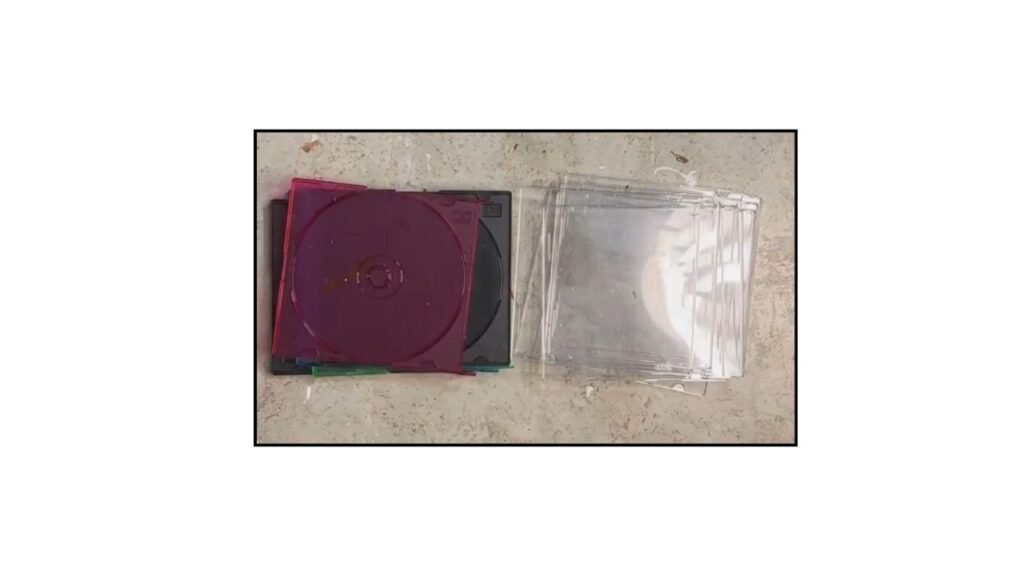
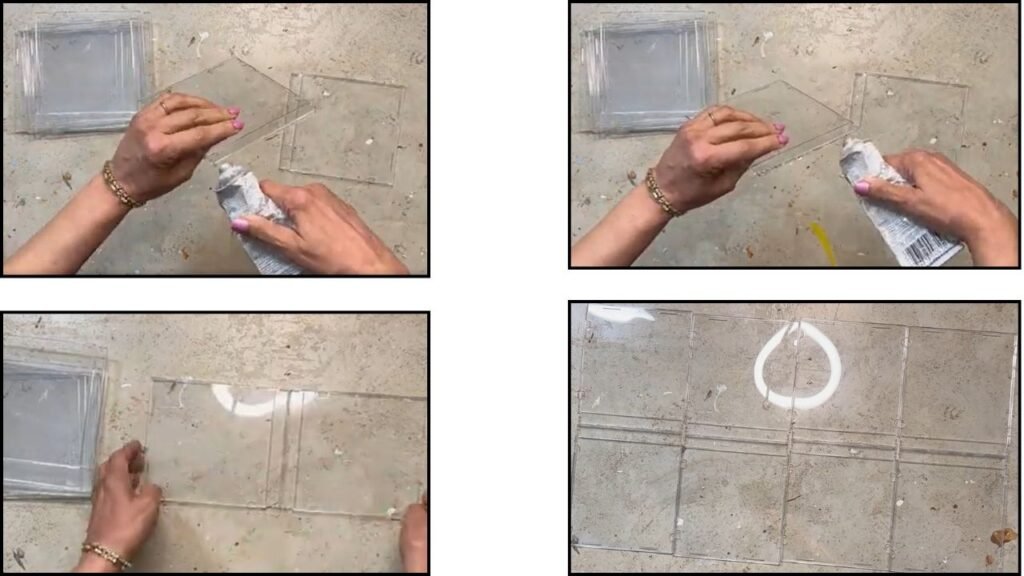
- Open the CD cases and carefully separate the front and back pieces.
I used the clear front covers for this project and kept the colored back pieces to use in another project later.
- Using E6000 glue I stuck two clear parts of CD covers to make a long panel. I used altogether eight clear parts of CD covers to make four long panels as shown below. These four panels are separate and are not stuck together.
3. I placed each long panel on the printed floral picture and using tulip dimensional gold fabric paint I outlined the picture on each CD cases panel.
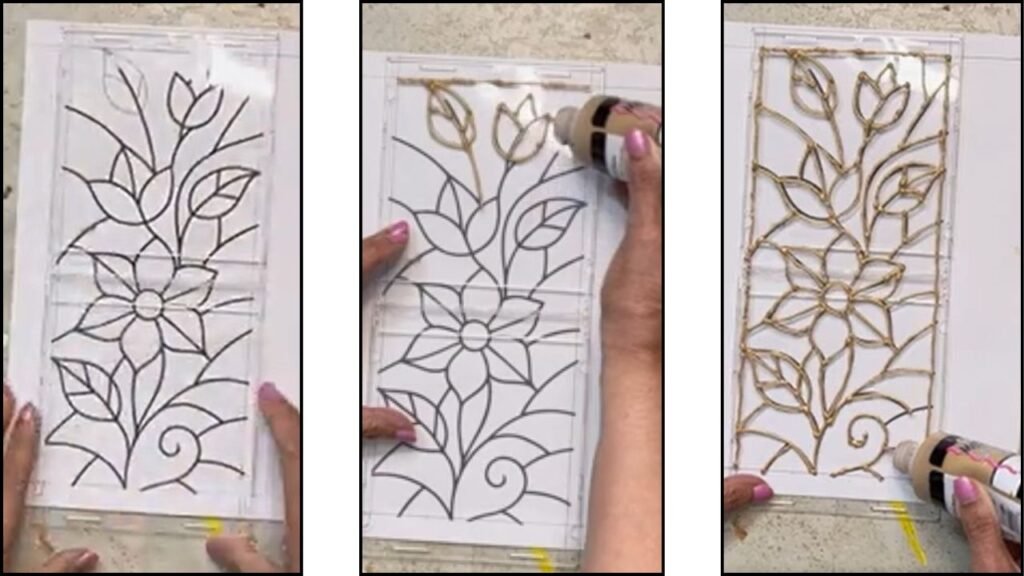
4. After the outline paint dried, I made homemade glass paints using clear glue and food colors as well as acrylic paint. Painted the design on the panel with homemade glass paints. Here as an example I have shown how I made green glass paint by mixing green food color and clear glue.
5. For secondary colors I mixed the glass paints. I mixed green and Yellow glass paints to get lighter green shade. Mixed Red and Yellow glass paints to get an Orange shade. Painted parts of the design on panel with light green and orange paints.
6. When the whole picture is painted, this is how it looks!
7. Next, cut foam sheet pieces to fit the top and bottom of the panels.
Paint them gold, then glue them to the top and bottom of each panel for a neat, finished look.
8. I took a 5″ cardboard square and glued the painted CD cover panels to all four sides of the square.
First, I glued one panel to the cardboard square and laid it flat. Next, I glued the second panel to the adjacent side, then stood the structure upright to make sure both panels were securely attached. For the third panel, I placed the structure back in a lying position and repeated the same process until all four panels were glued in place and a box was formed.
9. First, I separated the paper layer from the corrugated part of the cardboard.
I painted the paper gold, cut it into strips, and glued the strips along the corners of the box to make the structure sturdier.
10. Bext I painted a 3/4th inch wide foam sheet strip and glued it to the top edge of the four CD cover panels for a neater look.
11. Next I stuck four beads at the bottom of the box which serv as legs of the box.
12. I placed votive candles inside the box, but you can also use fairy lights to light it up and turn it into a gorgeous lamp.
Tips And Tricks
- Homemade Glass paints: Take food color or acrylic paint first in the pallet. Then, using a paint brush, add clear glue to the paint so the paint won’t be runny and thin. 1:1 ratio will work well. If you feel the paint is too thick then you can add little more glue to it.
- 2. Painting In Layers: When you have thick or right consistency of the paints you can paint in layers. As the first coat dries paint over it.
- 3. Replacing The Color: If you do not like a shade or want to replace a color you can easily do that by peeling the dried glass paint.
- 4. CD Covers Unavailability: In case if you do not have CD covers you can use plexiglass or real glass or acrylic plastic cake box cover
- 5. Foam Sheet Strips: If you do not have foam sheets you can stack 2-3 strips of soft cardboard like cracker box and use it instead.
- 6. Liquid Leading: Instead of liquid leading I use Tulip Dimensional Fabric outliners.
- 7. Glue: School Glue did work just fine to stick foam sheet strips to plastic., Glue gun worked just fine to stick Acrylic plastic to cardboard. And E 6000 worked just well to stick two CD covers together.
- 8. Sticking Edges of CD covers in a box shape: It was almost impossible for me to stick two CD covers in 90 degrees angle using E 6000 glue. It doesn’t work. You can stick them in 90degrees with help of cardboard, the way I showed in the video.
- 9. Avoid Paint Bleeding into other parts: In the long video you could see the paints haven’t run into each other. To avoid paint bleeding I painted the edges with decoupage glue. Watch in the video clip below.
Video Clip : Explanation For The tip no. 9.
Final Word
I hope you liked this idea. If you have CD covers available you can make this stunning lamp as a home decor. Its cheap but easy to make.
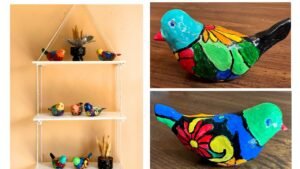
I made a craft with the back part of CD covers that I didn’t use in this project. Please check it out here
I would love to hear your thoughts. Please leave your comments and questions in the comments box below.
Happy crafting and thanks for stopping by!