Description
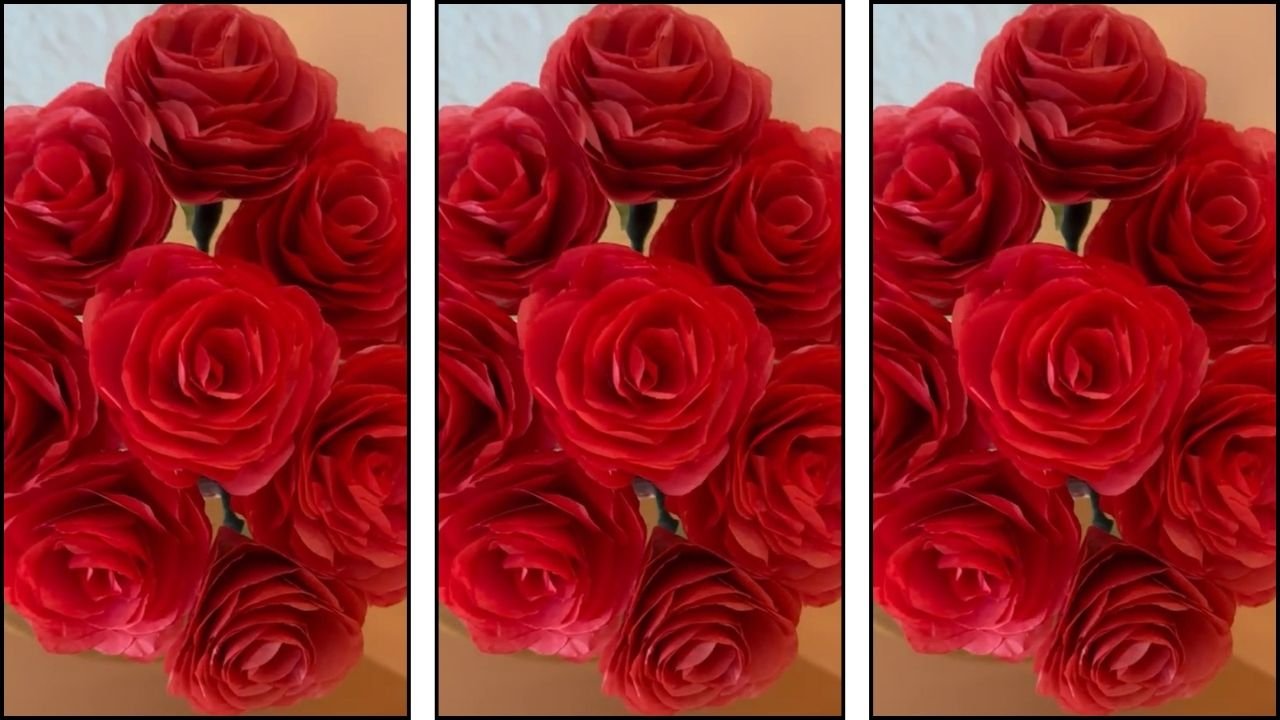
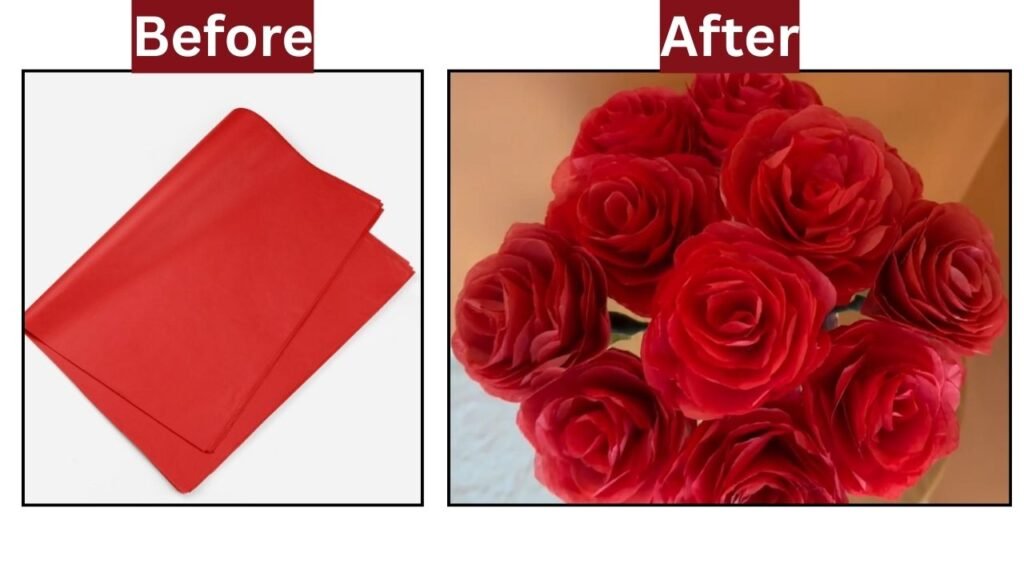
I made twenty roses in one dollar using ten sheets of tissue paper. They look real and never vilt! These tissue paper roses make a beautiful Valentine’s Day gift, table decor or keepsake. But they’re just as perfect for anniversaries, weddings, or home decor year-round.
Materials Used
- Tissue Paper (Your Choice of color)
- Glue Gun
- Glue sticks
- Bamboo Skewers
- Green Tissue Paper
- Floral Tape
Backstory
I usually create crafts using recyclable and eco-friendly materials, but I also enjoy working with budget-friendly supplies. Paper flowers are one of my favorite things to make, and in my experience, colored paper creates especially stunning flowers.
At the time, I had a strong urge to make paper flowers. Since tissue paper is one of the most affordable materials, I decided to experiment with it. I began watching rose-making tutorials, most of which used bond or printer paper. One video, in particular, demonstrated a rolling method to make roses using bond paper.
That’s when I decided to try the same technique, but with tissue paper instead.
Just as I had imagined, the roses turned out beautiful and surprisingly realistic. The best part? I was able to make twenty roses for just one dollar, proving that you don’t need expensive materials to create something truly stunning.
Video Tutorial
Step-By-Step Written Instructions
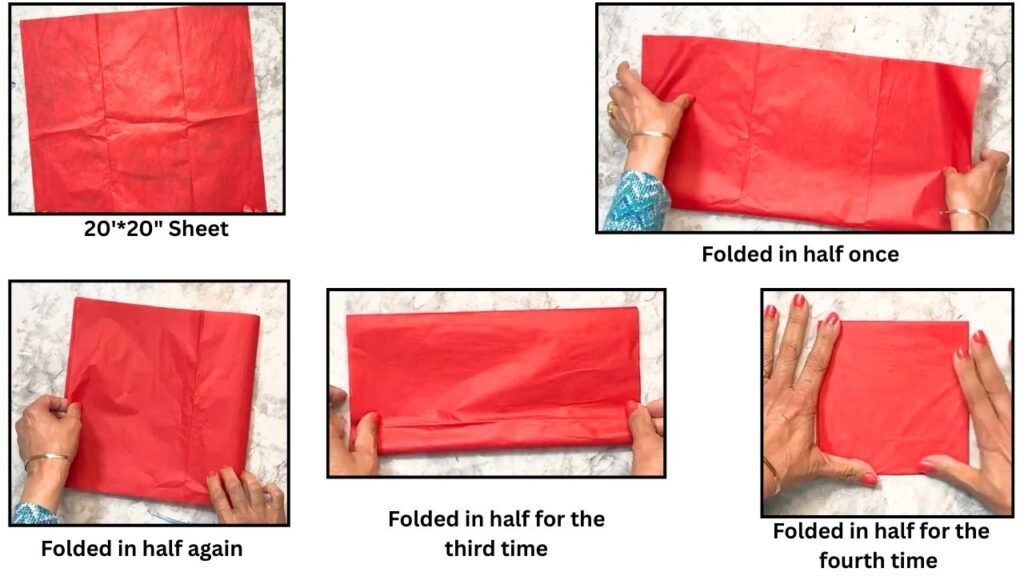
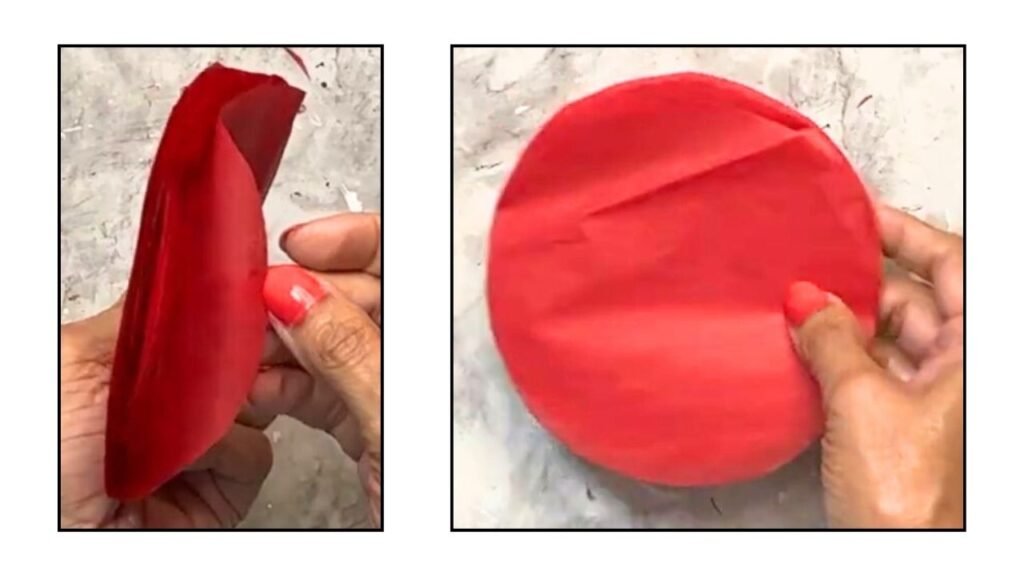
- Take one 20″ by 20″sheet of tissue paper and fold it four times in half until you get a 5″ by 5″ square as shown.
2. Next, using a lid or a dish draw a circle inside the tissue paper square.
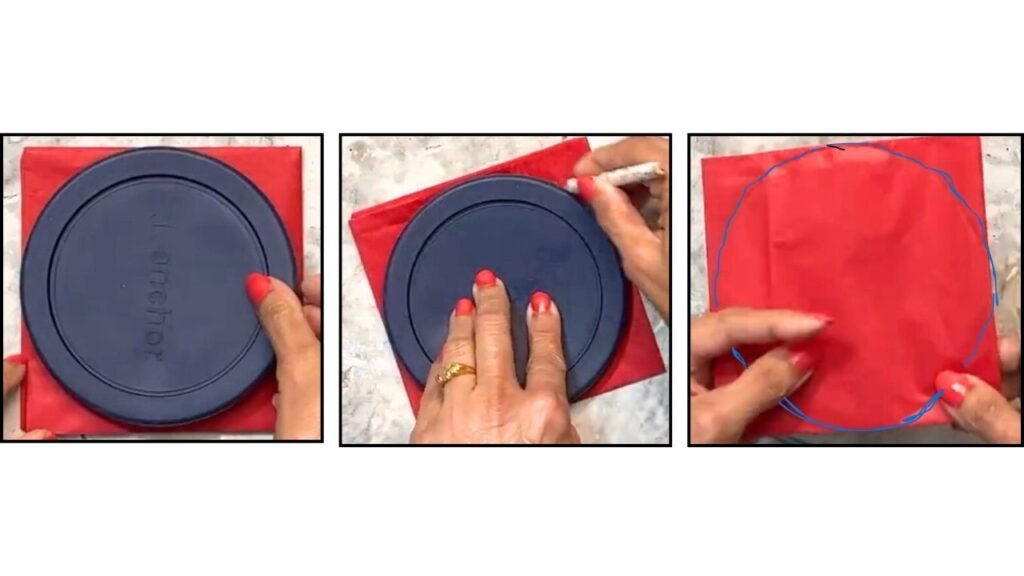
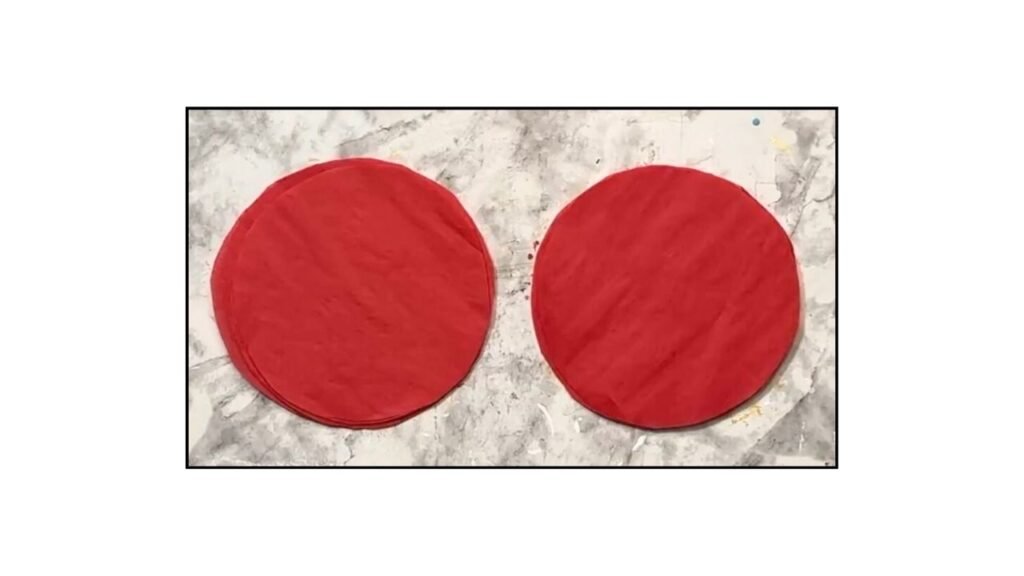
3. I cut along the circle and I got altogether 16 circles of tissue paper.
4. Divided the circles into two groups of eight each.
5. folded a group of all eight circles at once in half three times and drew a picture of a petal on it, and cut it out in the shape of a petal.
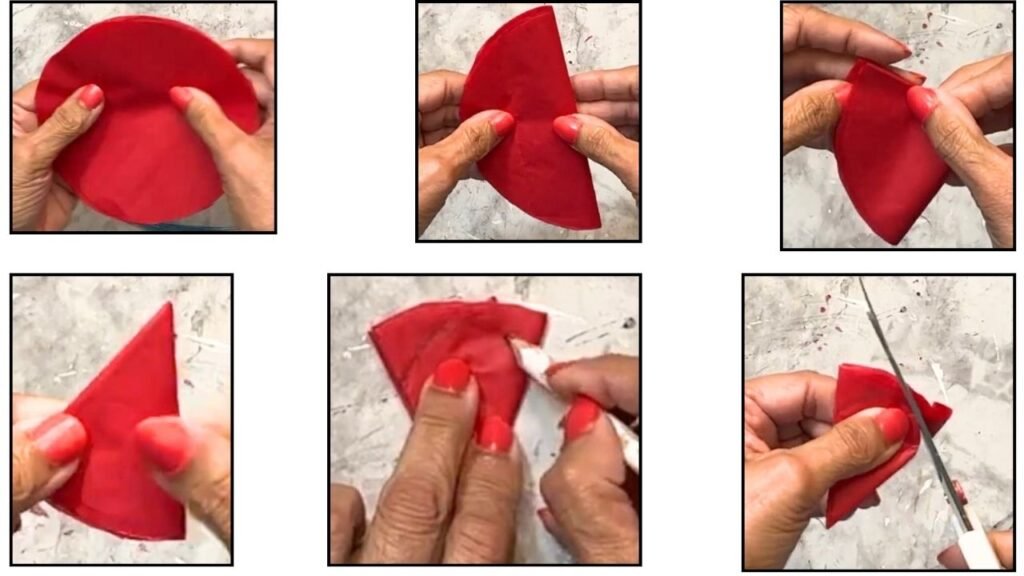
6. After the petal is cut, draw a small curve at the tip of the petal and cut it along the curve. Then open the petals. Now you have eight petals. Each petal looks like a flower itself.

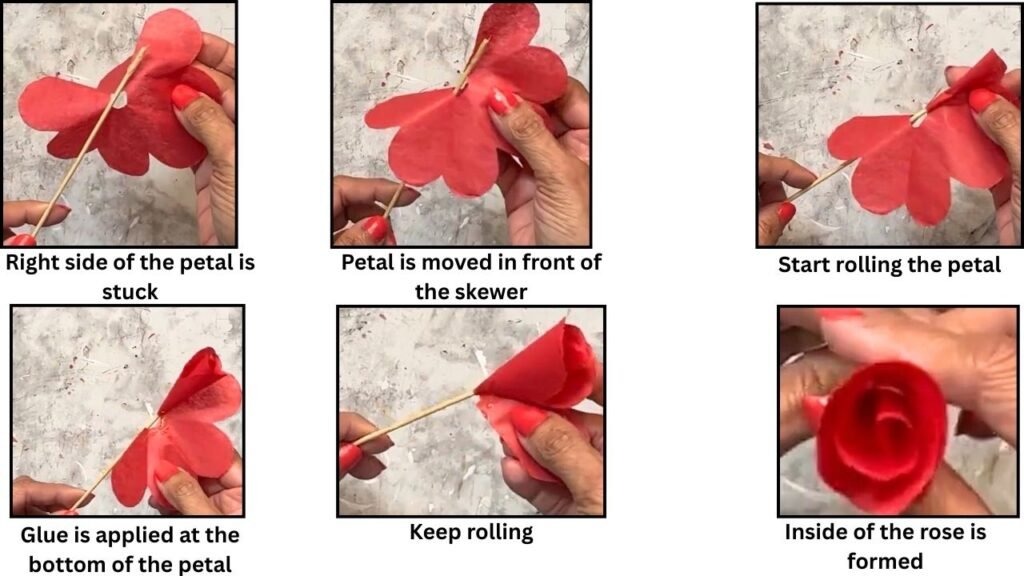
7. next I got a bamboo skewer. I cut the pointed tip on it. Then applied glue on one end of the skewer.
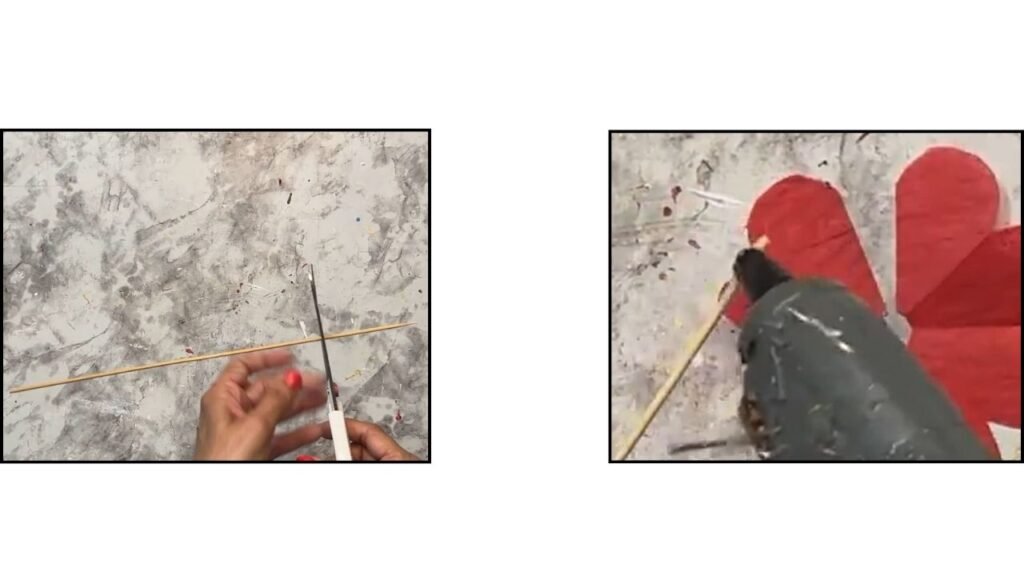
8. Take one petal hold it on your right and stick it on the bamboo skewer as shown. Then move the petal in front and start rolling the petal. As you roll apple glue with the glue gun on the bottom of the petal. When the whole petal is rolled it forms inside of the rose.
9. Next, attach the second petal where the first petal ended after rolling. Use the same rolling technique to form the second layer of rose petals. Continue following this pattern until all eight petals are rolled and the rose is complete. The process described here is shown below.
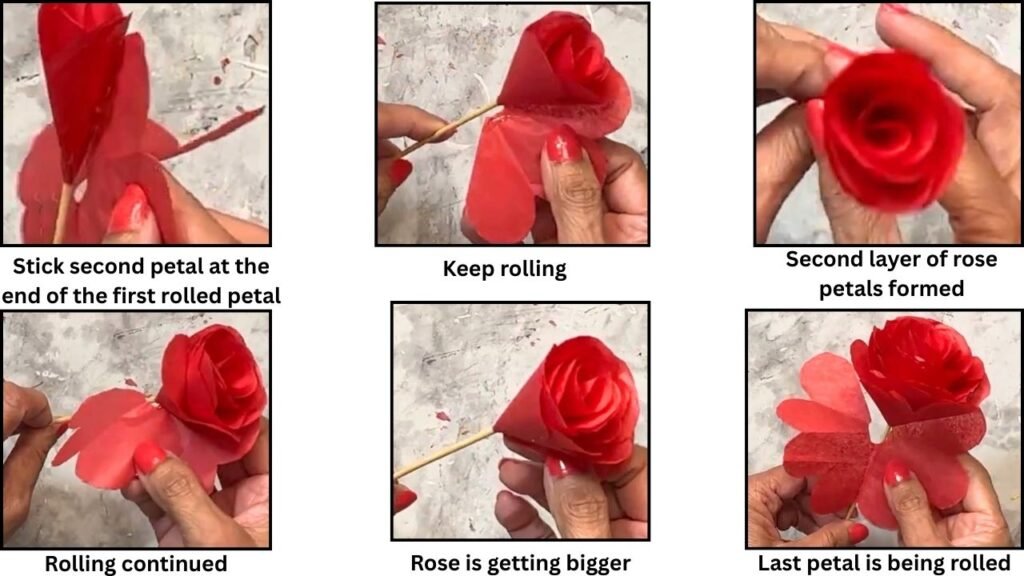
10. Here is the finished rose after all eight petals are rolled.

11. Once the rose is formed, I made the cepal of the rose. To make the sepal I took a grren tissue paper square. folded it in half three times until I got a small square. then folded it to form a triangle. then gave it a few cuts. The process is shown below.
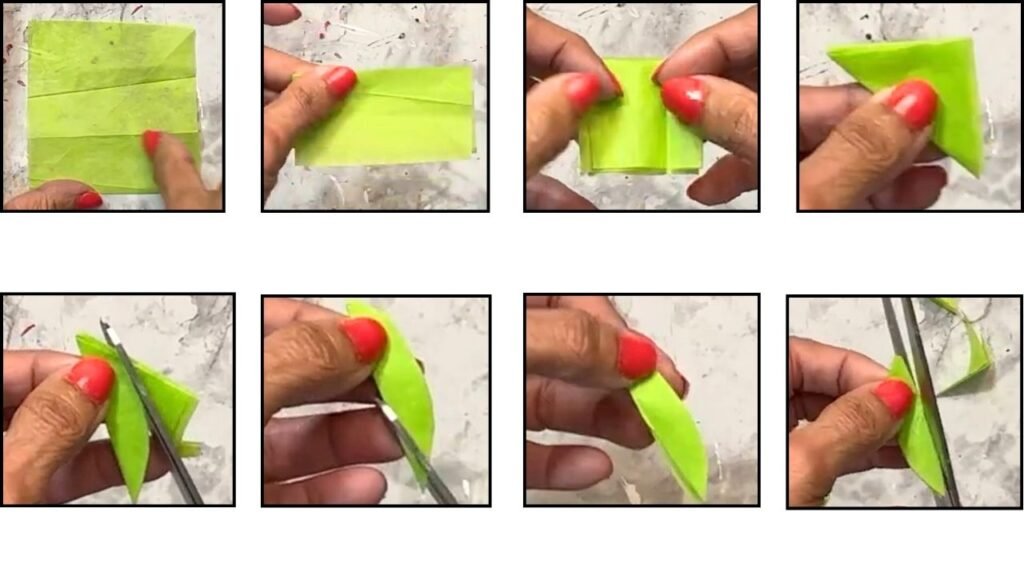
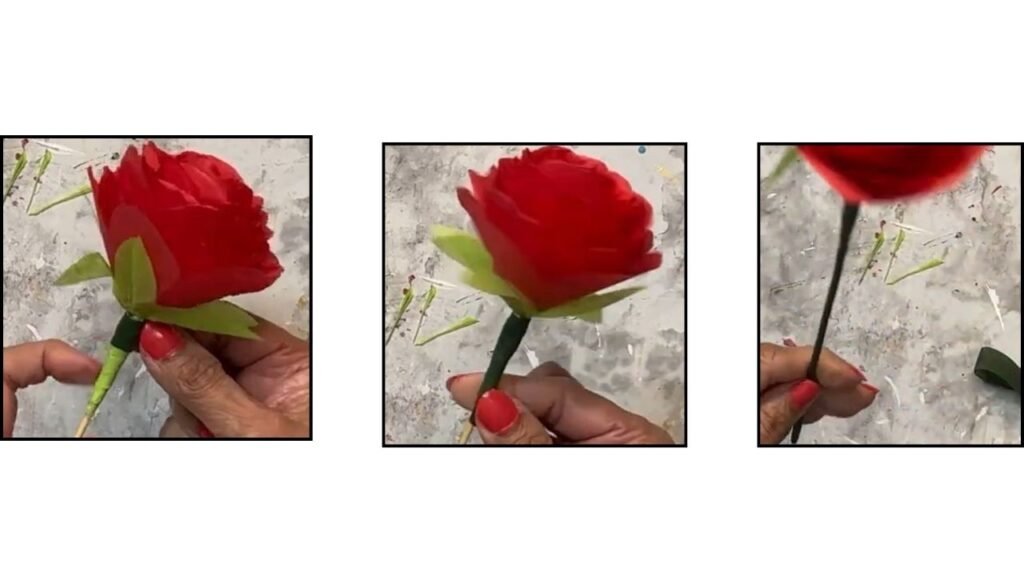
12. Cut the tip of the sepal. then open it. the sepal is now formed. String it through the bamboo skewer. Push it all the way to the base of the rose. and glue it in palce.

13. Next, I wrapped green tissue paper strip under the rose on the bamboo skewer to make hip, a part of the rose that contains seeds.
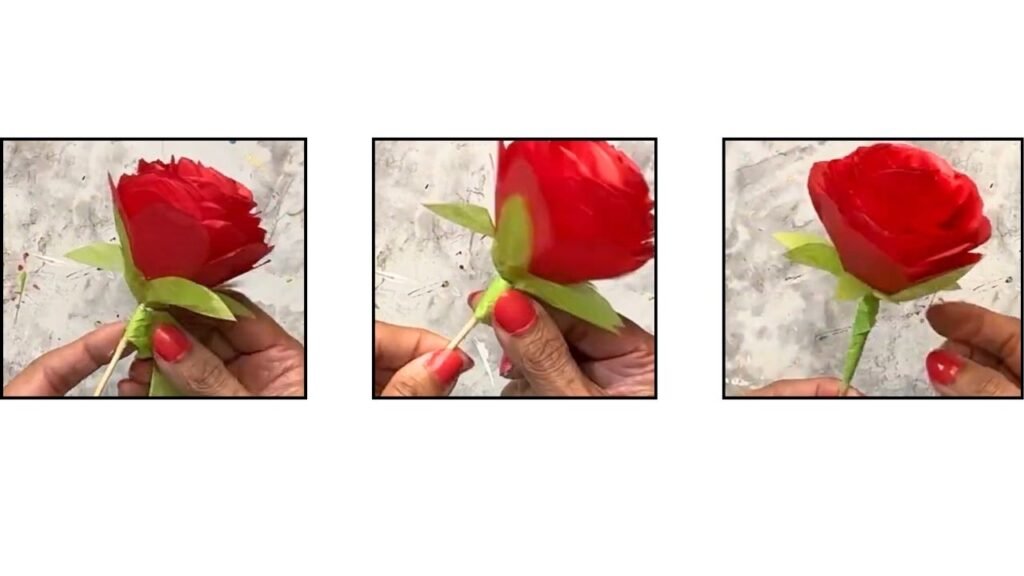
14. Now covered the bamboo skewer using floral tape.
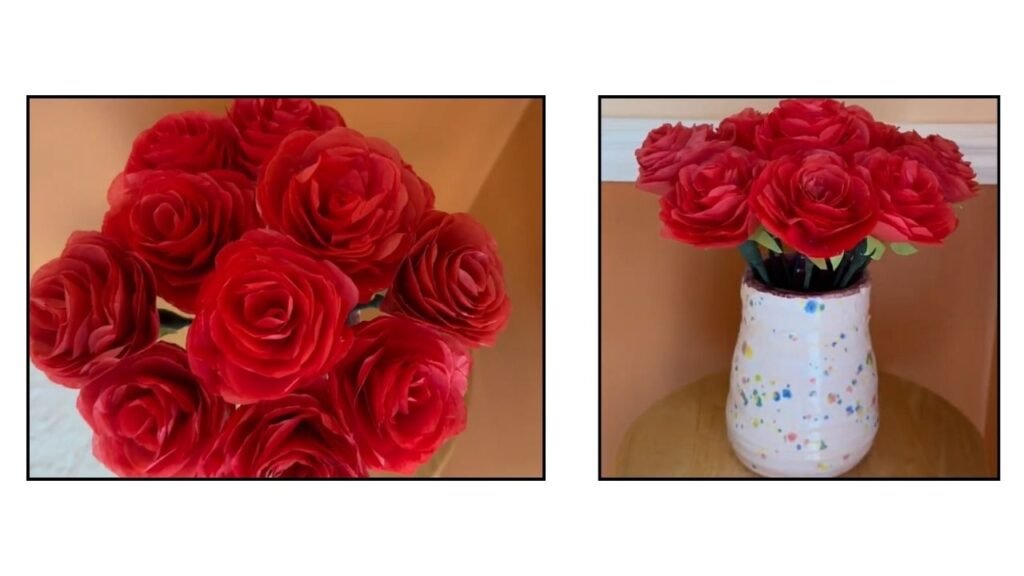
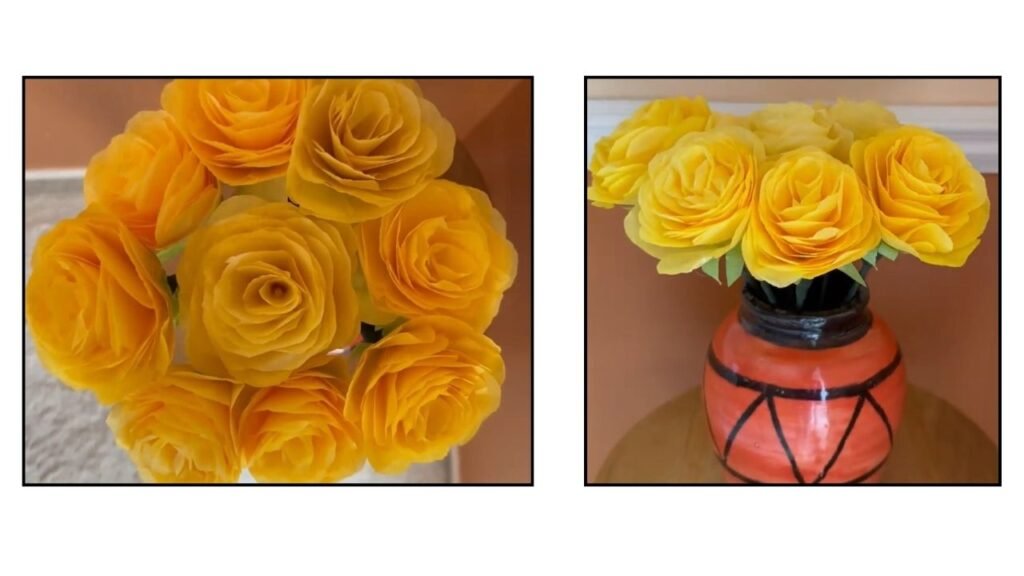
15. Made bunch of roses using the same rolling method and placed the roses in a vase. I also made bunch of yellow flowers using yellow tissue paper just to show how they look!
Tips And tricks
Apply glue to a small section at a time. Since the rose petal strip is free-flowing, applying too much glue at once may cause it to stick in the wrong place.
As you add more petals, roll each one a little more loosely. Avoid rolling the petals too tightly, or the rose will lose its natural look.
Before you begin rolling, make sure the loose end of the petal is positioned toward the front for a neat, realistic finish.
Final Word
I truly enjoyed making these pretty roses, and I hope you enjoyed them too. While printer paper roses look lovely, I personally prefer tissue paper roses. They’re quick, easy, and fun to make. I plan to share more flower-making projects in the future, so stay tuned!
I already have two more flower-making tutorials on my blog, be sure to check them out using the links below:
I’d love to hear your thoughts, so please feel free to leave a comment in the comment box below.
Happy crafting, and thank you so much for stopping by!