Description:
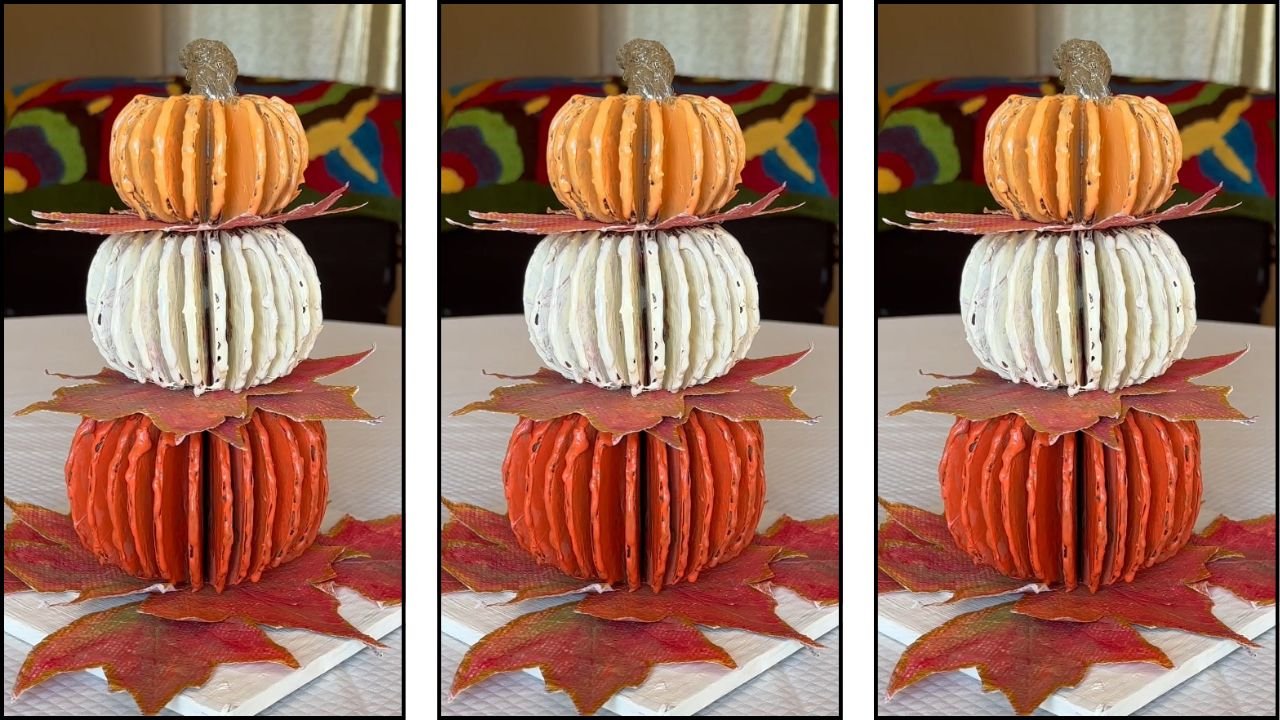
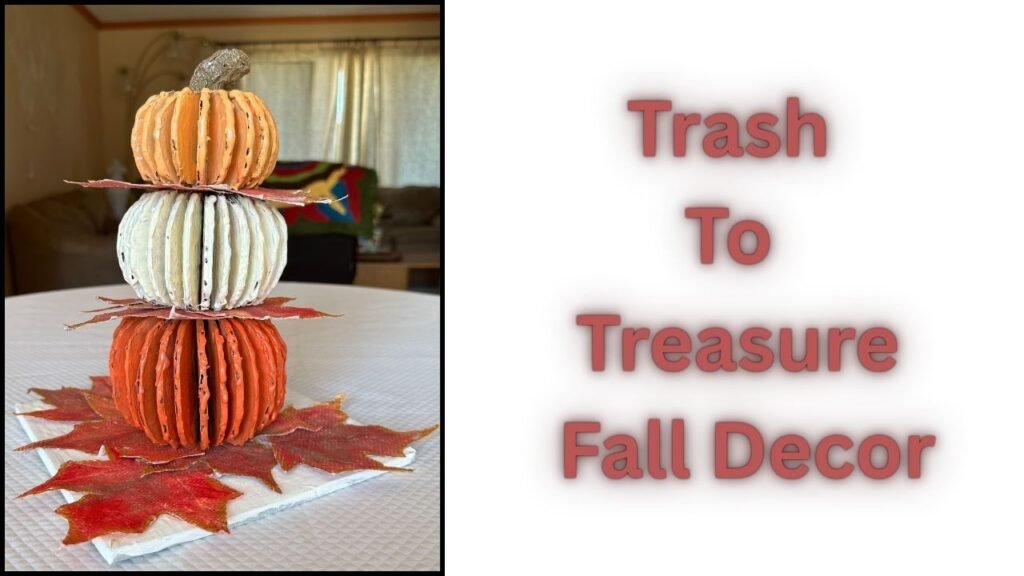
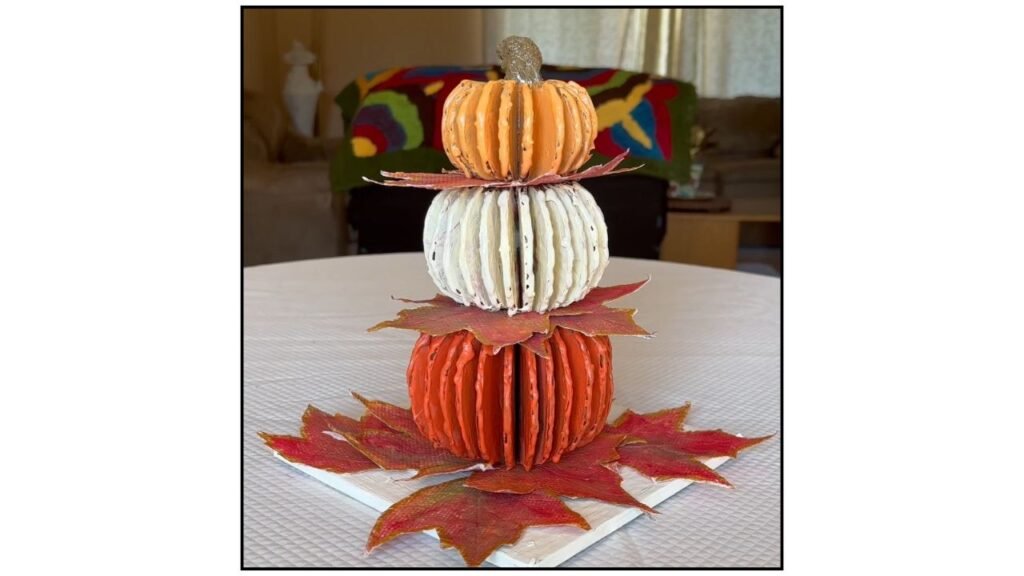
Create this stunning fall centerpiece using pill bottles, cardboard, and paper towels! Not only is it budget-friendly and easy to make, but your guests will never guess it’s made from recyclables. Perfect for adding a cozy, autumn touch to your home.
Materials Used
- Pill Bottles
- Cardboard
- Kitchen Paper Towels
- School Glue
- Acrylic Paints
- Water
- Spray Bottle
- Glue Gun
- Aluminum Foil
- Paint Brushes
- Gloss Varnish (optional)
Below are my Amazon Affiliate links. If you buy any of the above materials through these links I earn a small commission at NO extra cost to you! Thanks for helping
Glue Gun
School Glue (1 gal)
Apple Barrel Acrylic paints 2oz. Bottles
Paint Brushes (round)
Paint Brushes Flat
Liquitex Varnish
Backstory
I had gathered quite a few empty pill bottles and was looking for a fun fall craft to make with them. I’ve seen a few creative ideas online—candleholders, vases, even wall decor made from pill bottles. I even made a candleholder myself once! But this time, I wanted to try something different.
One day, an idea suddenly popped into my mind: pumpkins! But how could I make them? That’s when my craft experience kicked in. I reached for a familiar recyclable item I always love to use; my favorite cardboard! And everything just fell into place. Before I knew it, the fall centerpiece came alive!
I’m so pleased with how it turned out, and I hope it inspires you to create your own unique autumn decor
For The Video Tutorial, Watch The Video Below.
Step By Step Written Instructions
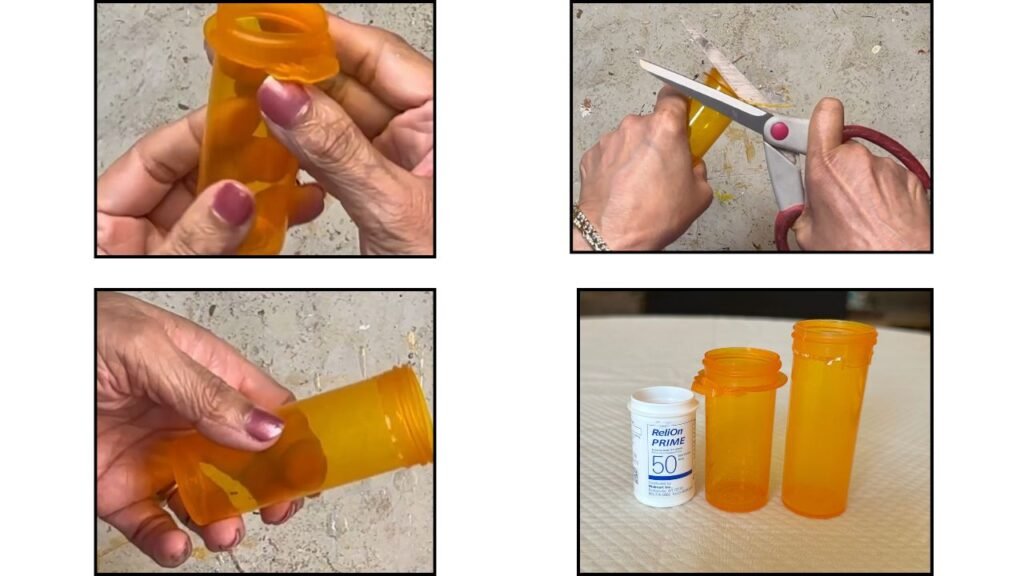
- Cut out extra plastic (security ring) on the bottle to get a leveled surface. I used three pill /med bottles and cleaned all of them the same way.
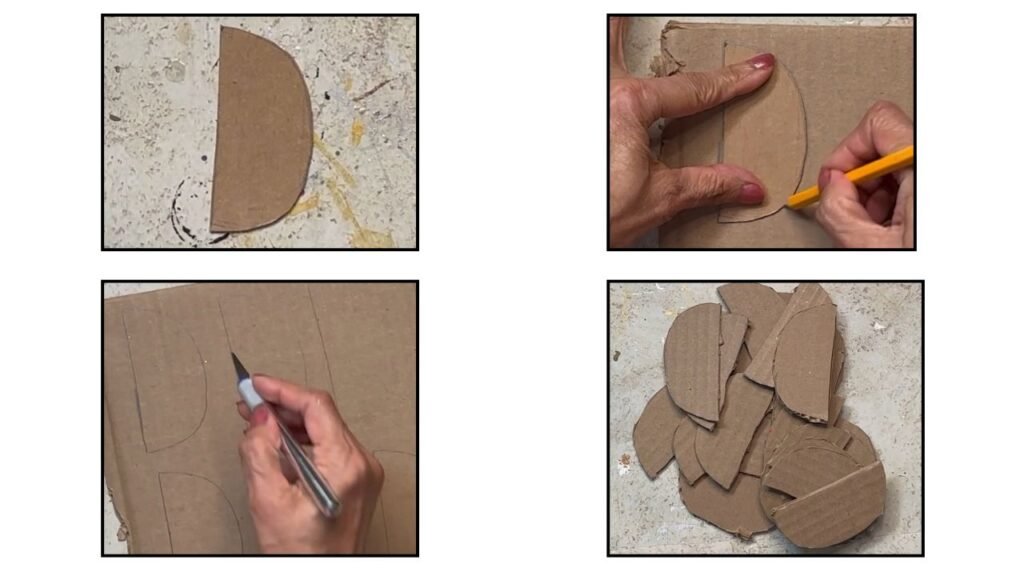
2 Made a simple template to cut out curved cardboard pieces. I cutout about 30 pieces.
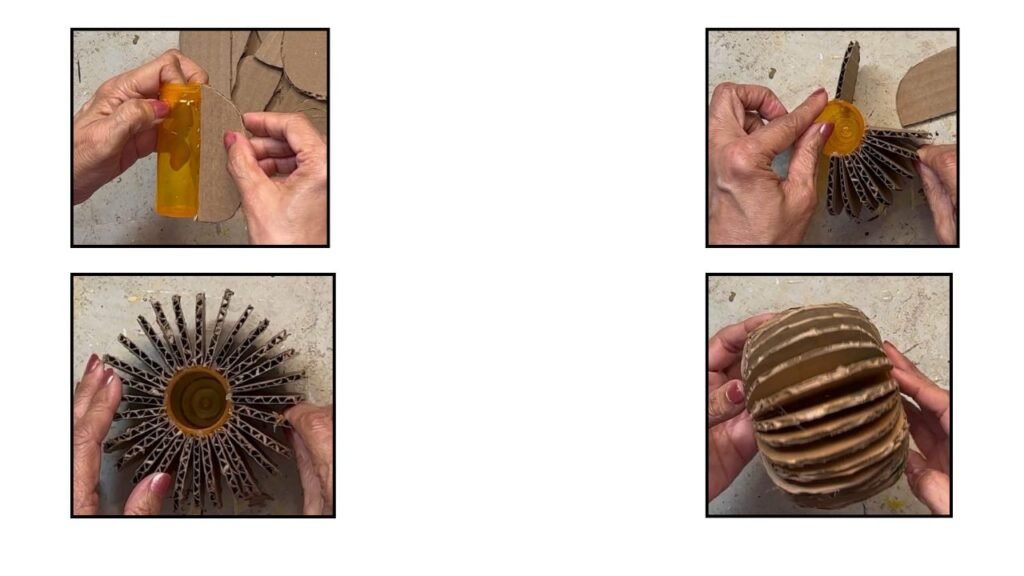
3. Stuck the curved cardboard pieces around the pill bottles to form a pumpkin.
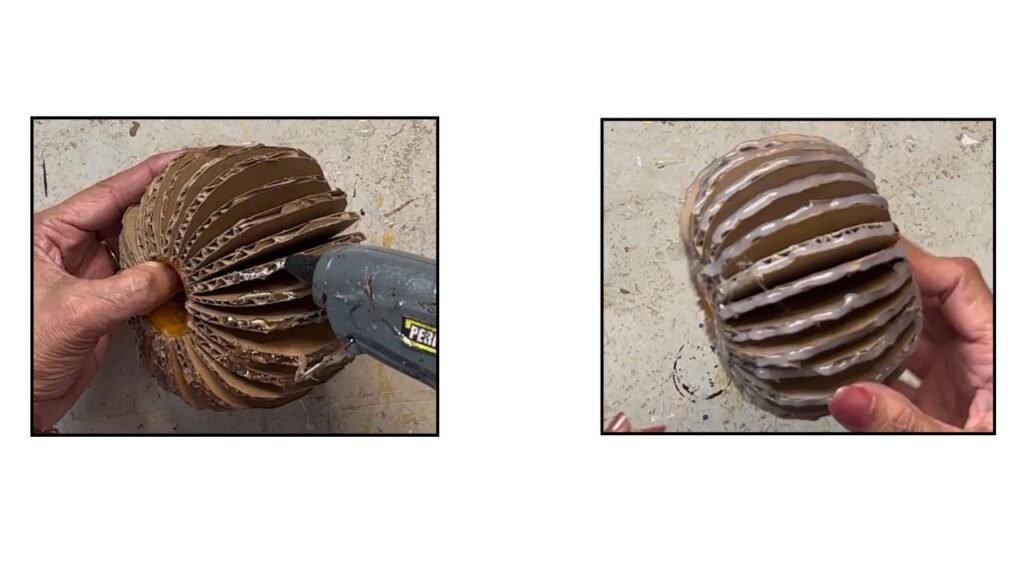
3. Using the glue gun I covered the rough edges on the cardboard pieces with glue for smoother look!
4. Next I Painted The pumpkins with acrylic paints. I mixed gloss medium for the added shine to paints.

5. I crumples aluminum foil to make stem for the smallest pumpkin. And painted it.

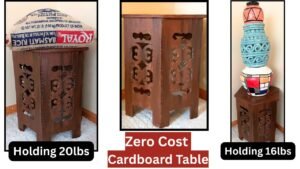
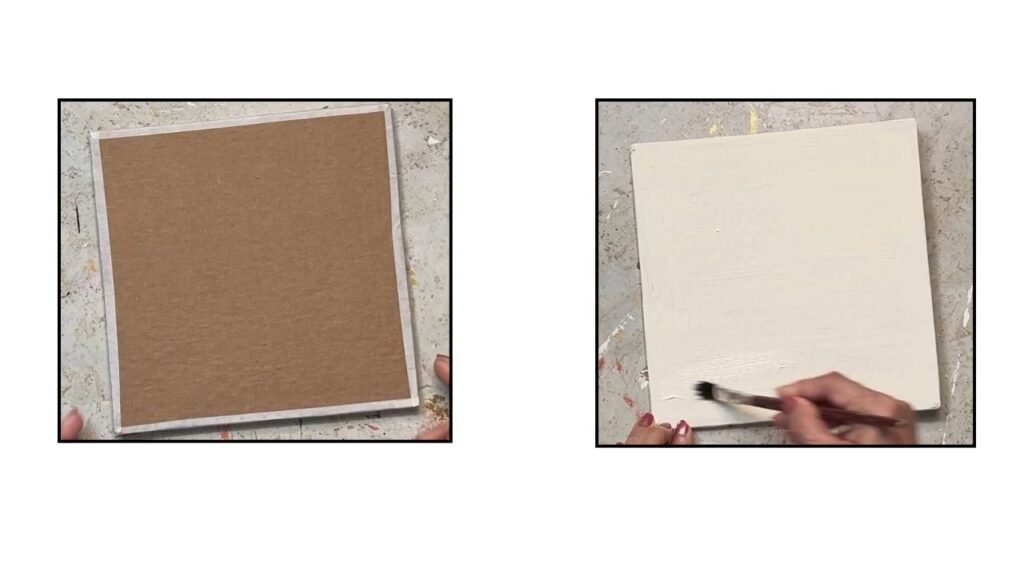
6. To make the base for the fall centerpiece, I covered the cardboard square edges with masking tape and painted it with off white paint.
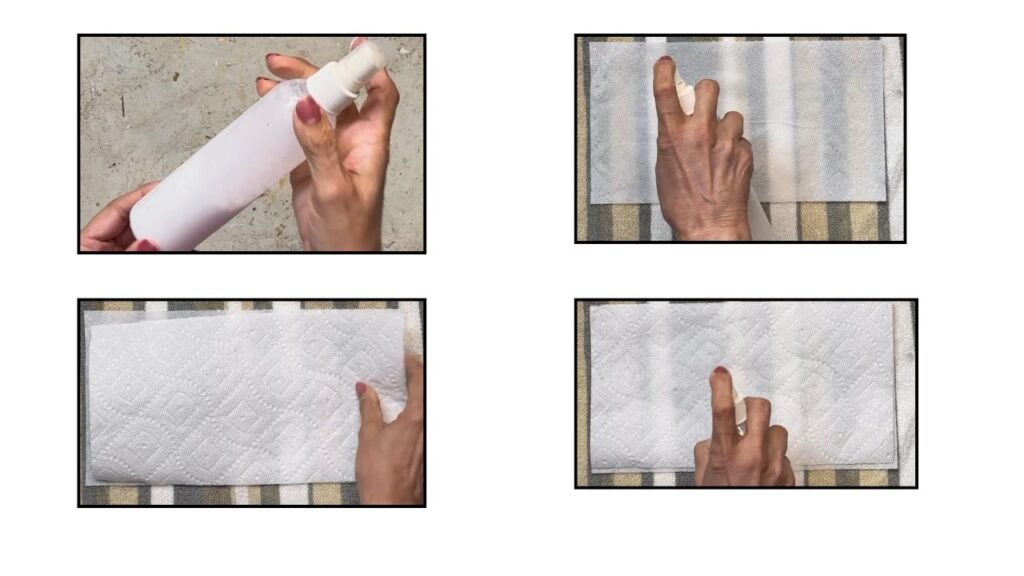
7. To make leaves I first mixed school glue and water. (more water than glue). Spread a dry towel on the table. Placed a paper towel on the towel. Sprayed water-glue solution on it. Then placed another paper napkin on it.
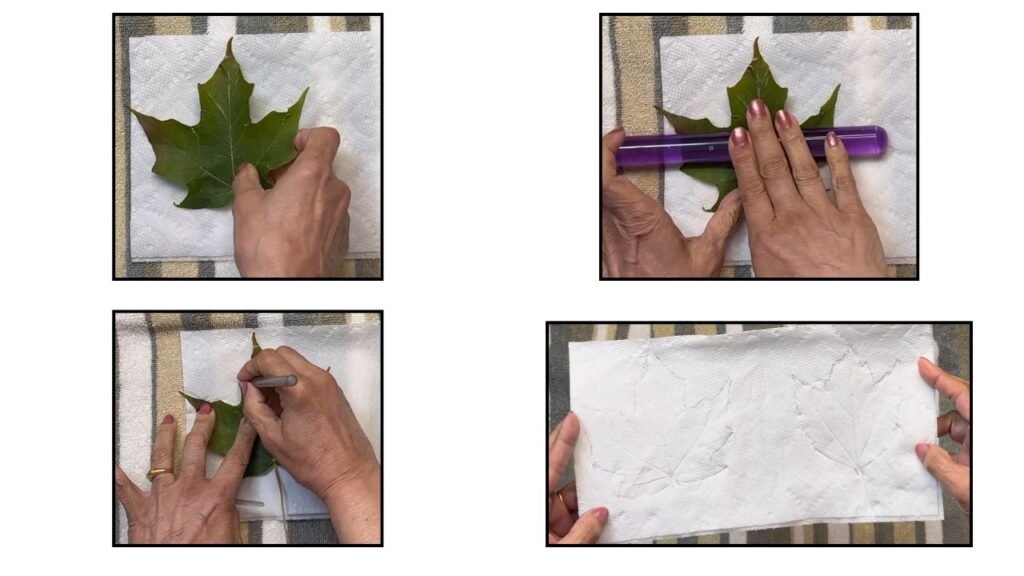
8. I placed a leaf face up so the veins on the back of the leaf touched the paper. Then moved the rolling pin over the leaf so the veins would get embossed on the paper. And drew around the leaf as shown.
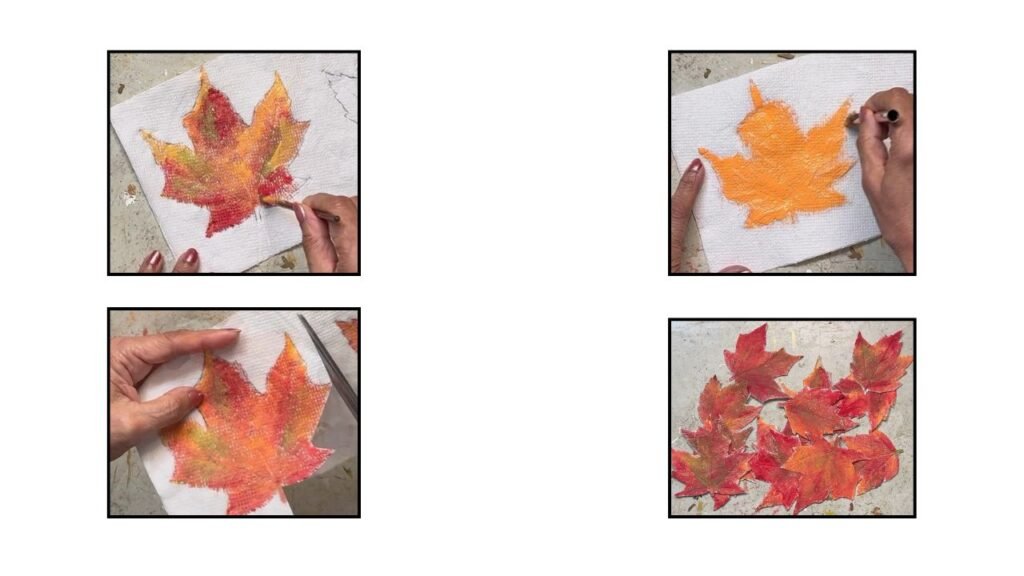
9. Mixed school glue with fall color acrylic paints so the leaves become strong. Painted the leaves front and back. When the leaves dried completely, cut them out. I cut 14 leaves.
10. Arranged the leaves and the pumpkin alternatively on the cardboard base and glued them in place. This is how the centerpiece looks.
Final Word
I hope you enjoyed this budget-friendly DIY. While the centerpiece itself may not be unique, the materials I used certainly are! I’d love to hear your ideas, what would you create with these everyday items? Share your thoughts and suggestions in the comments below.
If you enjoyed this project, consider subscribing to my blog! You’ll receive a newsletter filled with more craft ideas, creative inspiration, and helpful tips to make your crafting even more fun.
Thanks so much for stopping by!