Description
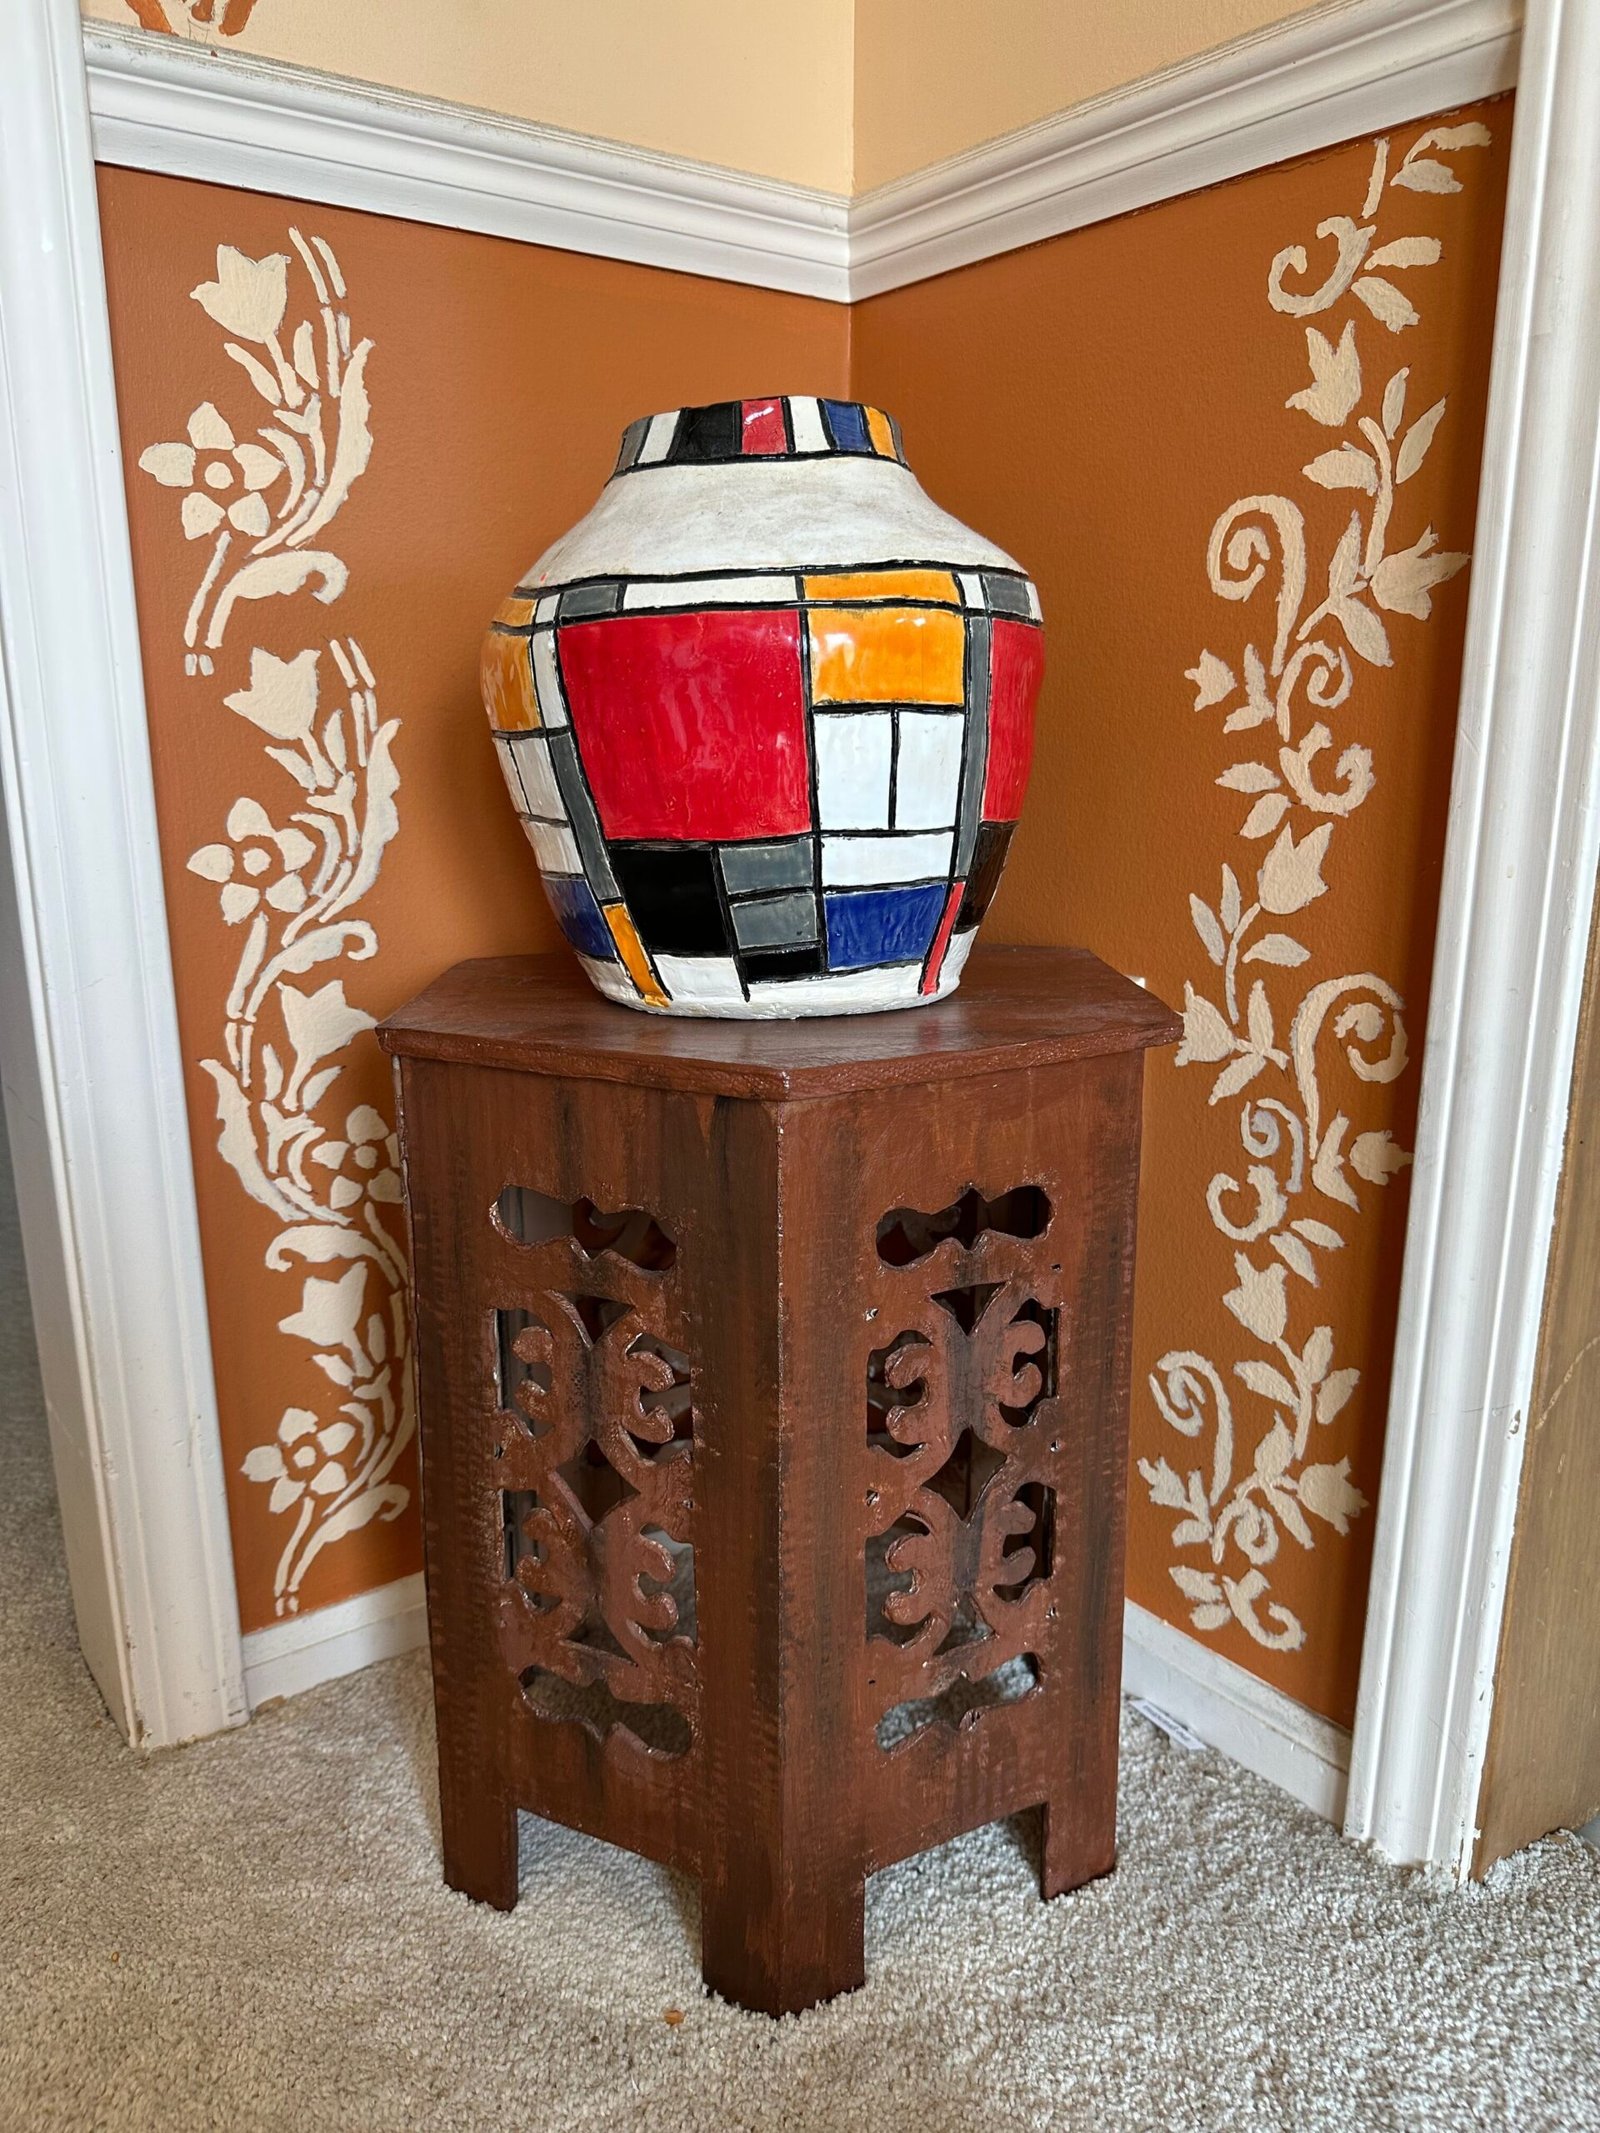
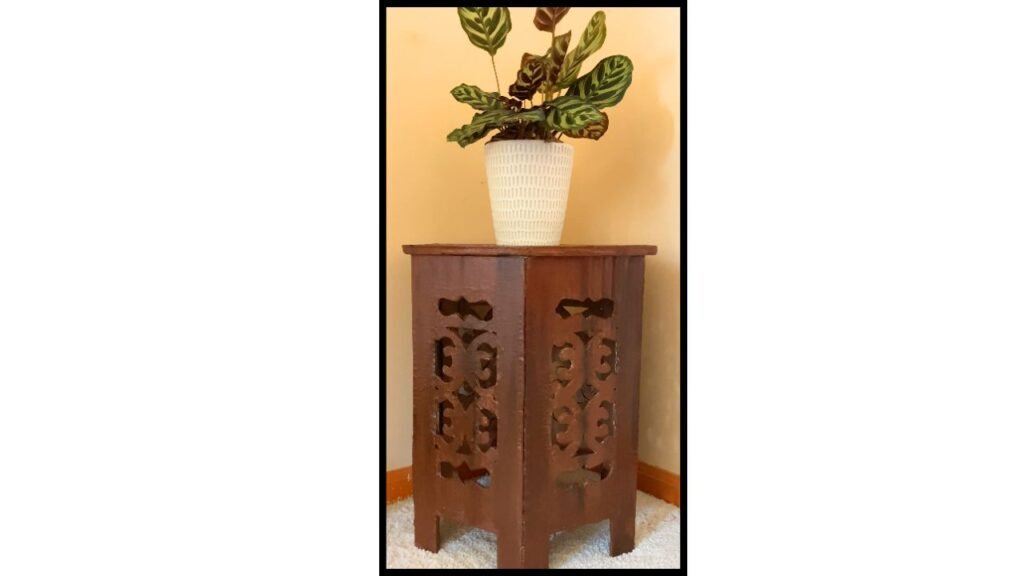
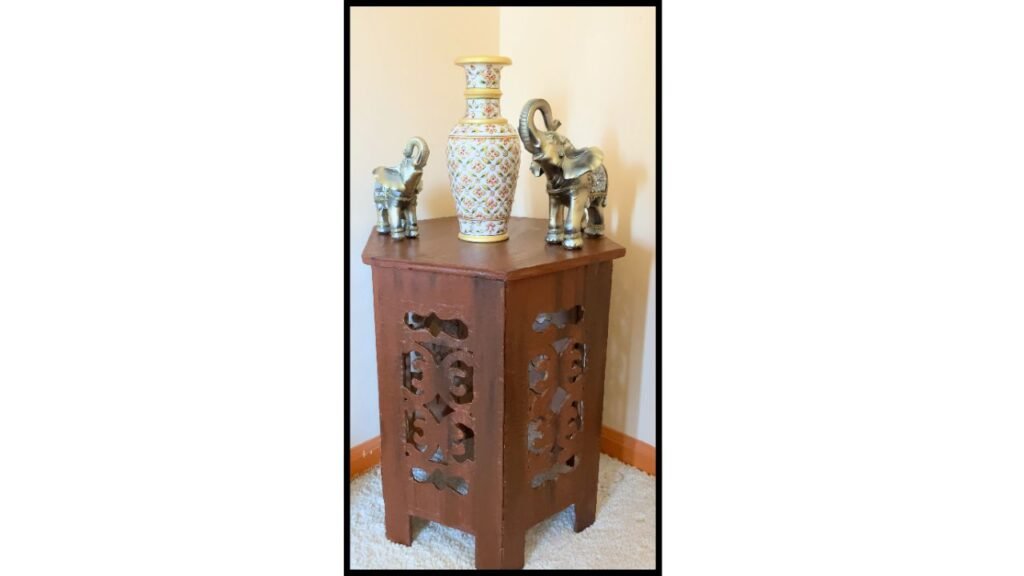
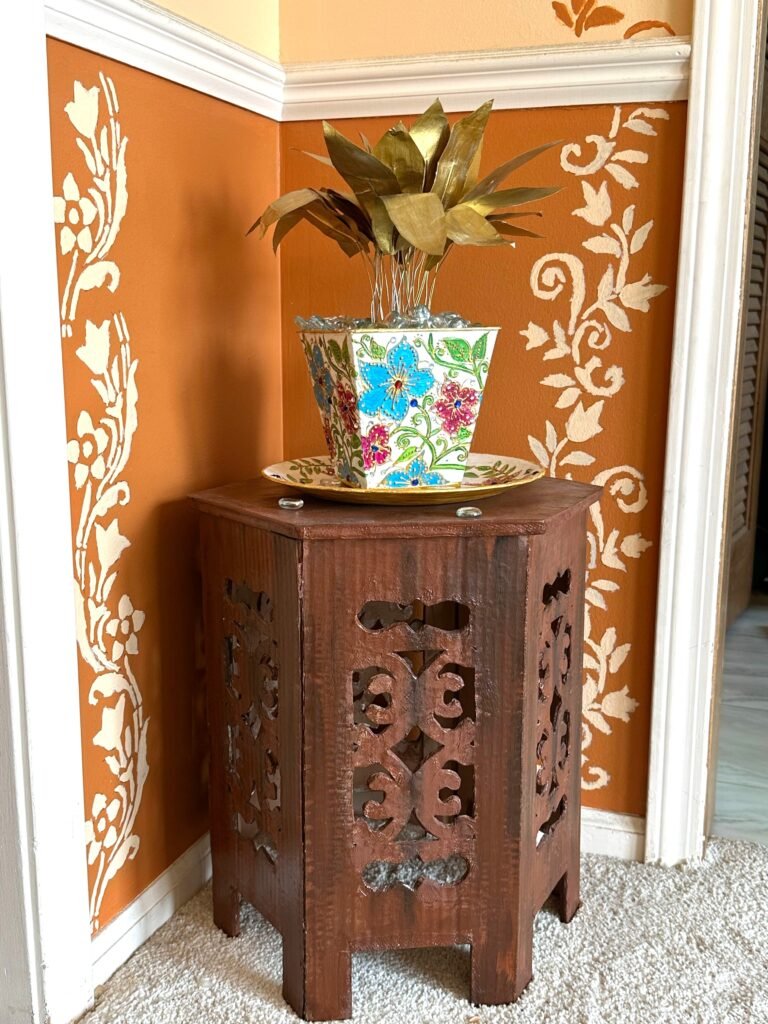
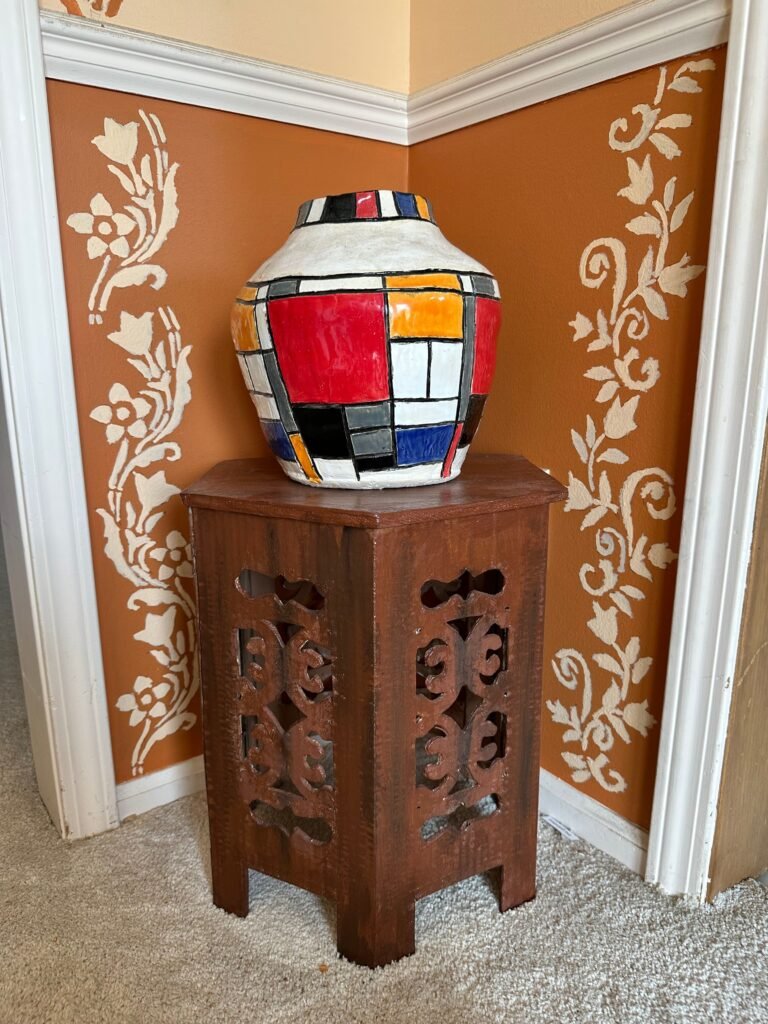
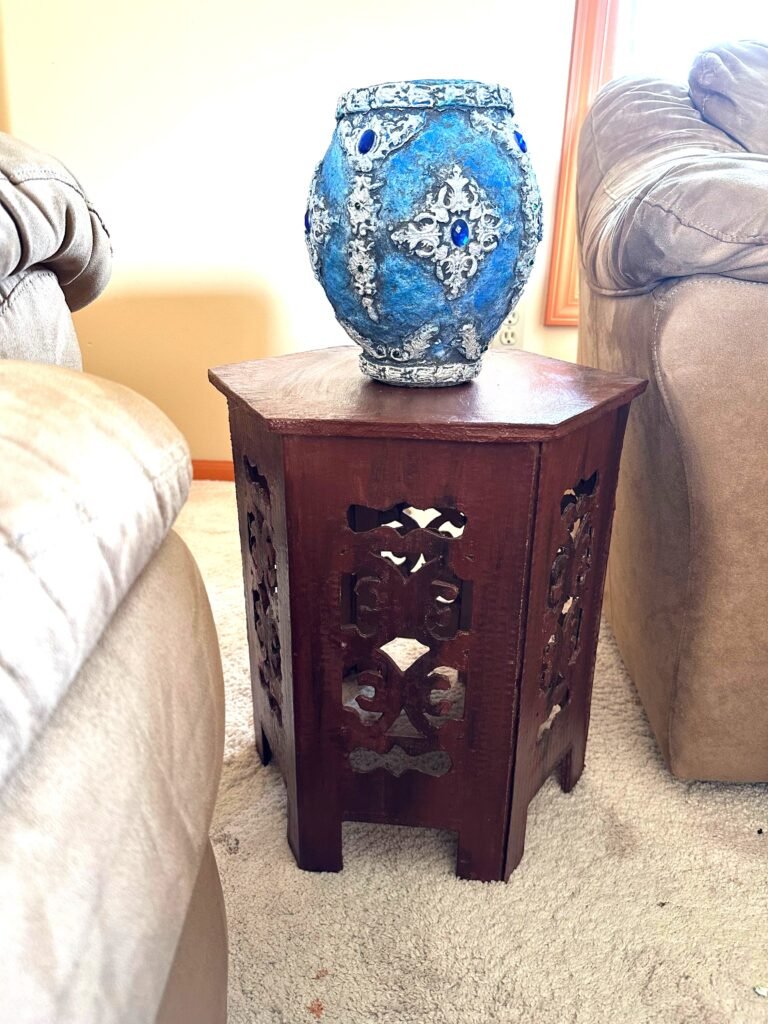
This sidetable really looks like wood but is made only with cardboard and paper. This table is quite sturdy and can hold at least 20 lbs.
Watch Making Of Side table
Note: Watch Video as a tool for clarity on written step-by-step overview of the process.
Backstory
Table Dimensions: 16.5″H by 16″Table
Material List
- Cardboard
- X-Acto Knife/utility Knife
- Glue Gun
- Paper
- School Glue
- Acrylic Paints
- Paint Brushes
- Varnish
Step-By-step Written Overview Of The Process
1. Making the Side Panels (0:37–1:13)
I. Open a cardboard vacuum box and flatten it.
II. Draw three pairs of 16″ × 7″ rectangles, keeping one side common between each pair. Four of the rectangles can remain connected along the box folds, while the remaining pair is cut separately.
III. Score the common fold lines and fold the cardboard sections along the scored lines.
2. Shaping the Legs and Marking the Design Areas (1:14–1:21)
I. Measure a few inches up from the bottom of each section and cut out the legs.
II. Draw guide lines to mark the areas where the carved design will be placed.
3. Transferring the Design (1:22–1:53)
Transfer the design onto the marked areas using carbon paper.
4. Carving the Design (1:54–3:09)
Carve the transferred design using a utility knife.
5. Finishing the Cut Edges (3:10–3:37)
Cover the rough carved edges using paper napkin strips and glue.
6. Applying Gesso (3:39–3:53)
Apply a coat of gesso to all panels.
7. Reinforcing the Panels (3:54–4:22)
Strengthen the folded edges by attaching cardboard strips along the inside folds.
8. Assembling the Table Base (4:24–4:47)
Join all folded panels together with a glue gun to form a hexagonal cylinder.
9. Making the Tabletop (4:53–5:09)
Glue three cardboard hexagons together to create a sturdy tabletop, then cover the rough edges with paper napkins.
10. Creating the Raised Center (5:12–5:29)
Cut three smaller cardboard hexagons, glue them together, and finish the edges. Attach the smaller hexagon to the center of the larger tabletop.
11. Attaching the Tabletop (5:30–5:45)
With the smaller hexagon facing downward, attach the tabletop to the hexagonal base using school glue.
12. Painting the Table (5:46–5:56)
Paint the completed table using wood-colored acrylic paint.
Tips And Tricks
- In the video, I used a utility knife to carve the design. However, I now highly recommend using an X-Acto knife instead, as it makes carving curves much easier.
- You don’t need a vacuum cleaner box to make this side table. You can use almost any recycled cardboard.
- The only downside of using regular cardboard sheets is that they need to be thick enough to make a sturdy table. Cardboard from a vacuum cleaner box is naturally very strong, which makes it an excellent choice for furniture projects.
- If you’re using cardboard sheets, choose a design with very few curved shapes. Straight lines are much easier to carve through thicker cardboard.
- Feel free to experiment with different table shapes and create a design that suits your style.
This Is How I styled This Table In My Home
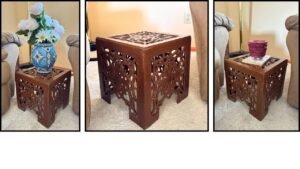
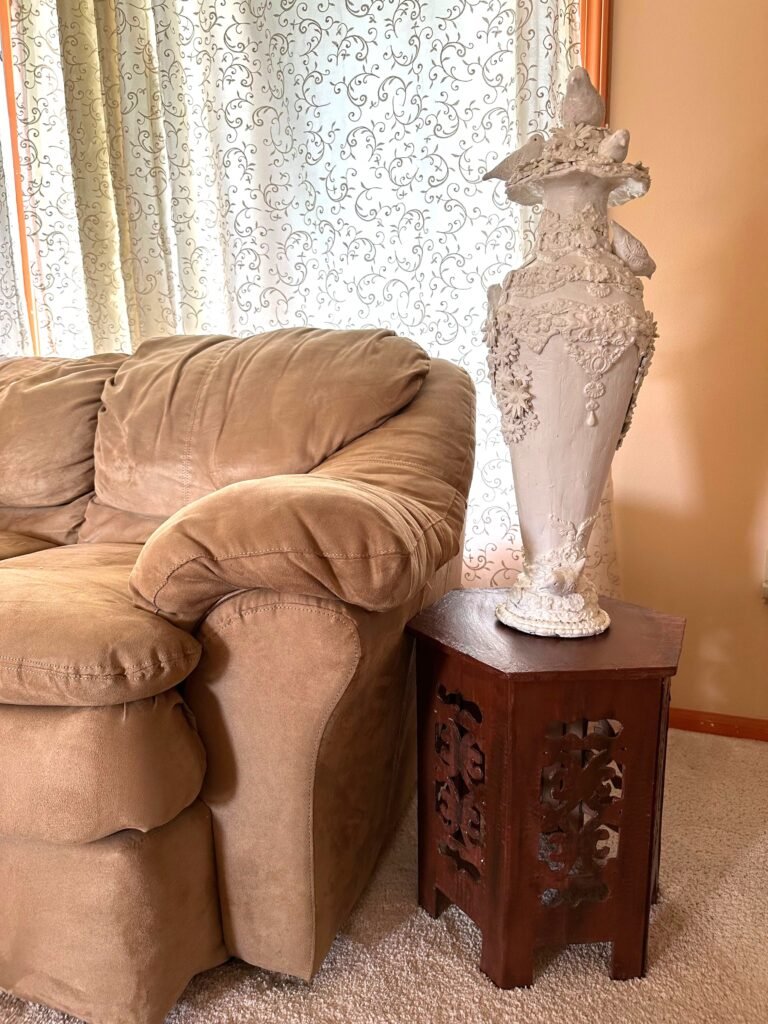
Below are the photos that show how this table can be styled. You can place it in the living room, bedroom, or office. No matter where you place it, it will immediately elevate the aesthetic of the space.
Shop Look Elements
Note: If you wish to buy wooden version of similar side table, the link is provided below.
Most of the styling items you see in the photos are handmade by me. But if you wish to buy similar items, I have given the links for them as well.
Links To My Other Furniture On Blog
Final Thought
This project was created using simple cardboard and recycled materials, as part of my ongoing experiments in building functional furniture from waste materials.
Each build helps me explore new techniques, improve structure, and find better ways to turn cardboard into usable furniture pieces.
If you enjoyed this project, feel free to share your thoughts in the comments. I’d love to know what stood out to you in this design.
Thank you for reading and watching.