Description
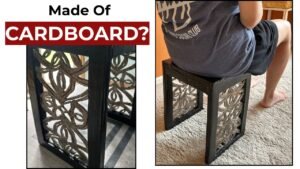
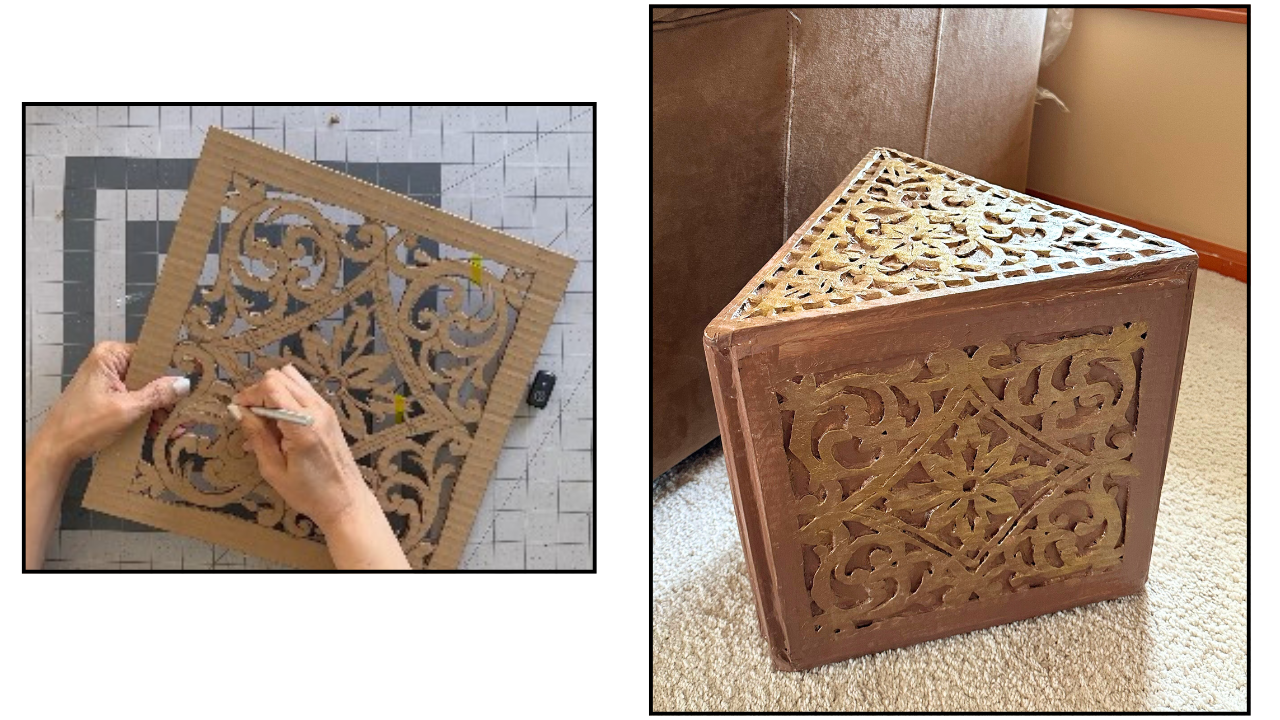
This prism shaped stool is made out of cardboard and is carved using sharp x-acto knife. It is quite sturdy and can be used as home decor.
Backstory
My previous carved cardboard stool was received very well by my audience, so I wanted to create another carved stool for them. However, I didn’t want to simply repeat the same design with minor changes.
I started exploring different stool designs and came across block stools that looked like three-dimensional geometric shapes. The prism shape immediately caught my attention, and the idea for this stool seemed to fall into place out of nowhere.
Sometimes, a shape, a color, or even a feeling gives our imagination a sudden push and inspires us to create something completely new. When that happens, I often find myself wondering, “Where did this idea come from? Did I really make this?”
Making Of Prism-Shaped stool
Note: Use this video with timestamped step by step overview of the making process. The video will help clarify the steps.
Material List
- Three Two Ply 12″ cardboard Squares And Three triangles
- Three 2 ply cardboard triangles (measurements may vary)
- X-Acto Knife
- Acrylic Paints
- Paint Brushes
- School /White Glue
- Glue gun
- Tracing Paper
- Carbon Paper
- Pencil
- Ruler
Step-By-Step Overview Of Making process
Step 1: Cut the base panels from two-ply cardboard. You will need three square side panels, one triangular top panel, and one triangular bottom panel.
Step 2: Cut the carving panels from one-ply cardboard. Make three square carving panels for the sides and one triangular carving panel for the top. (Step1+2 –0:14-0:34)
Step 3: Transfer your design onto the carving panels using carbon paper, then carve the design carefully with a sharp X-Acto knife. (0:35-2:48)
Step 4: Glue each carved panel to its matching base panel using school glue or white glue. (2:49-3:16)
Step 5: Cover the exposed corrugated edges of the carving with paper napkins and white glue. (3:18-3:44)
Step 6: Make three cardboard strips measuring 12″ × 3″. Score each strip down the center to create clean folded edges.
Step 7: Glue the two-ply cardboard triangles together to make the bottom panel of the stool. (Step7+8—- 3:45-4:08)
Step 8: Assemble the three side panels by gluing the scored cardboard strips between them to form the triangular shape of the stool. (4:09-5:12)
Step 9: Make three small triangular support brackets and glue one into each upper corner of the stool.
Step 10: Apply glue to the brackets and attach the top panel.
Step 11: Cut a cardboard triangle slightly smaller than the stool top and glue it underneath the top onto the support brackets to reinforce the structure. (Step 9+10+11—-5:14-6:26)
Step 12: Make three more triangular support brackets and glue them into the bottom corners of the stool.
Step 13: Glue the bottom panel onto the brackets to complete the construction of the stool. (Step 12+13—-6:30-7:07)
Step 14: Cover all the rough edges with brown paper strips and white glue to create a smooth finish. (7:08-7:31)
Step 15: Apply a coat of gesso to prepare the surface for painting.
Step 16: Mix brown, yellow, and white acrylic paints to create a wood-tone color and paint the entire stool.
Step 17: Once the paint has dried, seal the finish with a coat of gloss varnish. (Step 15+16+17— 7:35-8:08)
Step 18: Your carved cardboard stool is now ready to display in your living room, entryway, bedroom, or any corner that could use a unique handmade accent. (8:09-8:27)
Tips And tricks
- In the video, I used one cardboard triangle for the top and one for the bottom. Later, I glued an extra triangle to the bottom panel, making it two layers thick while keeping the top panel as a single layer. I did this to make the stool stronger and more stable.
- I use both school glue and a hot glue gun, depending on the situation. If a piece may need slight adjustment after positioning, I use school glue because it doesn’t set immediately. When I’m sure the piece is in the correct position, I use a hot glue gun since it bonds almost instantly.
- When measuring the top and bottom triangles, remember to account for the thickness of the cardboard. It is very difficult to cut a triangle that fits perfectly on the first try. As long as the triangle sits well and provides good support, it will work just fine.
- Always use a sharp X-Acto knife when carving. A sharp blade makes cleaner cuts and gives you much better control.
- To hide rough edges on the carved design or along the stool edges, cover them with plain paper. Avoid using newspaper or printed paper, as the text and images may show through after painting.
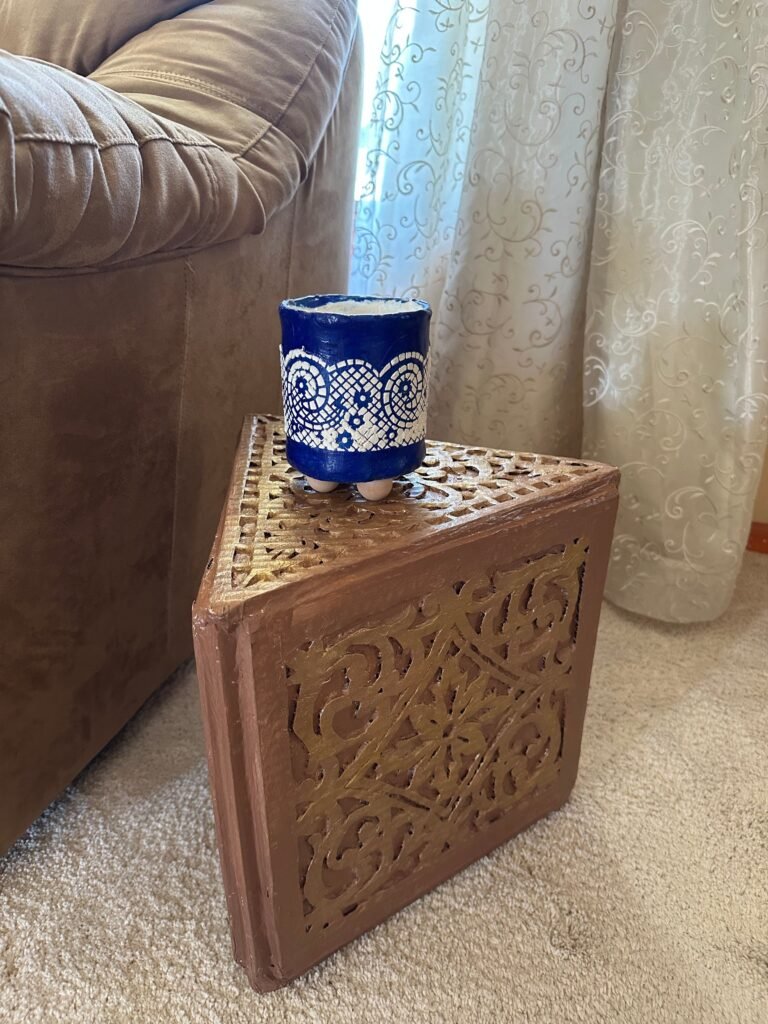
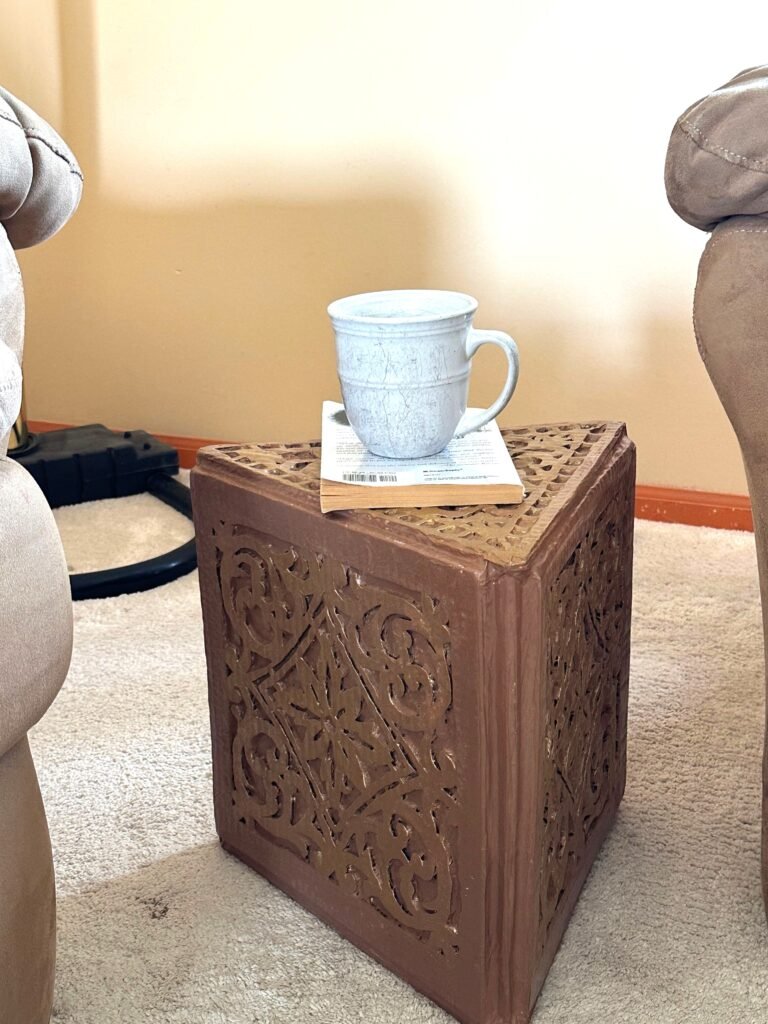
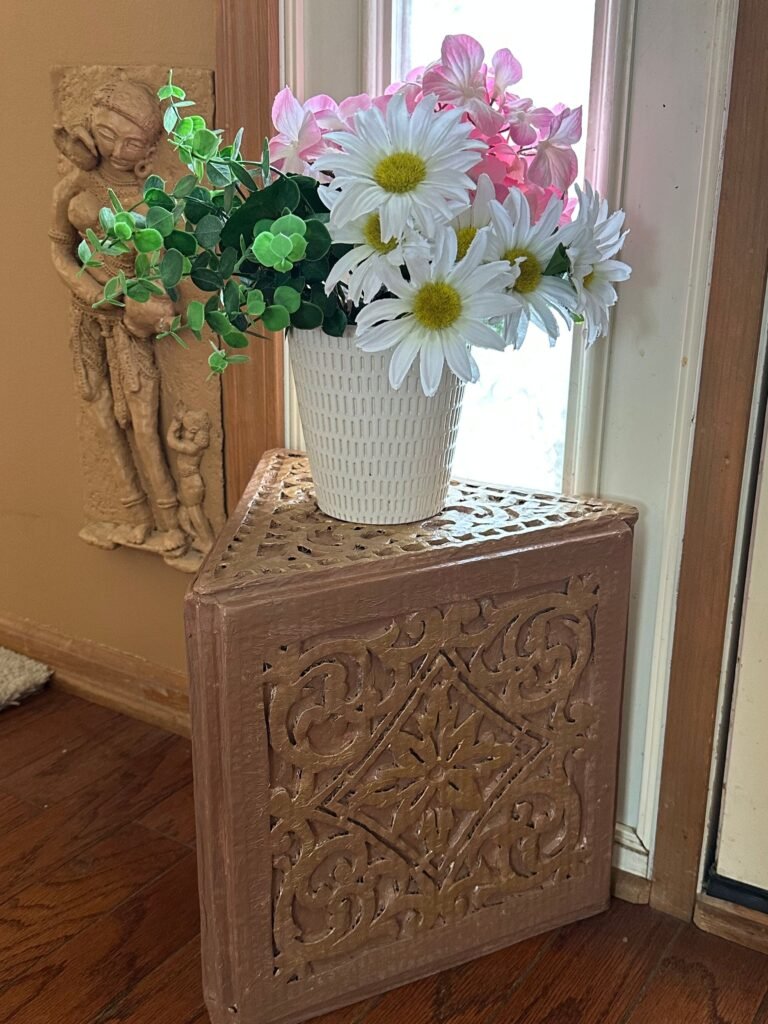
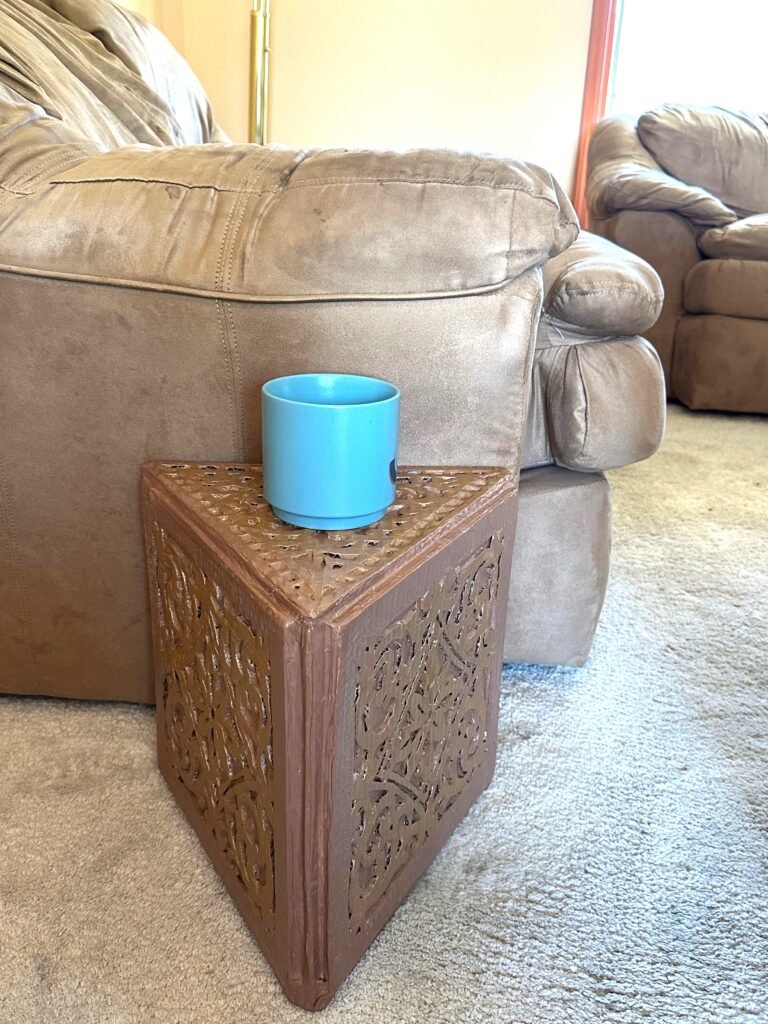
This Is How I Style My Prism Stool In My Home.
Shop The Look
Links To My Other Carved Cardboard Tables
Final Word
This project was created using simple cardboard and recycled materials, as part of my ongoing experiments in building functional furniture from waste materials.
Each build helps me explore new techniques, improve structure, and find better ways to turn cardboard into usable furniture pieces.
If you enjoyed this project, feel free to share your thoughts in the comments. I’d love to know what stood out to you in this design.
Thank you for reading and watching