Description
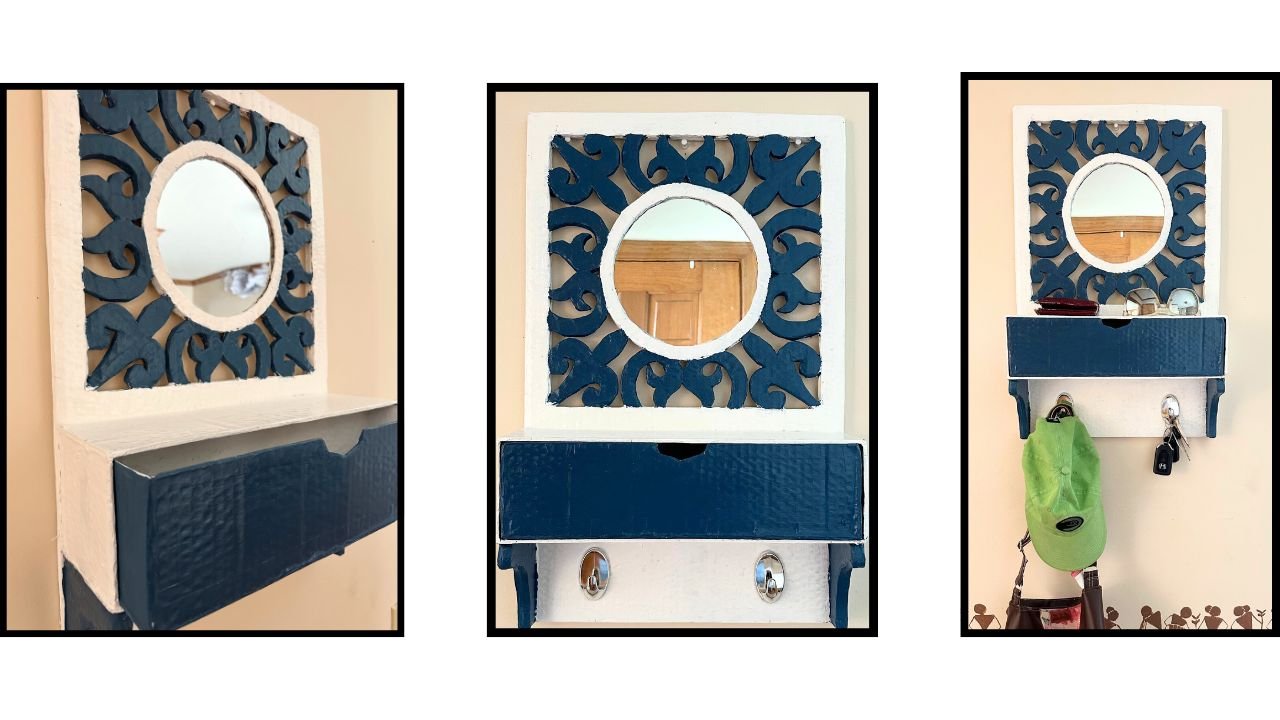
This mirrored wall shelf is made fully with recycled cardboard and Dollar Tree round mirror and hooks. This bicolor shelf can be used in entryway or in Bedroom.
Watch Making Of This Shelf
Note: Please use this video for clarity of written step by step timestamped overview process.
Backstory
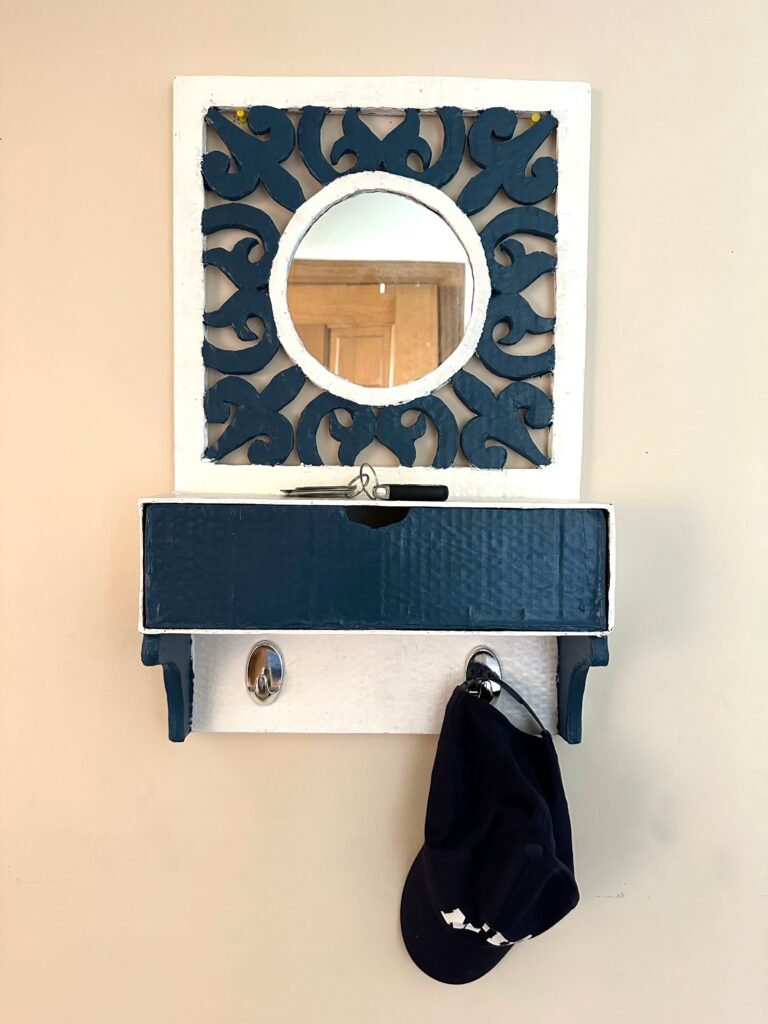
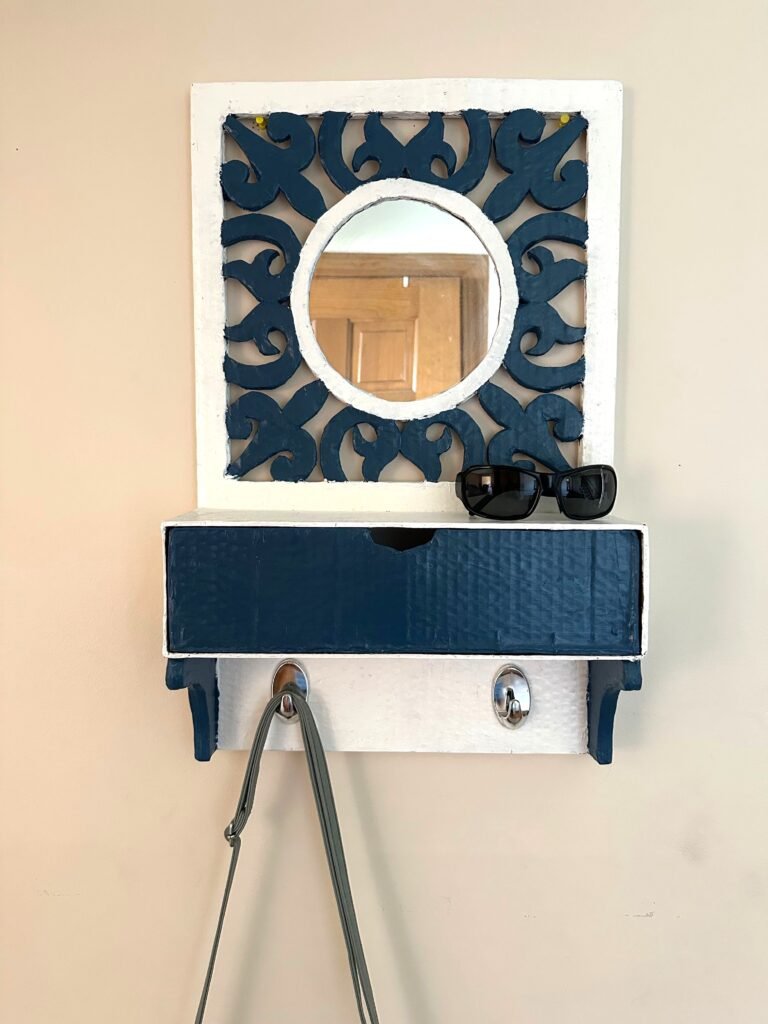
I first came across a luxury wooden entryway vanity unit online and absolutely loved the concept of having a mirror, a small storage drawer, and utility hooks all in one compact piece. I decided to recreate that beautiful concept in my studio using cardboard and an ordinary X-acto knife. This entryway shelf is truly multifaceted! It is highly decorative, features a round mirror, an intricate navy blue geometric scrollwork background, a functional pull-out drawer, and sleek hanging hooks. The entire unit is built to a substantial scale, measuring 24″ long and 15″ wide, while the sturdy storage drawer is 15″ long, 4″ wide, and 4″ deep. While I showed it styled in an entryway holding keys and a green baseball cap, this piece is also perfect for a bedroom. You can keep your favorite nail polishes and powder compacts right on top, place your belts and wallets inside the drawer, and hang a purse, bandana, or tie from the hooks below. Below you can see how unique and functional this multi-purpose mirror and shelf design looks in a home setting.
Material List
- cardboard
- mirror
- x-acto knife
- utility knife
- acrylic paint
- hooks
- School Glue
- Acrylic Paints
- Paint Brushes
- Varnish
Step By Step Over View Of Process With Timestamps
. Transferring the Design (0:00–0:16)
Transferred the design onto cardboard rectangles using carbon paper.
2. Carving the Design (0:17–0:51)
Carved the design into the cardboard rectangles. On one piece, the center circle was fully cut out to create the mirror opening.
3. Finishing the Cut Edges (0:52–1:10)
Covered and smoothed the rough carved edges of the circular opening.
4. Attaching the Mirror (1:12–1:42)
Attached the round mirror to the cardboard panel without the cut-out circle. Covered the mirror with paper and applied glue to the carved cardboard layer, then aligned and glued the carved circular frame on top to form a layered structure.
5. Reinforcing the Structure (1:43–2:58)
Covered all exposed edges using paper strips. The structure felt weak after initial assembly, so an additional cardboard layer was added to the back for reinforcement, followed by re-sealing the edges.
6. Making the Drawers (2:59–4:38)
Built a drawer box using two long cardboard rectangles and two smaller square pieces. Created a second slightly smaller box to fit smoothly inside the first as a sliding drawer, then covered all rough edges of both drawer boxes with paper strips.
7. Attaching Shelf Brackets (4:39–5:13)
Attached supporting brackets to the shelf using a glue gun.
8. Painting the Shelf (5:22–5:54)
Applied a base coat of gesso. Once dry, painted the shelf in two colors, then sealed the finished surface with varnish after drying.
9. Adding Hooks (5:55–6:03)
Attached hooks to the shelf using a glue gun.
Tips And Tricks
- Make sure to use one ply cardboard to carve out design since it has lot of curves in it.
- Covering rough edges of carved design is strictly for esthetics. If it doesnt bother you , you can just leave out that step.
- Make sure to cover the mirror with paper while crafting to keep it clean.
- You can experiment with different shape mirror. The process would be the same.
This Is How I Style Mirrored Wall Shelf In My Home
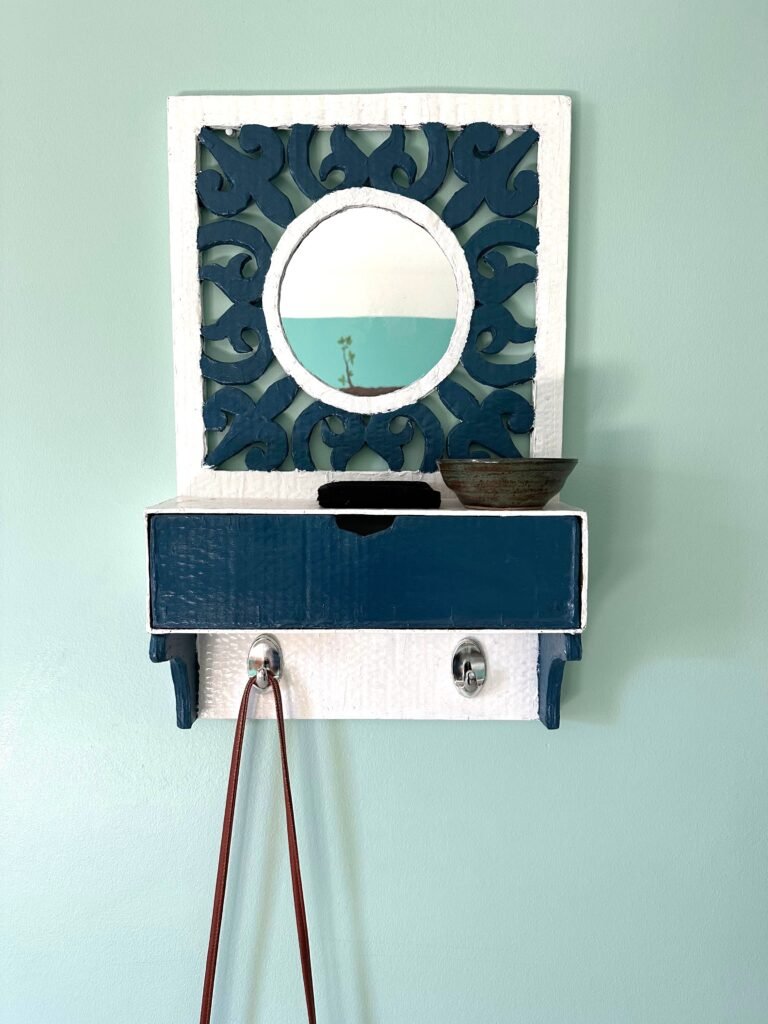
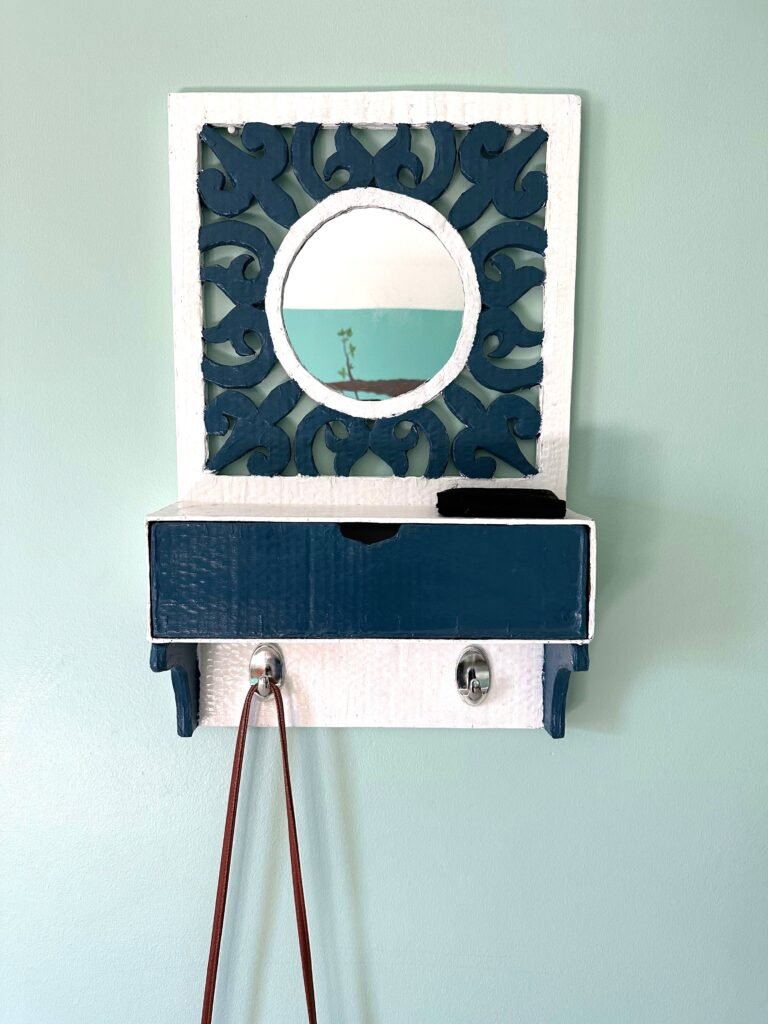
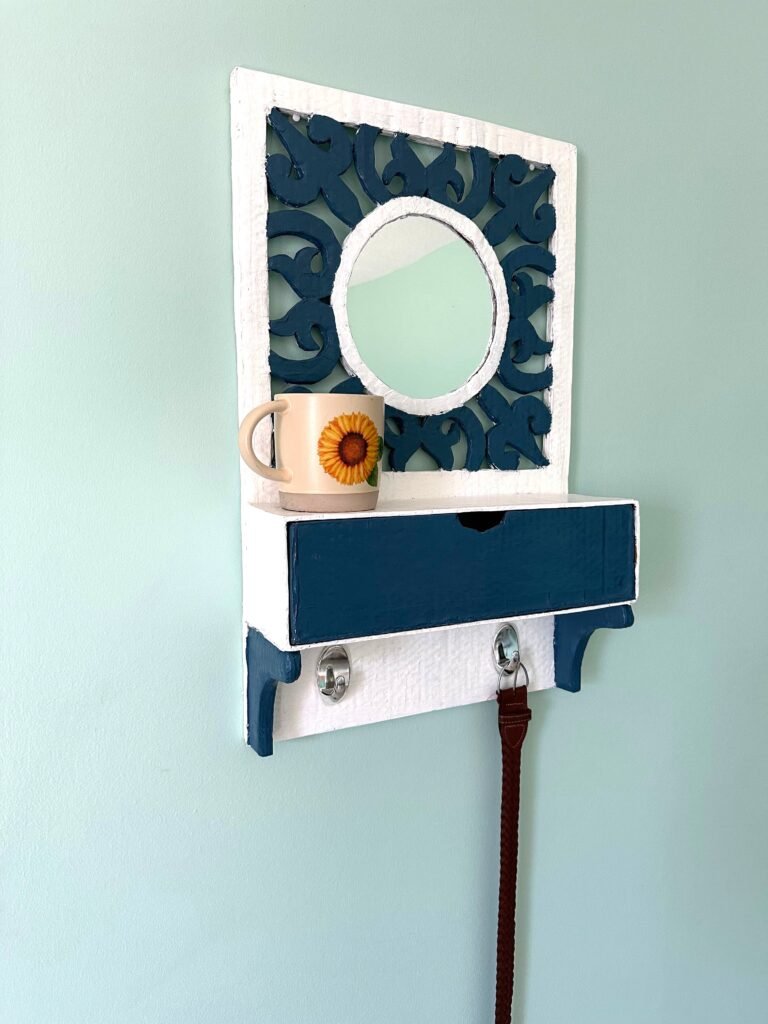
Shop The Look
Note: If you wish to buy wooden version of mirrored wall shelf, I have given the link. If you want to get similar styling items I have provided links for them too.
Explore My Studio to see other furniture designs
Final Word
This project was created using simple cardboard and recycled materials, as part of my ongoing experiments in building functional furniture from waste materials.
Each build helps me explore new techniques, improve structure, and find better ways to turn cardboard into usable furniture pieces.
If you enjoyed this project, feel free to share your thoughts in the comments. I’d love to know what stood out to you in this design.
Thank you for reading and watching.
At all I do not know, as to tell
——
https://the.hosting/en/help/chto-takoe-pakety-nginx
I hope you liked it!