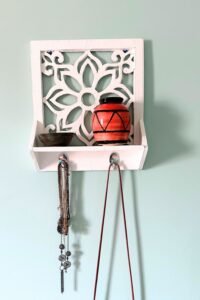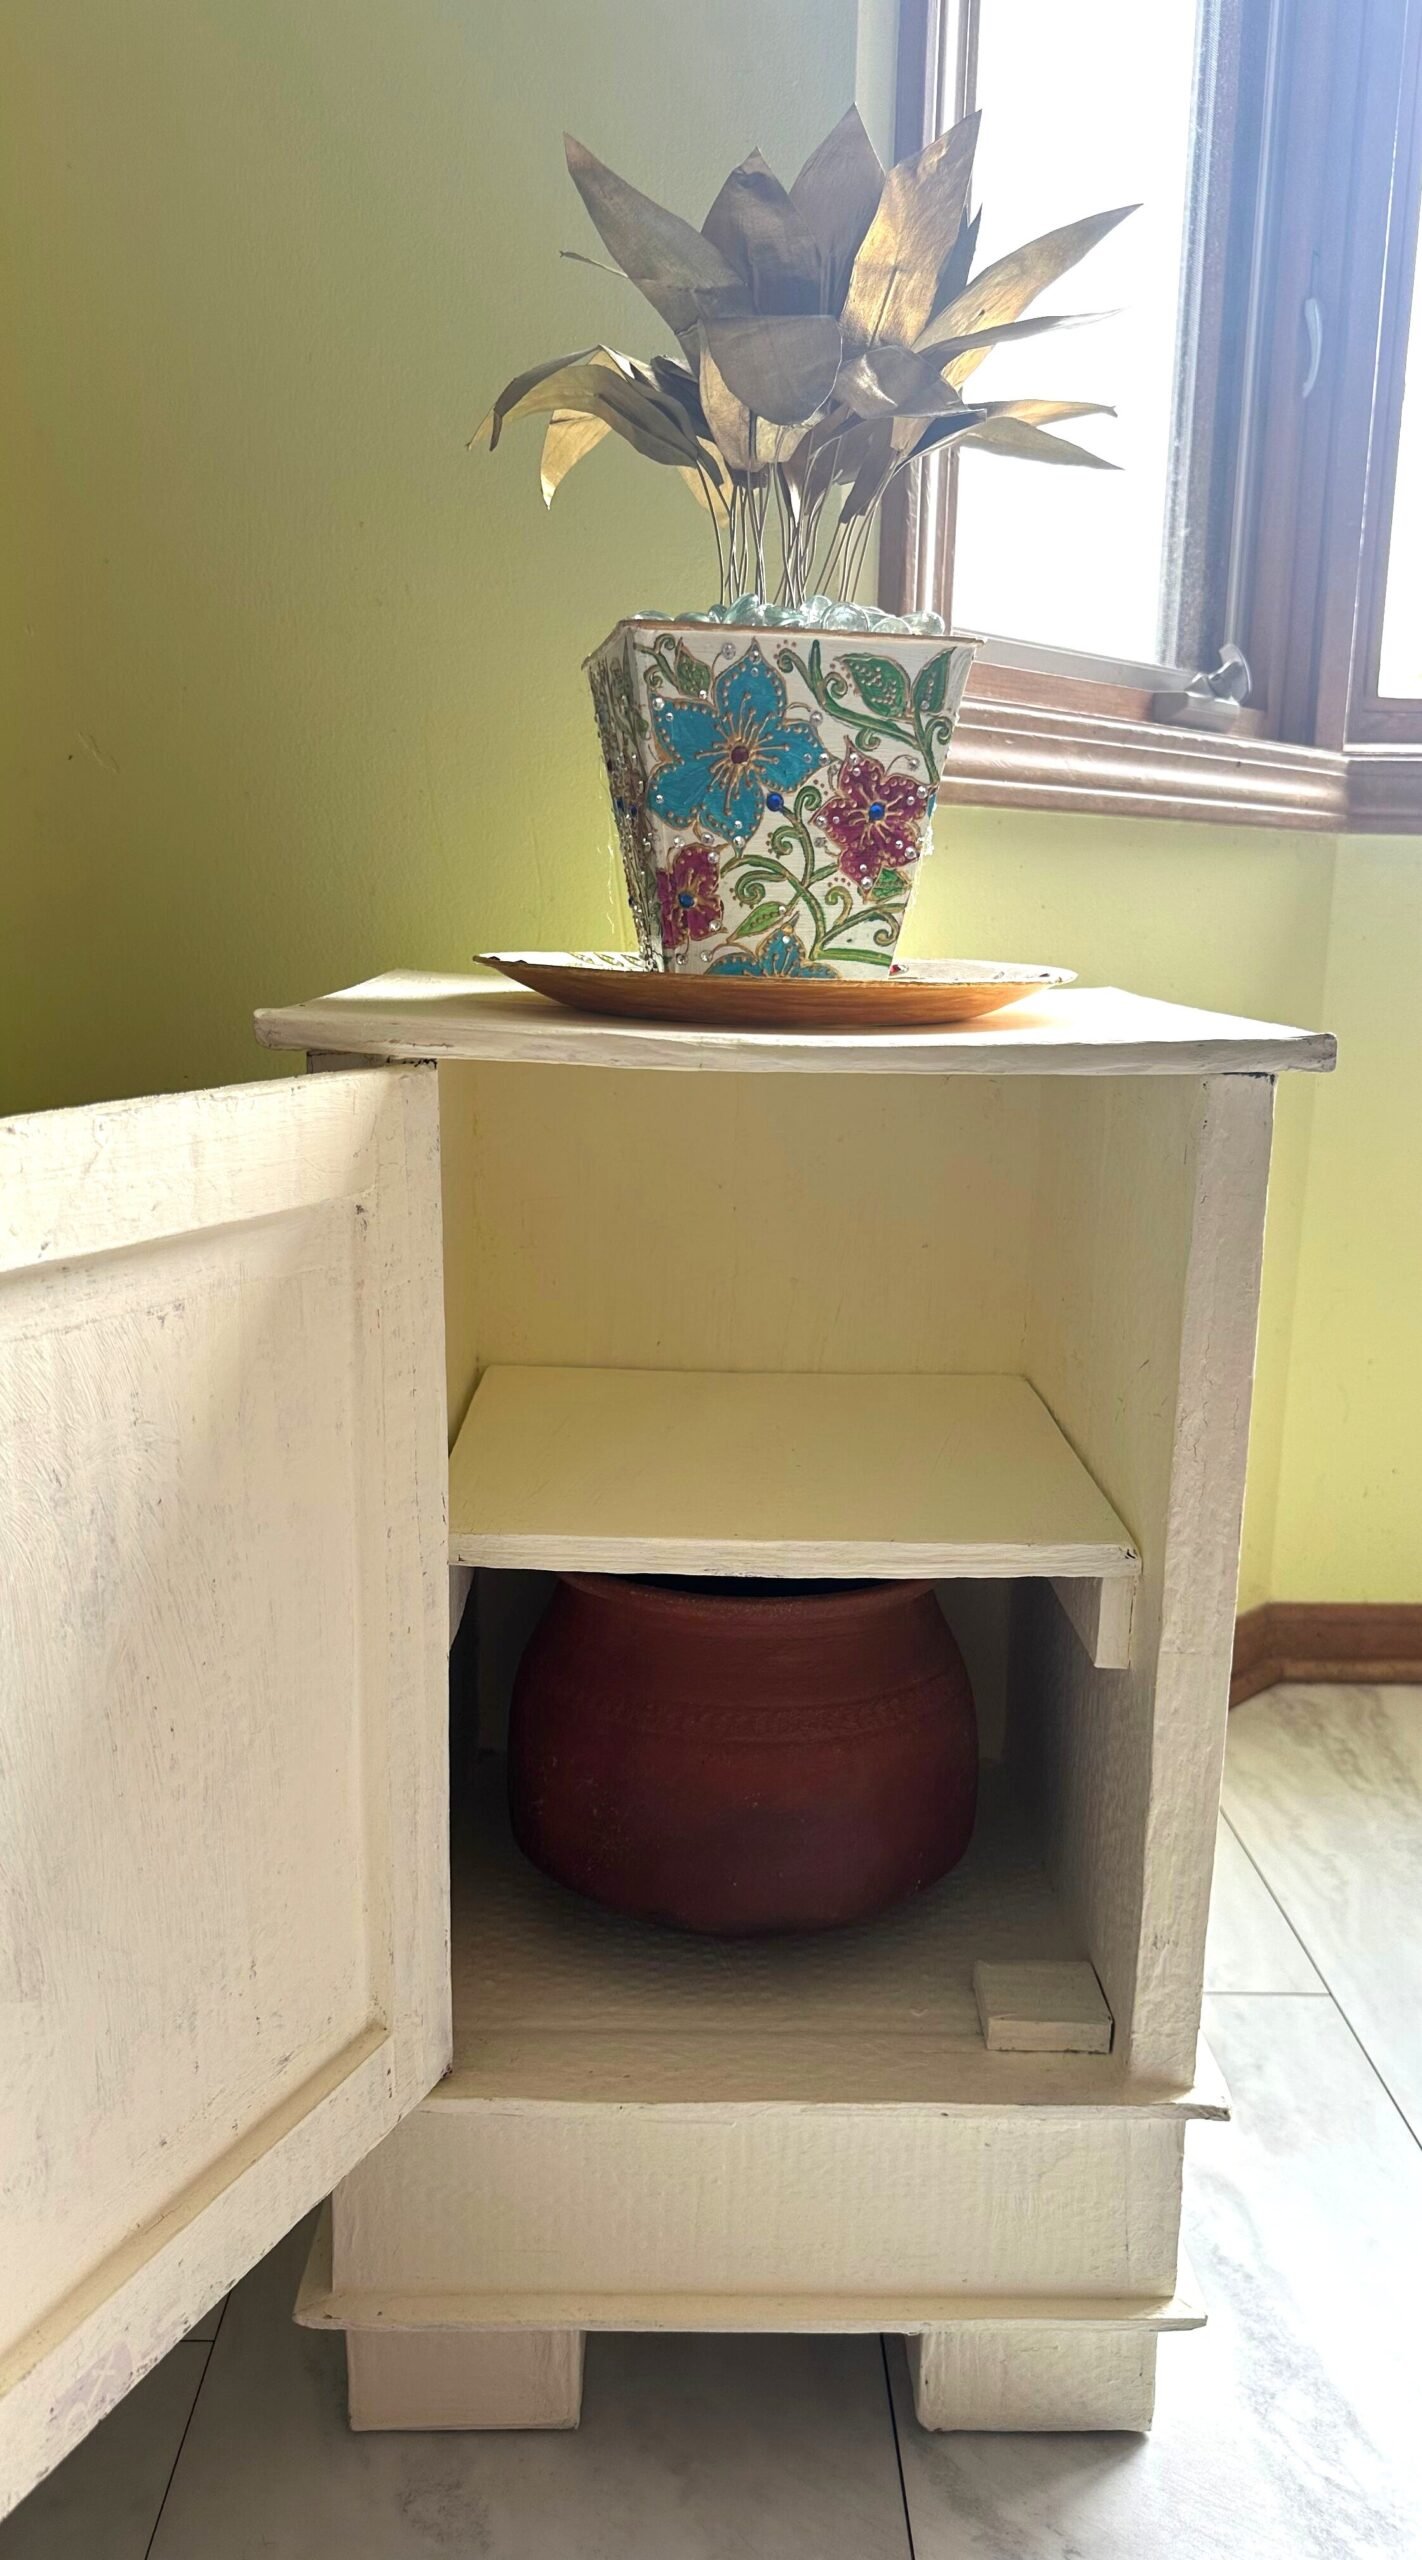
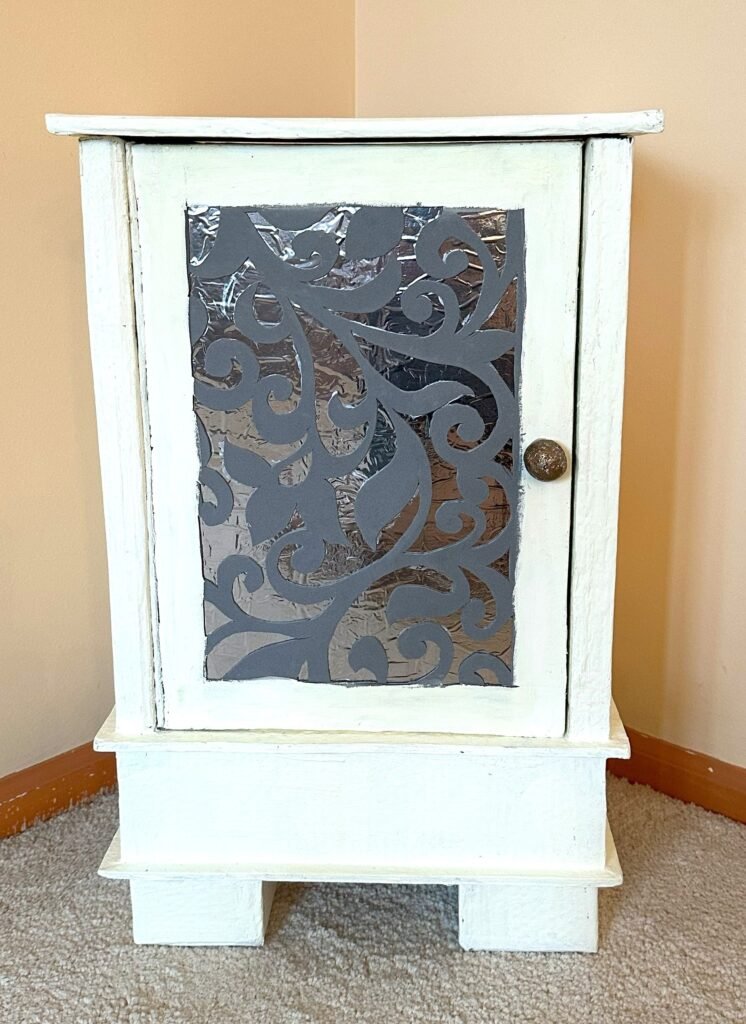
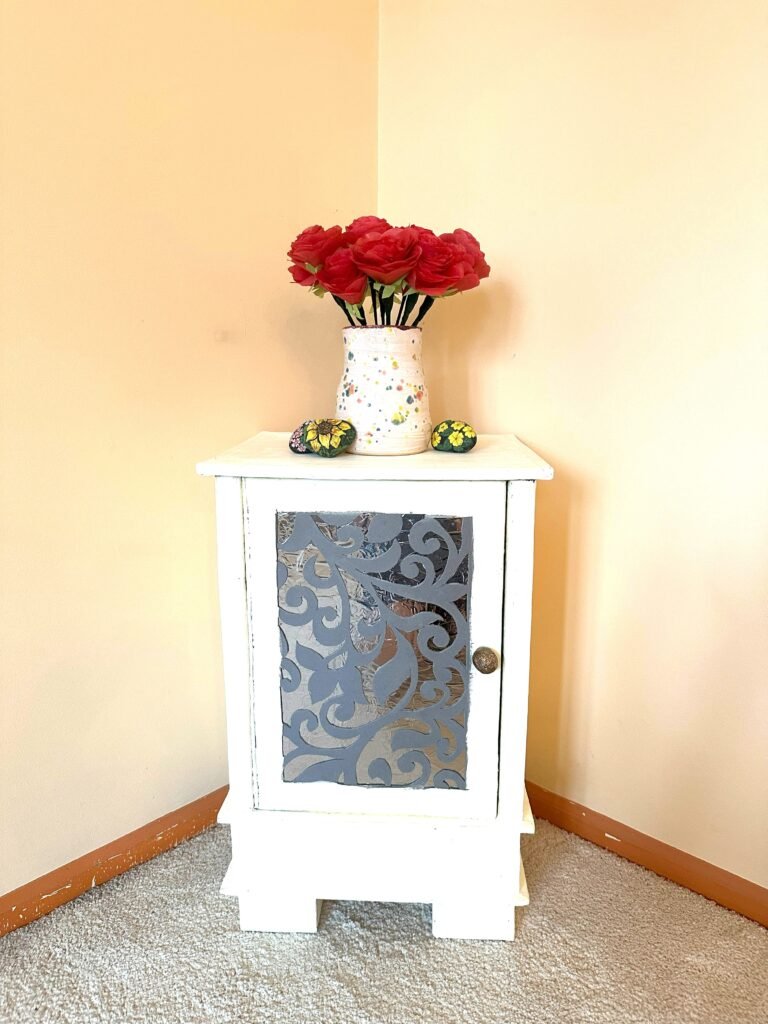
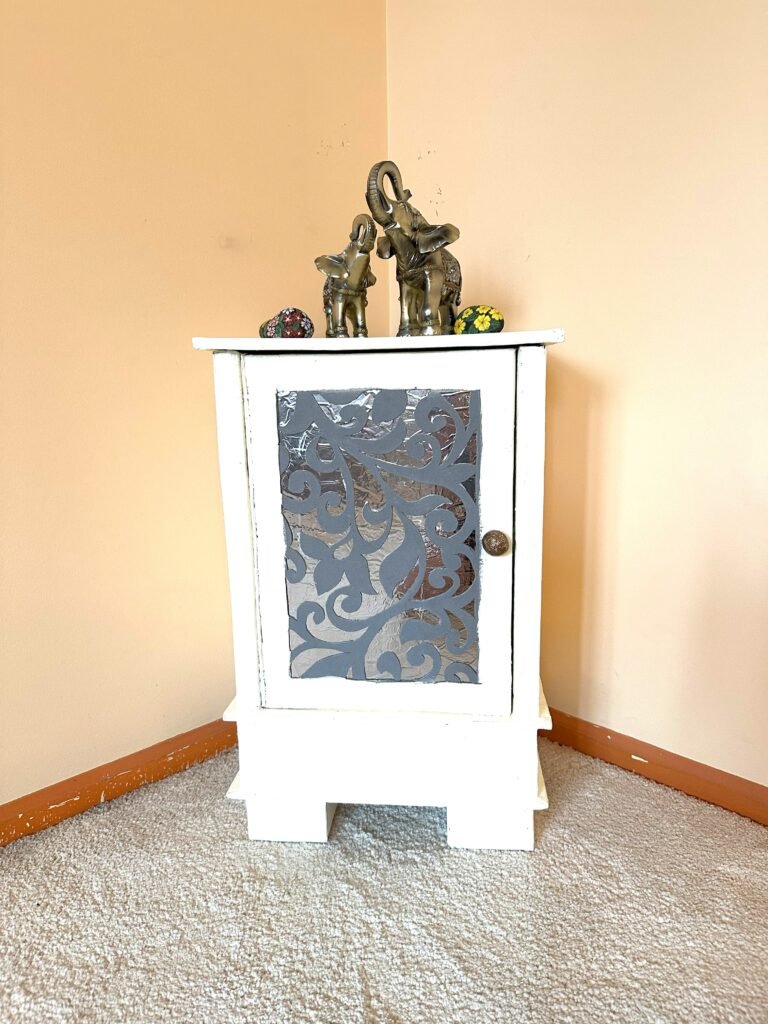
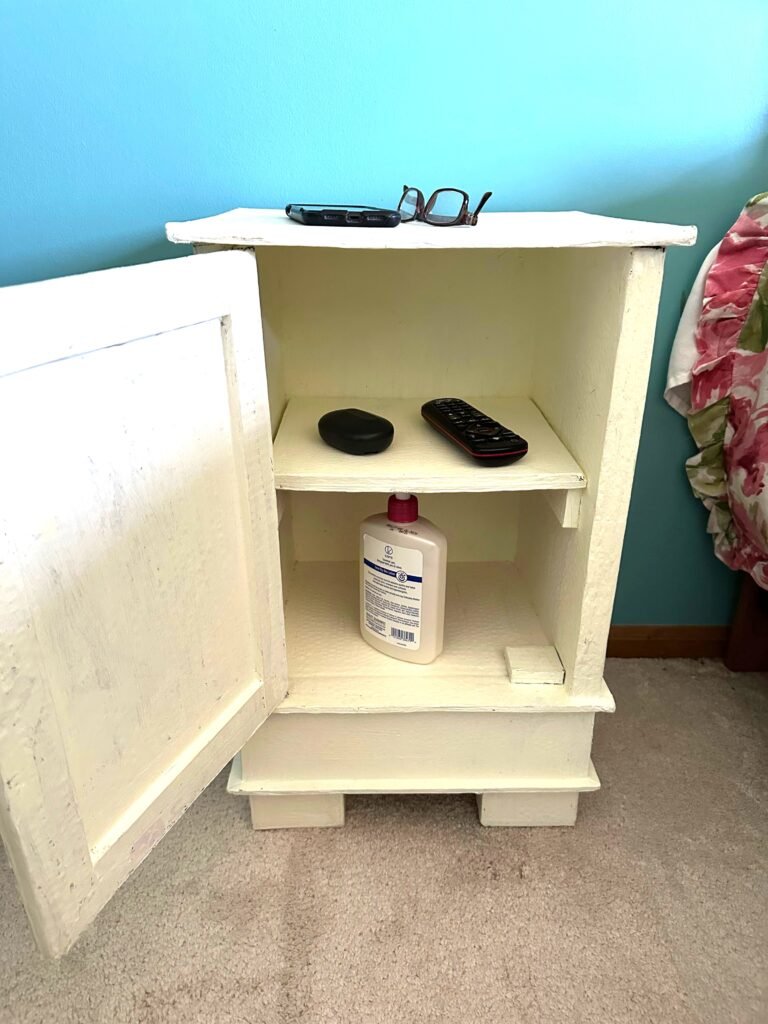
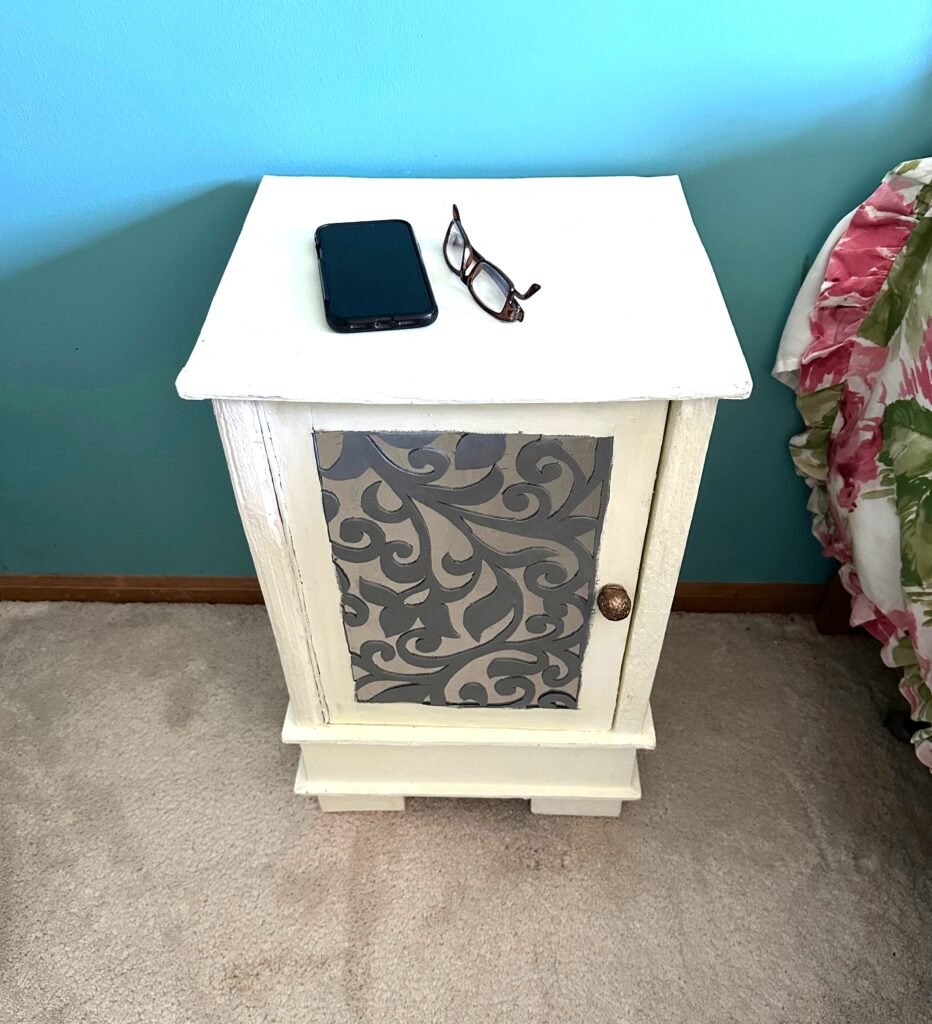
I first came across a vintage wooden accent locker online and fell completely in love with its classic, old-world storage shape. I decided to bring that elegant boutique look into my own studio by designing this custom off-white accent cabinet using faux wood. For the central door feature, I cut an intricate, flowing grey filigree scrollwork panel using an ordinary Exacto knife to give it a precise, laser-cut feel. This cabinet isn’t just a beautiful showpiece, but is also highly functional! The photo below shows just how sturdy and practical the internal shelves are. I styled the inside with a stack of hardcover books, a vintage jar, and a miniature tea set to create a cozy, curated look. On the top surface, I placed a pair of decorative elephant figurines to add a whimsical touch. This piece is perfect as a functional display cabinet in a living room corner, an entryway, or a bedroom. Below you can see how unique this filigree design looks in a home setting.
Styling Accent Cabinet
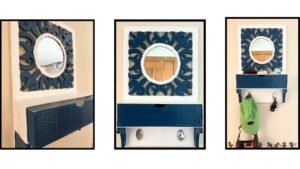
This versatile accent cabinet can be styled almost anywhere in the home. I have shown how can it be styled in the living room, kitchen and in the Bedroom. You can store things in it acording to the room it is in.

Shop Styling Elements
- Wooden Version Of The Cabinet is available on Wayfair
- Similar decorative Books available on Amazon
- Similar decorative Elephant Figurine available on Amazon
- Similar Painted Rocks available on Amazon
- Fake flowers are available on Amazon
- Similar ceramic vases available on Amazon
Explore my studio for more furniture designs