Description
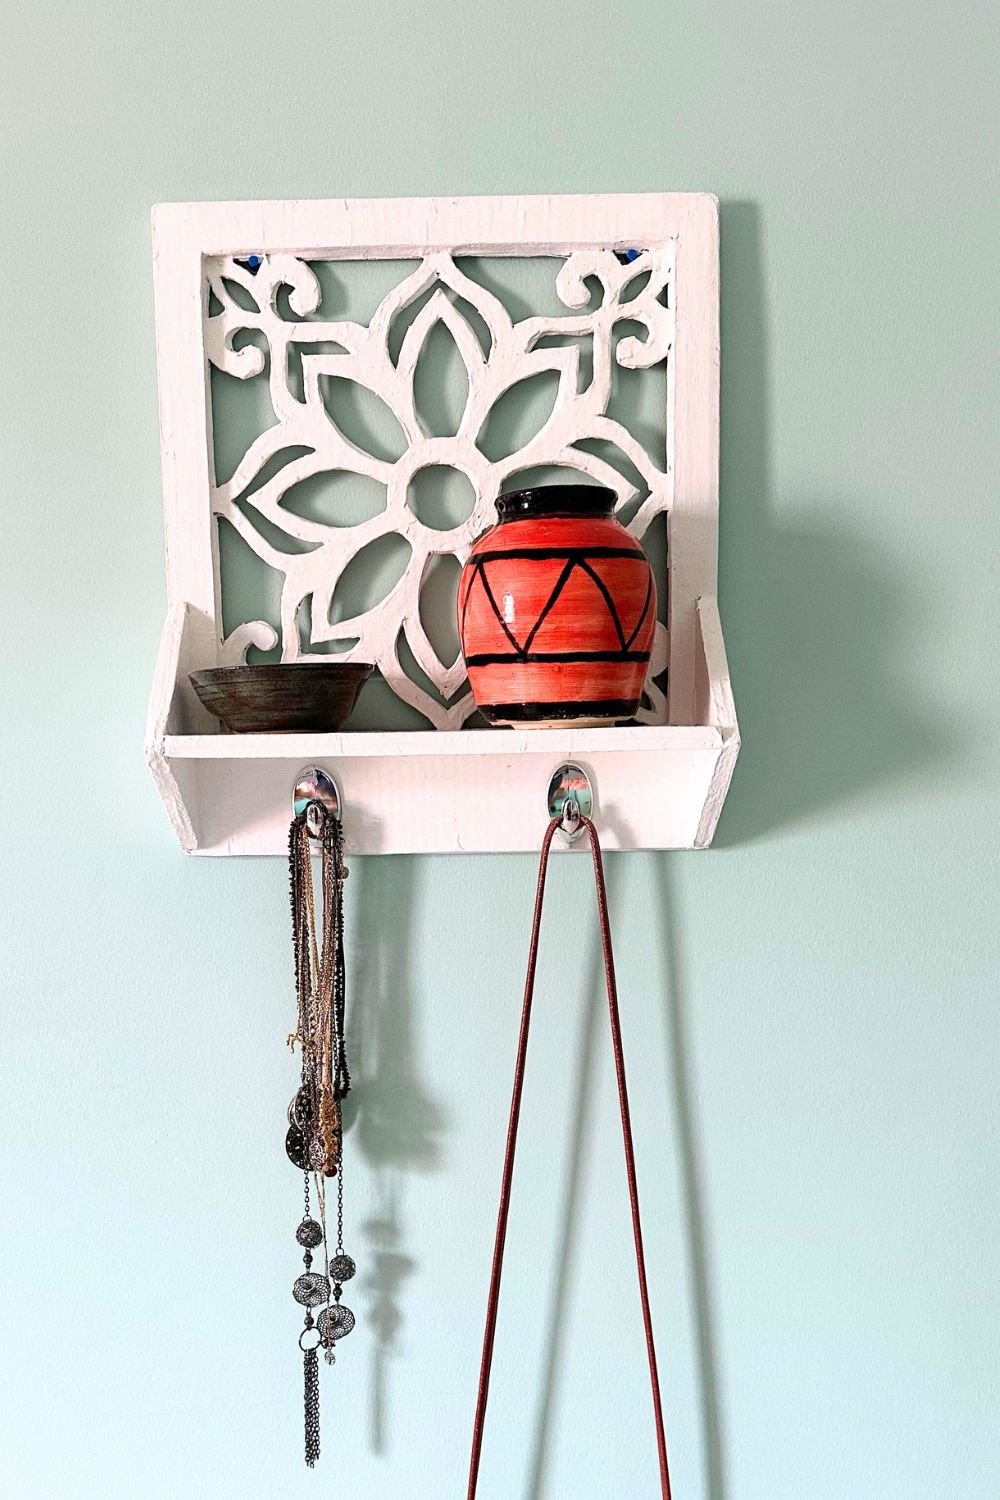
This shelf is made completely out of cardboard and paper strips. Which makes it eco-friendly and sustainable furniture.
Watch Making Of Wall shelf
Note 1: The carved design in the video looks different than the one in the photos below. But both the shelves are made exactly same way.
Note 2: Please use video as tool for clarity of step by step overview of the process.
Backstory
I was searching online for furniture ideas for faux wooden furniture, and came across a decorative floating wall shelf. Of course it was made of wood but I was going to recreate it out of faux wood, which is cardboard and make it look like wood! So I grabbed a large, discarded sheet of cardboard from Sam’s Club (for free 99 ) and hooks from Dollar Tree. Now I was ready to start the craft. I have always liked paper cutting. Something about it just mesmerizes me. Cardboard Cutting is tougher but I have figured out how to make it make it easy on my hands.
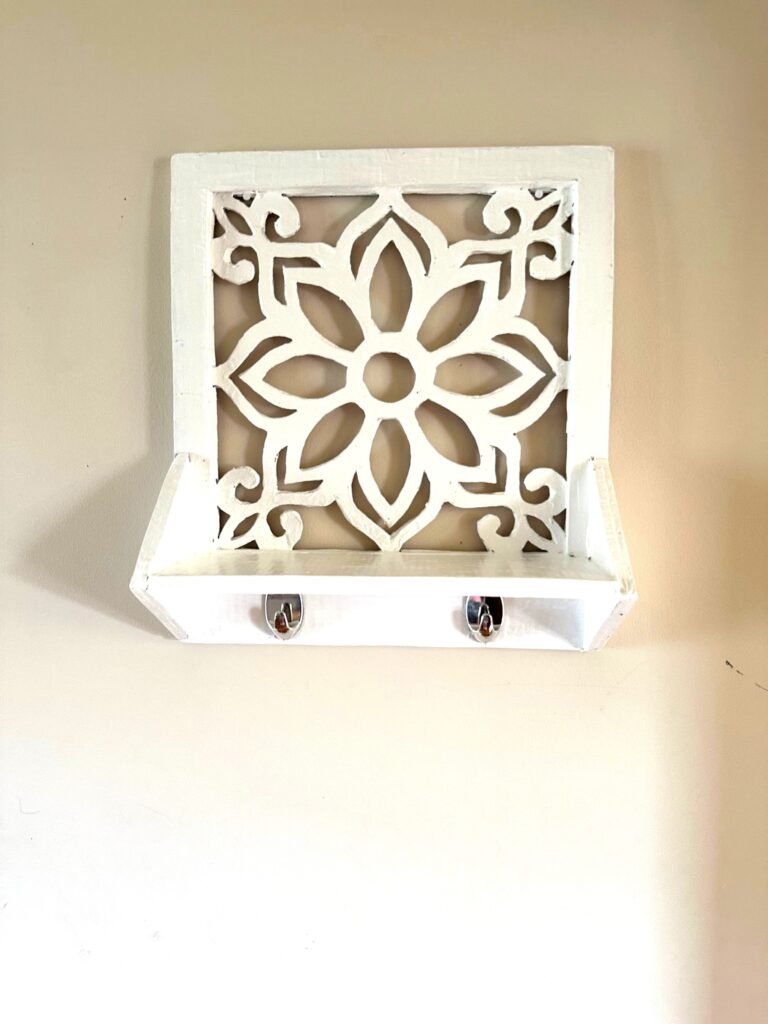
Step-By-Step Process Overview
1. Transferring the Design (0:28–1:00)
Transfer the design onto the cardboard squares using carbon paper.
2. Carving the Panels (1:02–1:41)
Carefully carve the transferred design using an X-Acto knife.
3. Joining and Smoothing (1:42–2:49)
Stick the carved cardboard squares together using school glue. Cover all rough edges of the carved design using paper napkin pieces and glue for a smoother finish.
4. Making the Brackets (2:53–3:52)
Create triangular brackets for the shelf using cardboard.
5. Framing the Carved Panel (3:53–4:33)
Take two cardboard rectangles of the same size as the carved panel. Cut a window in each to form frames. Glue the two frames together and attach them to the carved panel to highlight the design.
6. Finishing the Frame Edges (4:35–4:50)
Cover all rough edges of the panel using paper strips and glue.
7. Making and Installing the Rack (4:52–6:19)
- Position the brackets where they will be fixed on the shelf.
- Mark the inner edges of the brackets.
- The distance between markings determines the length of the rack.
- Cut the rack from cardboard.
- Attach the rack between the markings.
- Fix the brackets securely in place.
- Cover all joints and rough edges using paper strips and glue.
8. Surface Preparation and Painting (6:22–7:18)Apply a layer of gesso, followed by spackling paste. Once dry, finish with white acrylic paint.
9. Adding Hooks (7:19–7:37)
Attach hooks in the final step to complete the shelf.
Tips And Tricks
- Choose a design with large open spaces. It will make the carving much faster, especially since you’ll be carving the design twice.
- Do not use a single thick sheet of cardboard to avoid carving twice. Instead, use 1-ply cardboard for carving the design. It is much easier to cut, and you can laminate the pieces afterward for strength.
- You don’t have to use spackling paste for a smoother finish. You can skip this step, as the surface will still look quite smooth after painting.
- This shelf is sturdy and functional, but avoid overloading it with too much weight.
- I mounted my shelf using pushpins, but you can also experiment with Command Strips or any wall hanger that works best for your space.
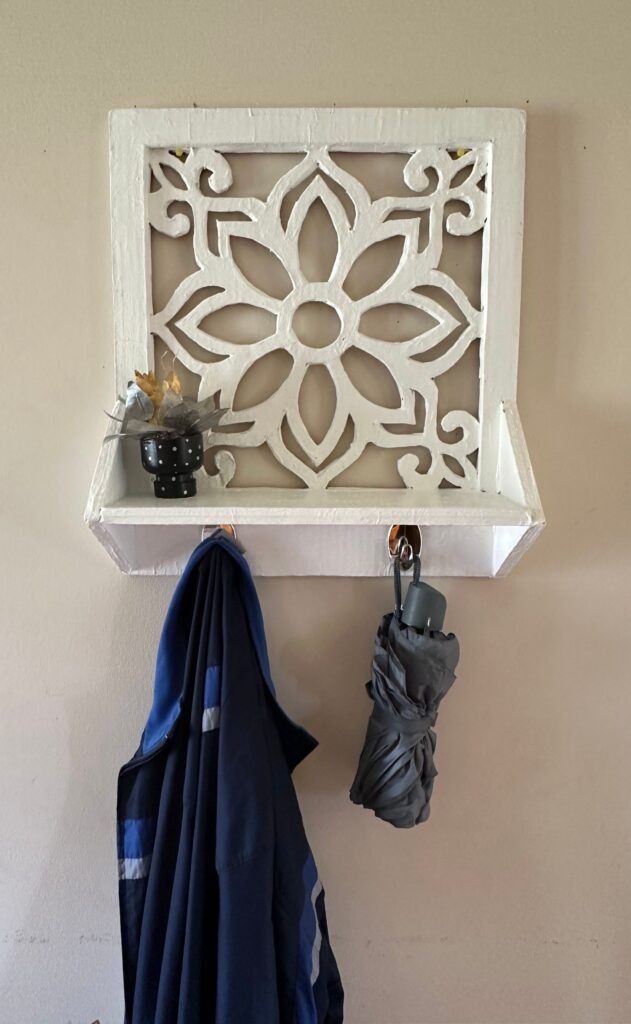
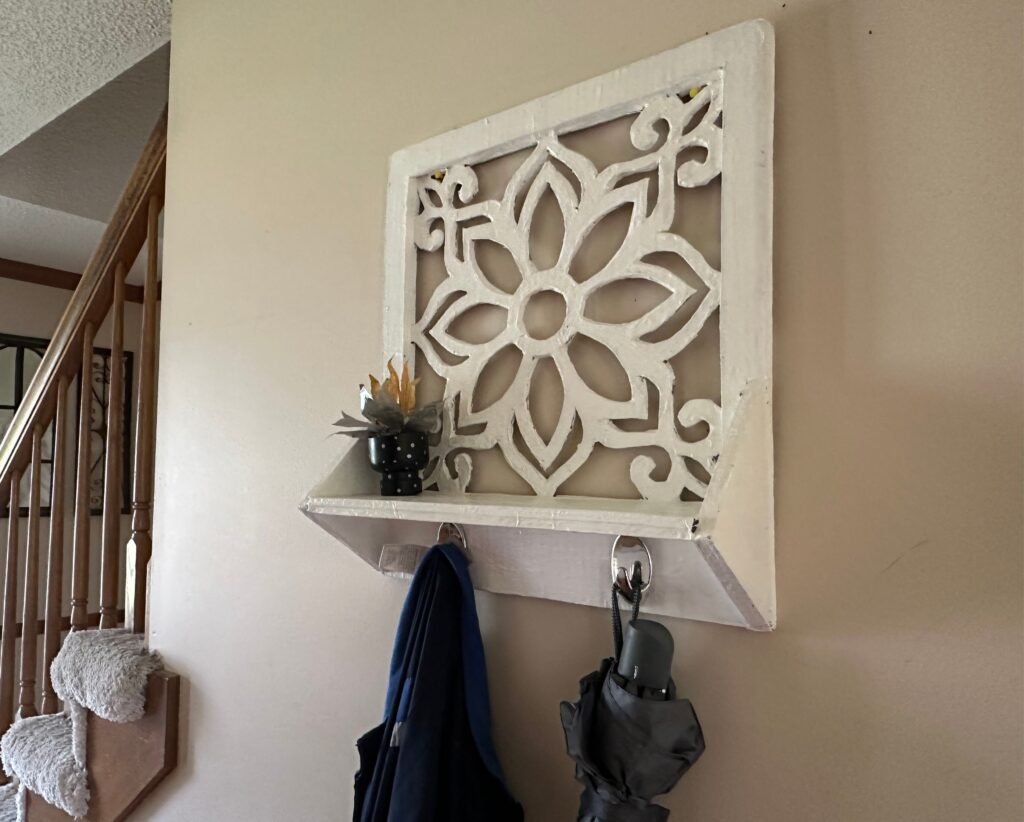
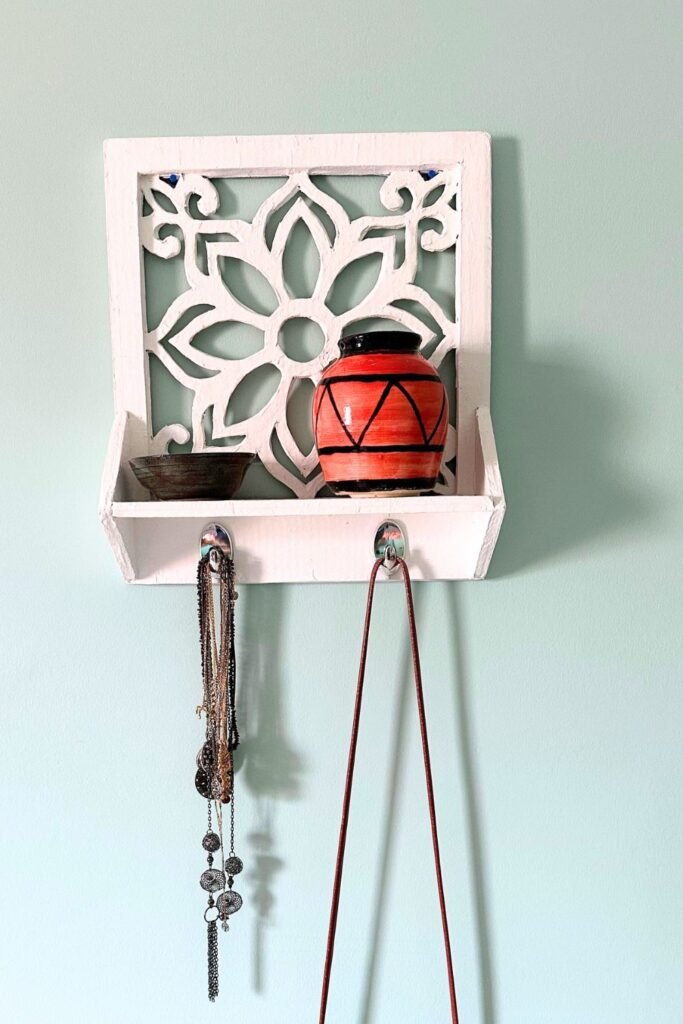
This is how I styled this wall shelf at my home.
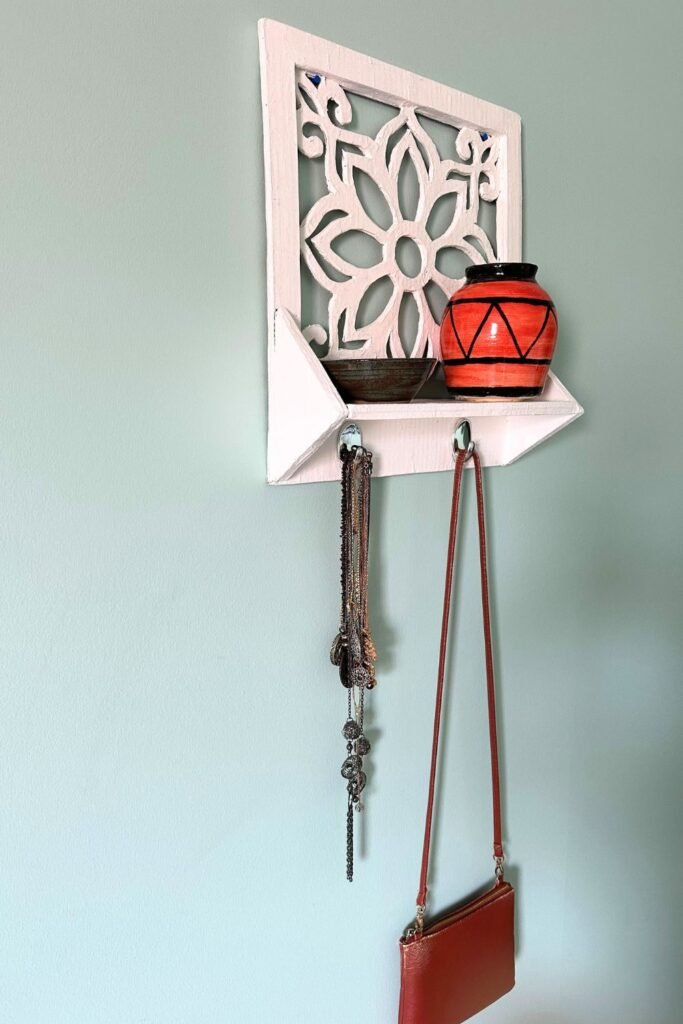
This shelf can be mounted in the entry way or bedroom. In the entryway a jacket, a purse, a cap , an ubrella can be hung. I also have placed decorative figurines and showpieces on the rack of the shelf.
In the bedroom I have hung a purse and some necklaces. I also have placed ceramic pot, a bowl or vitamin bottle on the rack. You also can hang belts, bandanas, towels or anything else you can think of.
Shop The Look
Note: If you wish to buy wooden version of similar wall shelf, I wave listed the links for it. Also if you wish to buy similar items I styled the shelf with, I have listed those links too.
Final Word
This project was created using simple cardboard and recycled materials, as part of my ongoing experiments in building functional furniture from waste materials.
Each build helps me explore new techniques, improve structure, and find better ways to turn cardboard into usable furniture pieces.
If you enjoyed this project, feel free to share your thoughts in the comments. I’d love to know what stood out to you in this design.
Thank you for reading and watching.