Description
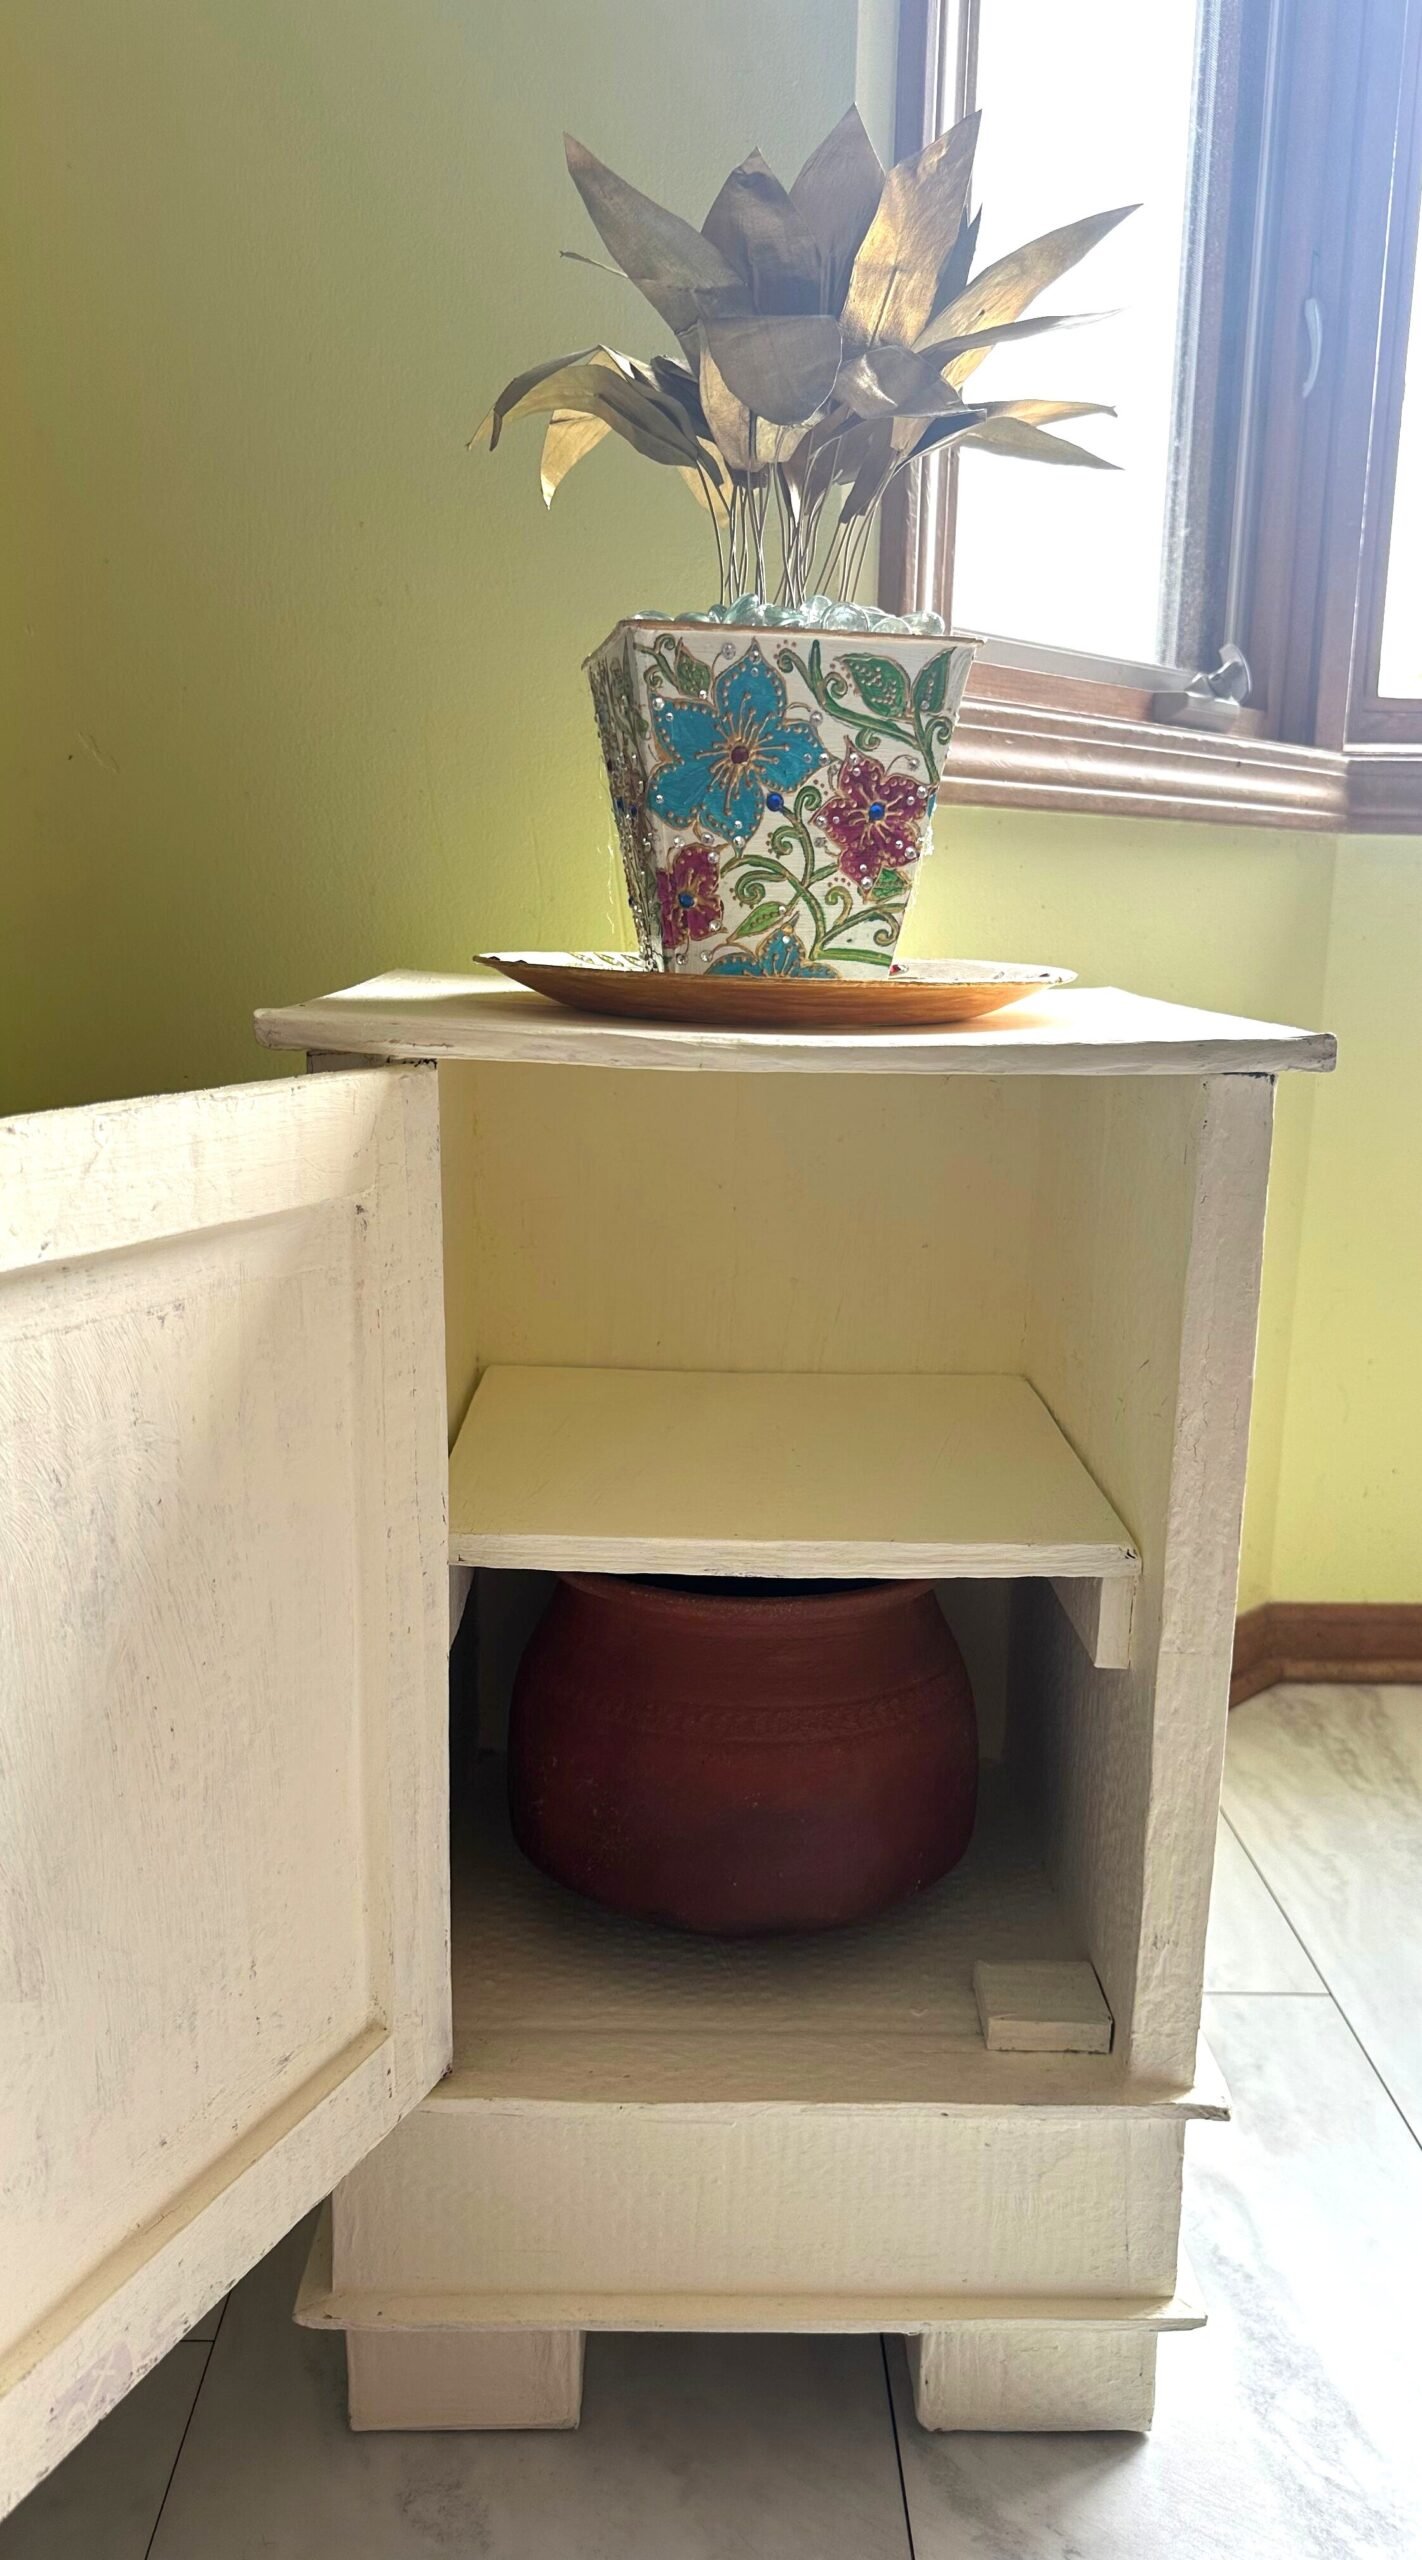
In this project, I built a handmade cardboard cabinet with a working door, internal shelf, and decorative finish using simple recycled materials.
This piece is fully built from cardboard, newspaper reinforcement, and then painted for a furniture-like look.
To know How It Is Made, watch The Video
Note: Use the video with timestamped step-by-step overview. That way steps will be easier to understand.
Backstory
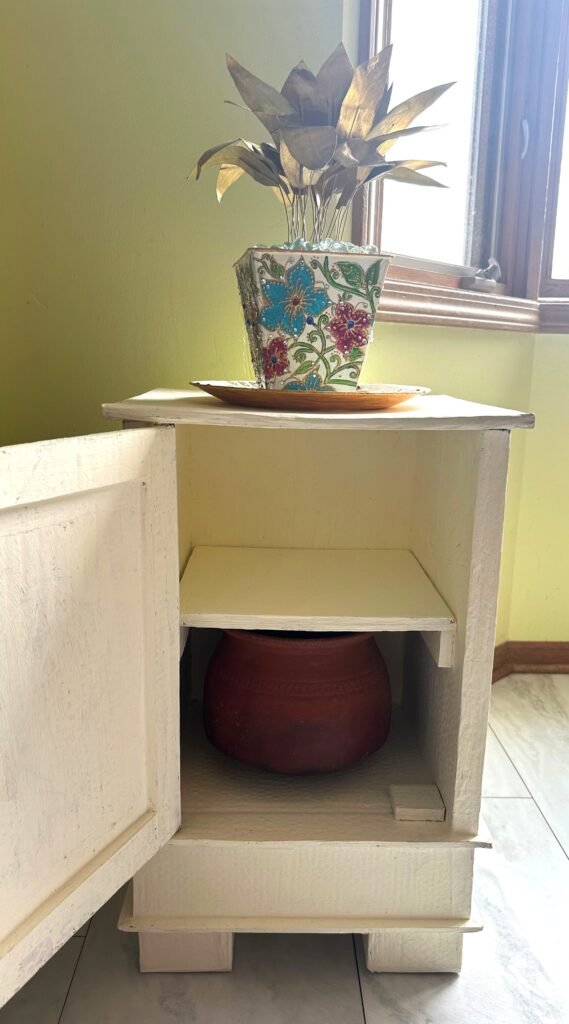
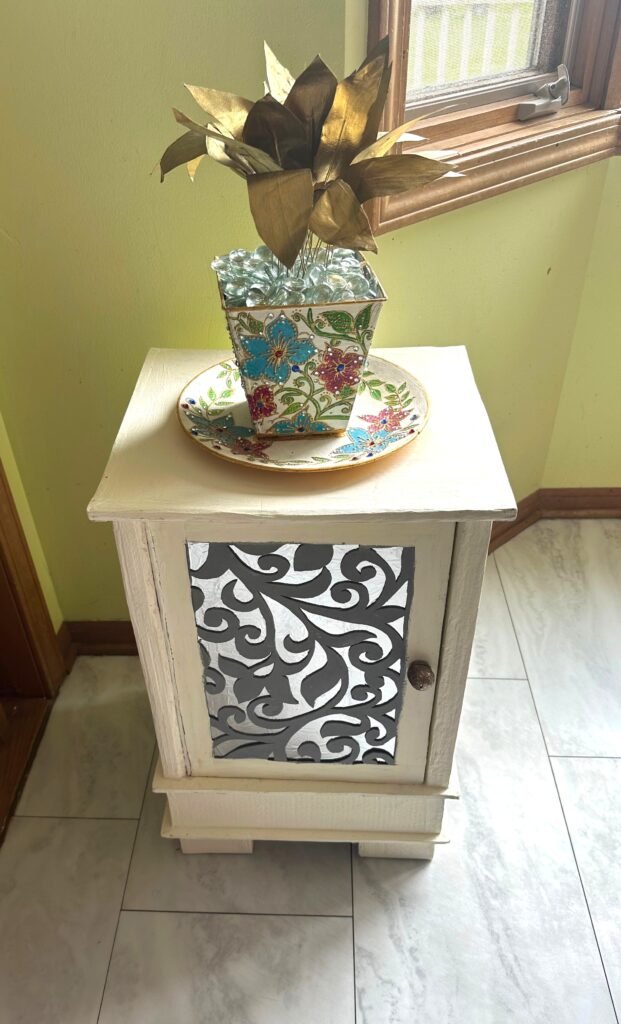
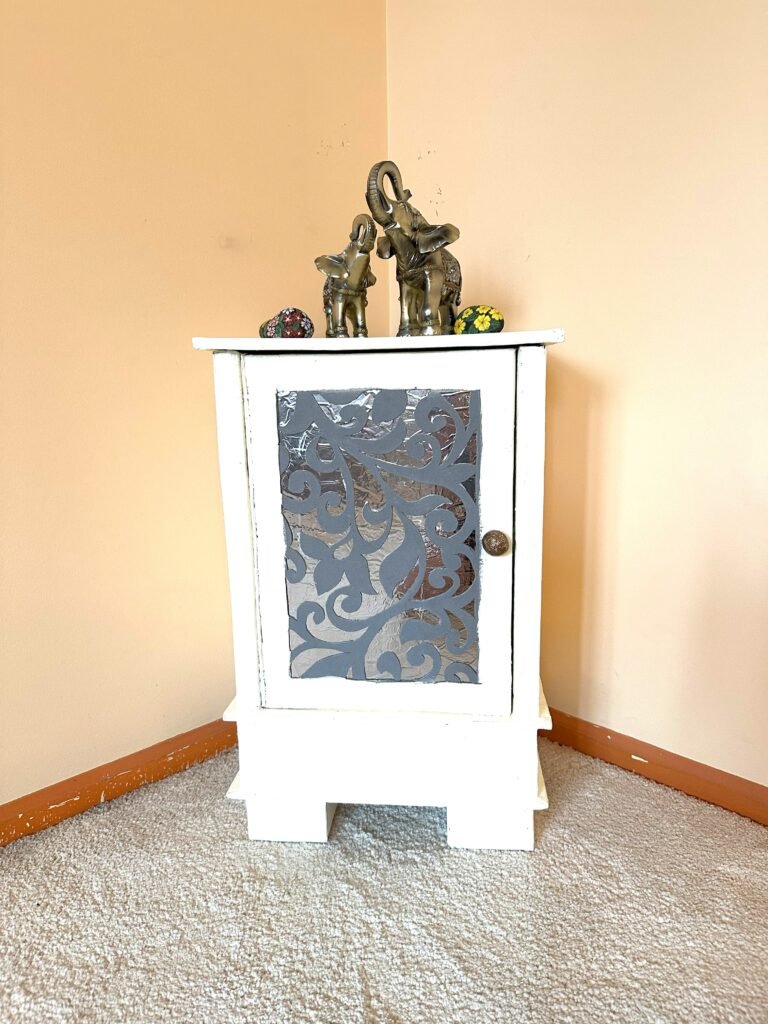
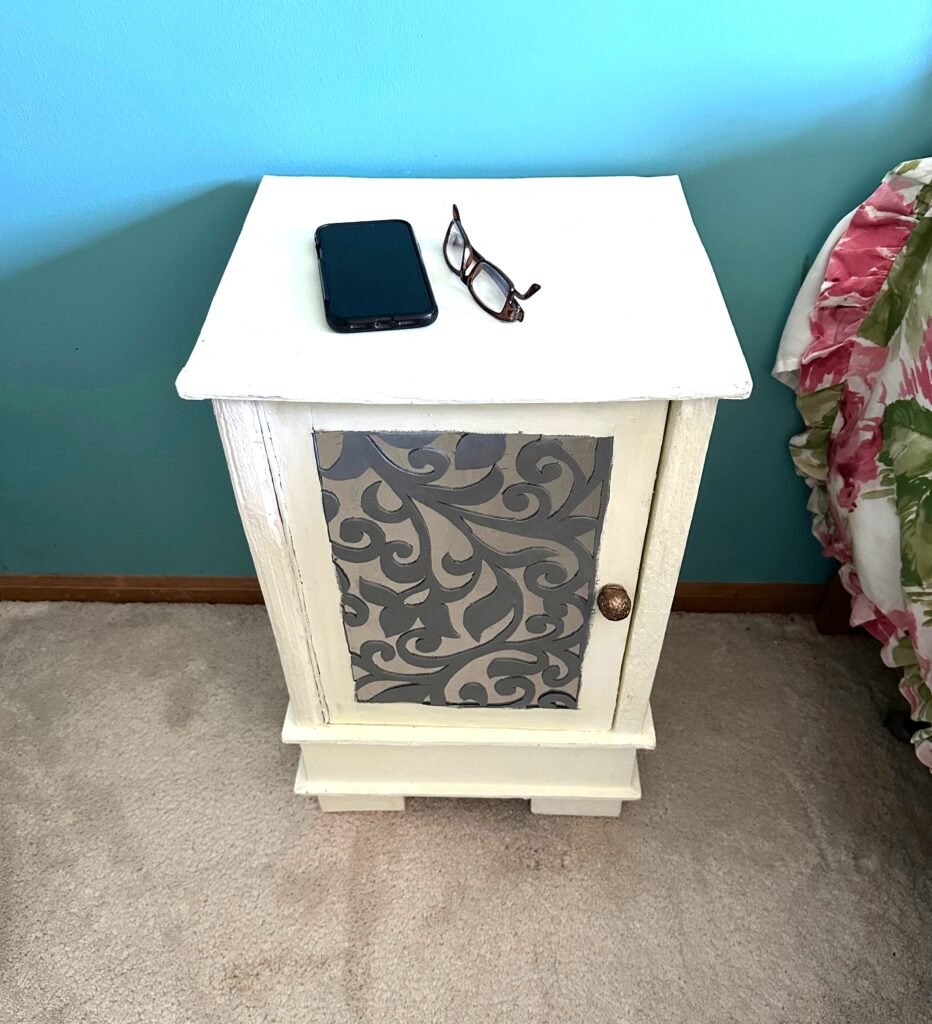
I first came across a vintage wooden accent locker online and fell completely in love with its classic, old-world storage shape. I decided to bring that elegant boutique look into my own studio by designing this custom off-white accent cabinet using faux wood. For the central door feature, I cut an intricate, flowing grey filigree scrollwork panel using an ordinary Exacto knife to give it a precise, laser-cut feel. This cabinet isn’t just a beautiful showpiece, but is also highly functional! The photo below shows just how sturdy and practical the internal shelves are. I styled the inside with a stack of hardcover books, a vintage jar, and a miniature tea set to create a cozy, curated look. On the top surface, I placed a pair of decorative elephant figurines to add a whimsical touch. This piece is perfect as a functional display cabinet in a living room corner, an entryway, or a bedroom.
Material List
- Cardboard
- Glue Gun
- School Glue
- Foam sheet
- Reflactive Mirror Paper
- Cloth Strip
- Aluminum Foil
- Bamboo skewer
- Acrylic Paints
- Paint Brushes
Step-By-Step Overview Of The Process With Timestamps
1. Making the Cabinet Base (0:04–2:02)
I. Cut and assemble cardboard pieces to form a rectangular base box.
II. Reinforce the inside with small cardboard supports and close the top with an additional sheet of cardboard.
III. Seal and smooth all rough edges using brown paper strips.
IV. Create four legs from cardboard squares and securely attach them to the base.2. Building the Main Body (2:03–2:59)
I. Prepare four side panels and one back panel using cardboard rectangles.
II. Glue the side panels to the back panel to form the cabinet frame.
III. Reinforce and smooth all outer joints using newspaper or brown paper strips.3. Making the Cabinet Door (3:00–5:00)
I. Create a door base using a cardboard rectangle and frame it with cardboard strips.
II. Cover the front with reflective mirror paper.
III. Add a decorative carved foam sheet on top of the mirror surface.4. Adding the Interior Shelf (5:01–5:19)
I. Create a sturdy shelf by layering and joining cardboard squares.
II. Make two support ledges using reinforced cardboard strips.
III. Attach supports inside the cabinet and place the shelf on top.5. Assembling the Structure (5:20–5:54)
I. Attach the cabinet body securely onto the base using strong glue.
II. Paint the entire structure with off-white acrylic paint.6. Attaching the Door (5:54–7:01)
I. Create a hinge using a folded denim strip and glue one side to the door.
II. Once dry, attach the other side of the strip to the cabinet frame.
III. Paint the door.
IV. Create and attach a simple aluminum foil knob.7. Finishing the Cabinet (7:02–7:04)
I. Build the top panel by layering two cardboard sheets and painting them.
II. Place and secure the top panel onto the cabinet body.
Tips And Tricks
- If you do not have reflective paper mirror you dont have to use it.
- You can make the carved design on cardboard instead of foam sheet. You just have to cover rough edges on design using paper napkin strips and glue.
- If you are using Denim Cotton strip as hinge, you would need to have room little more than 1/8″ between the door and side panel.
- Instead of reflective paper mirroe try using aluminum foil.
- Instead of aluminum foil knob, you can use old cabinet knob if you have one.
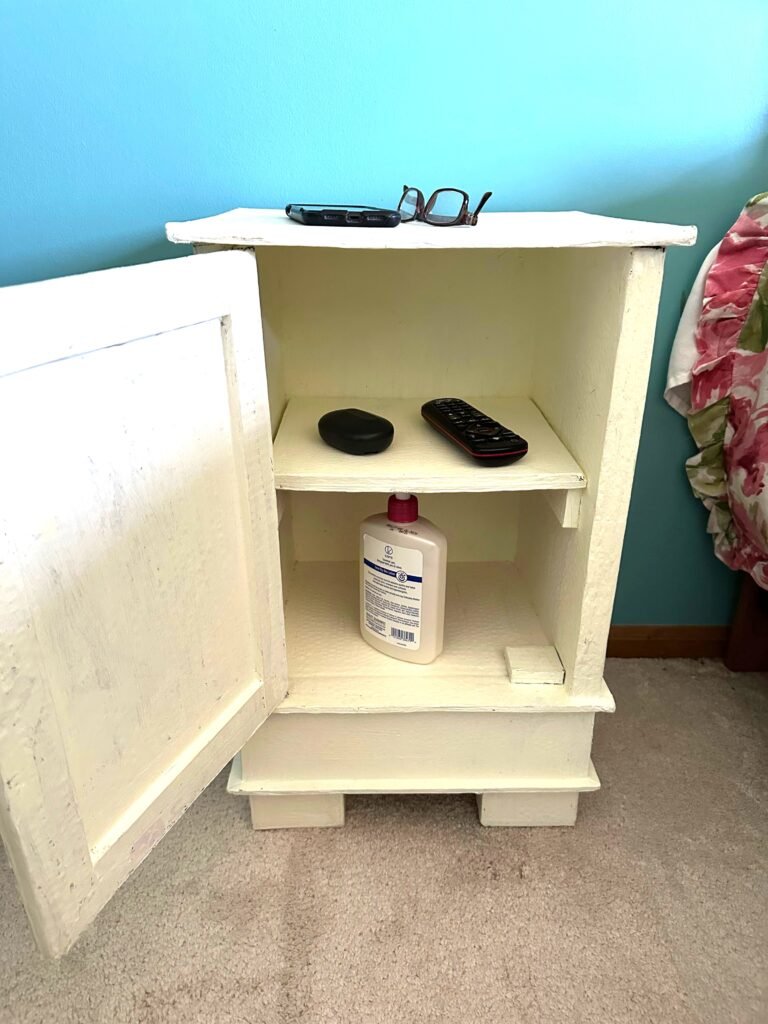
- This cabinet is very much functional so you can save items in it as shown in photos.
This Is How I Style This Cabinet In My Home.
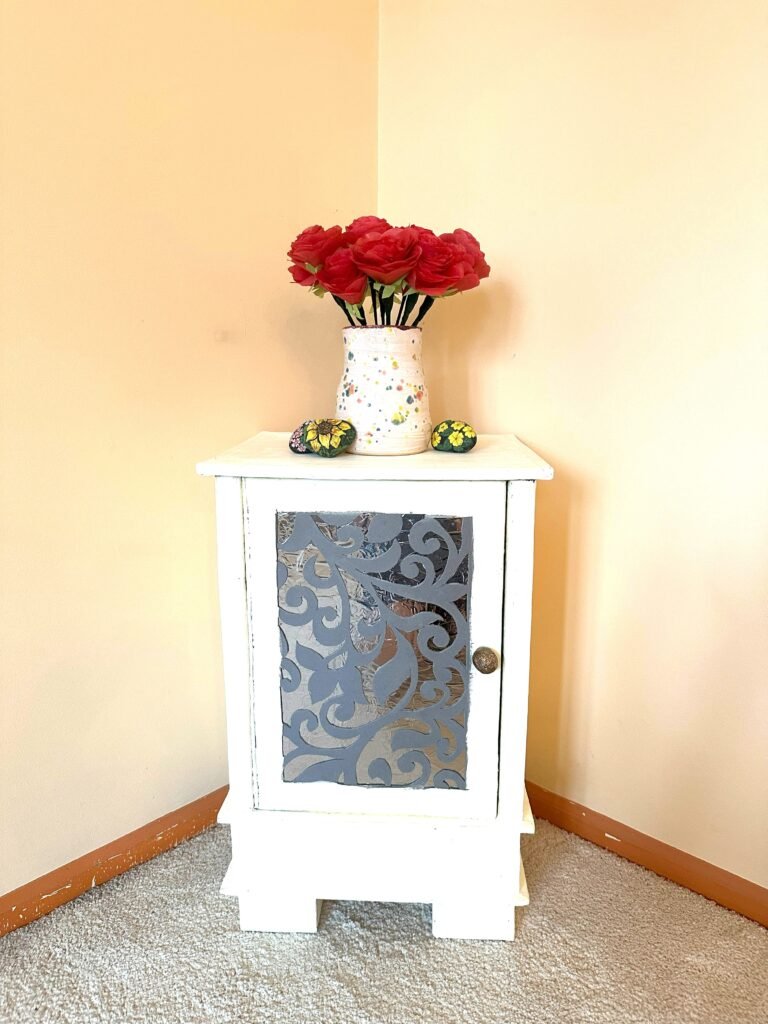
This versatile accent cabinet can be styled almost anywhere in the home. I have shown how can it be styled in the living room, kitchen and in the Bedroom. You can store things in it acording to the room it is in.
Shop The Look
Note: If you wish to buy wooden version of similar furniture, and/ or similar styling items, I have provided the links below. I usually style my furniture with my handmade items.
Explore my studio for more furniture designs
Final Word
This project was created using simple cardboard and recycled materials, as part of my ongoing experiments in building functional furniture from waste materials.
Each build helps me explore new techniques, improve structure, and find better ways to turn cardboard into usable furniture pieces.
If you enjoyed this project, feel free to share your thoughts in the comments. I’d love to know what stood out to you in this design.
Thank you for reading and watching.