Description
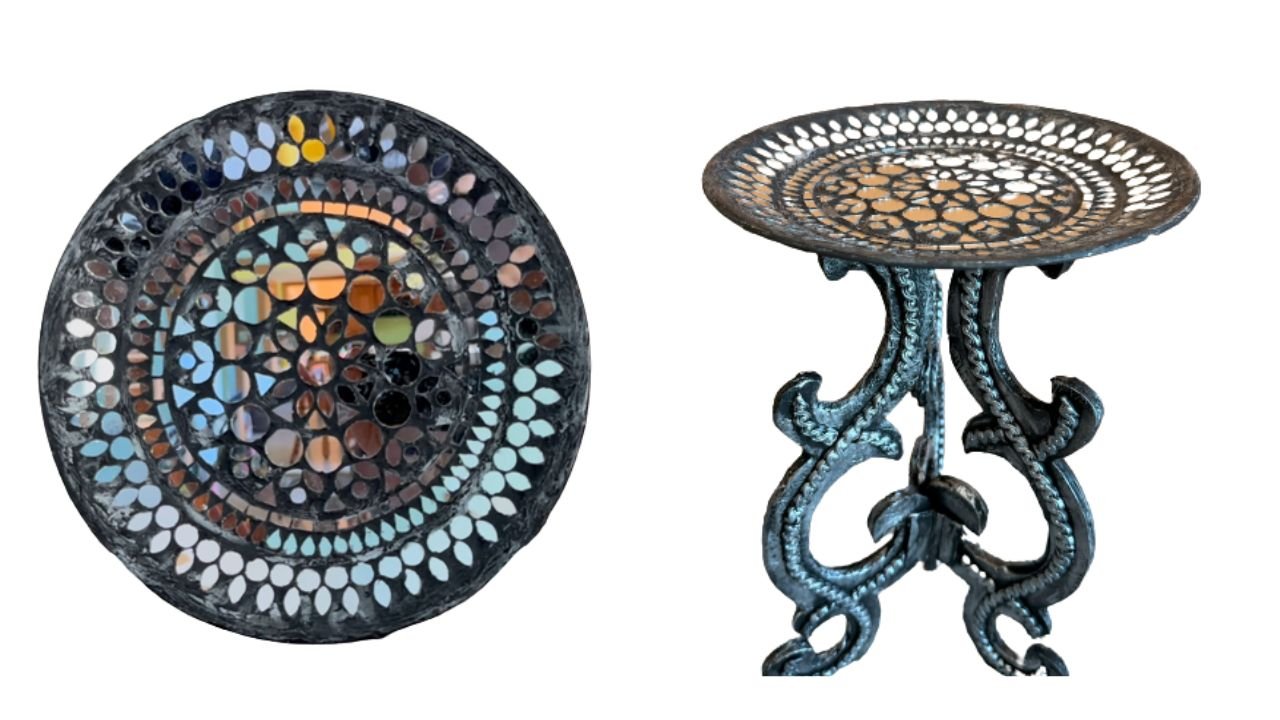
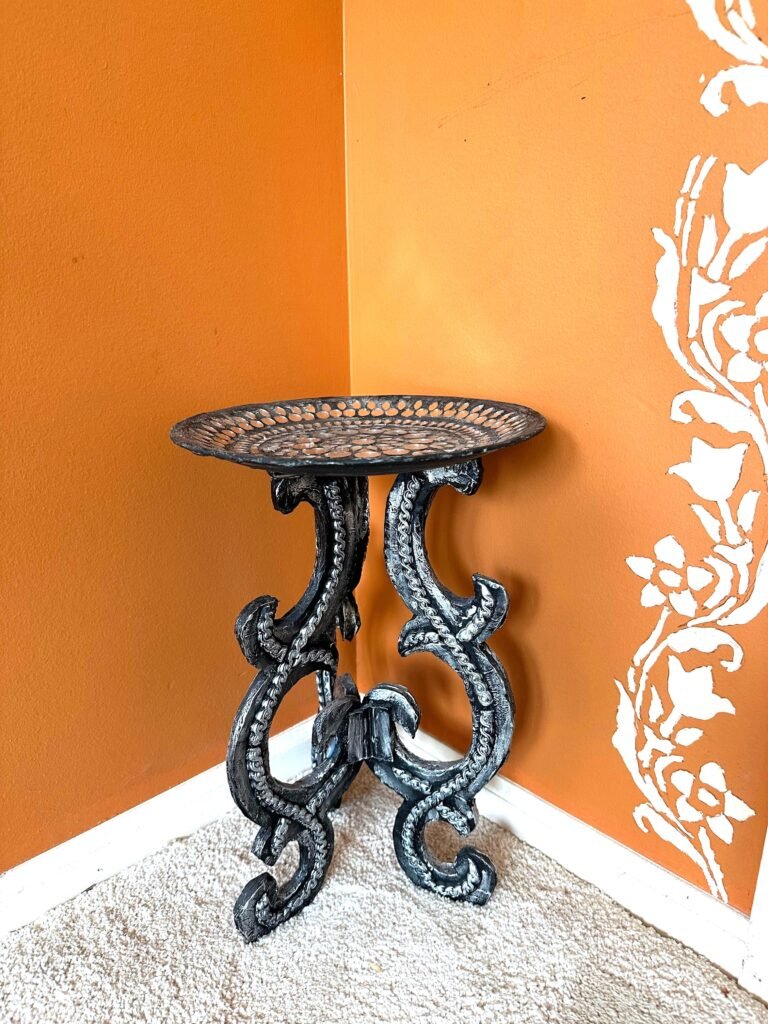
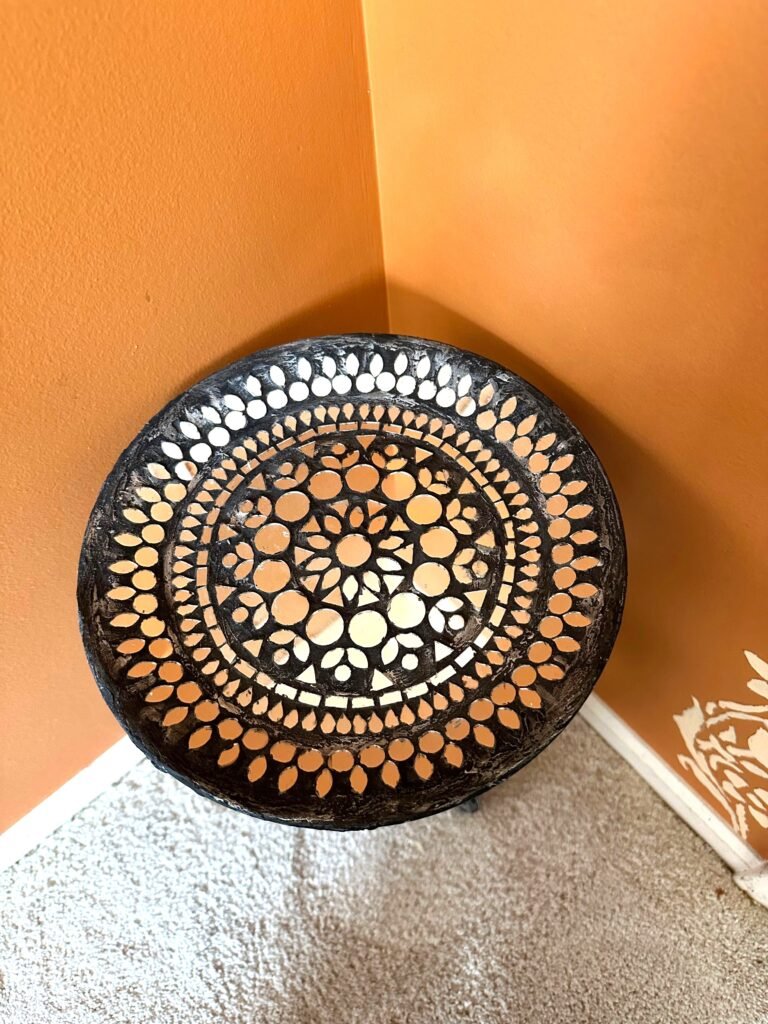
This table has decorative folding legs made of cardboard but the table top is made of broken dish. So this project is not 100% cardboard but still made with recycled material.
Watch Making Of this table.
Note: Please use this video as a tool for clarity of timestamped step by step over view of making process.
Backstory
Dimensions of the table
16″H by 10″W
Material List
- Cardboard
- Broken Dish
- Craft Mirrors,
- Air Dry Clay
- Joint Compound
- School Glue
- Acrylic Paints
- Paint Brushes
Step-By-Step Overview Of process
Making the Table Legs (0:45–1:40)
I. Cut decorative table legs from cardboard, making two pieces for each leg.
II. Glued the matching pieces together to create three sturdy legs.
III. Covered all rough edges of the legs using school glue and paper napkin pieces.
Attaching the Folding Mechanism (1:41–2:44)
I. Folded a small rectangular piece of cardboard and glued one half to one leg and the other half to a second leg.
II. Drew a circle and divided it into three equal sections using guide lines.
III. Positioned the two attached legs along two of the guide lines.
IV. Placed the third leg along the remaining guide line and attached another folded cardboard rectangle between the second and third leg.
V. The folding mechanism was now complete.
Making the Tabletop Using a Broken Dish (2:46–5:34)
I. Sanded the dish to prepare it for the mosaic design.
II. Applied gesso to create a suitable crafting surface.
III. Drew concentric circles on the dish as a guide.
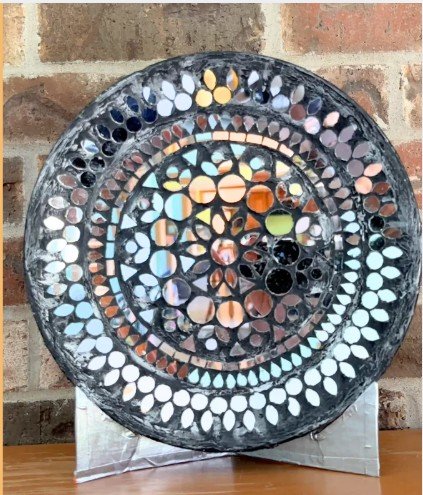
IV. Arranged and glued craft mirrors in a mandala pattern.
V. Applied joint compound over the mirrored surface to create the mosaic effect.
VI. When the joint compound was about 75% dry, cleaned the mirror surfaces.
VII. After the joint compound dried completely, painted it black to make the mosaic pattern stand out.
VIII. Highlighted selected areas using metallic silver acrylic paint.
Painting and Finishing (5:35–6:51)
I. Painted the table legs white and then applied a coat of black paint.
II. Used silicone molds and air-dry clay to create decorative borders.
III. After the paint dried, attached the clay borders to the legs using school glue.
IV. Once the clay dried completely, painted it black and highlighted the raised details with metallic silver paint.
Tips And Tricks
- If I make this table again, I’ll give the cardboard hinges on the legs a more decorative shape and cover their rough edges with paper napkin strips for a cleaner finish.
- The same goes for the brackets attached underneath the tabletop to hold the legs in place. I would give them a decorative shape and hide the rough edges for a more polished look.
- You may notice small gaps between the sections of the air-dry clay borders. These gaps formed as the clay dried and shrank. Next time, I’ll account for the shrinkage of air-dry clay to ensure the borders stay tightly joined.
This Is How I Style The Table In My House
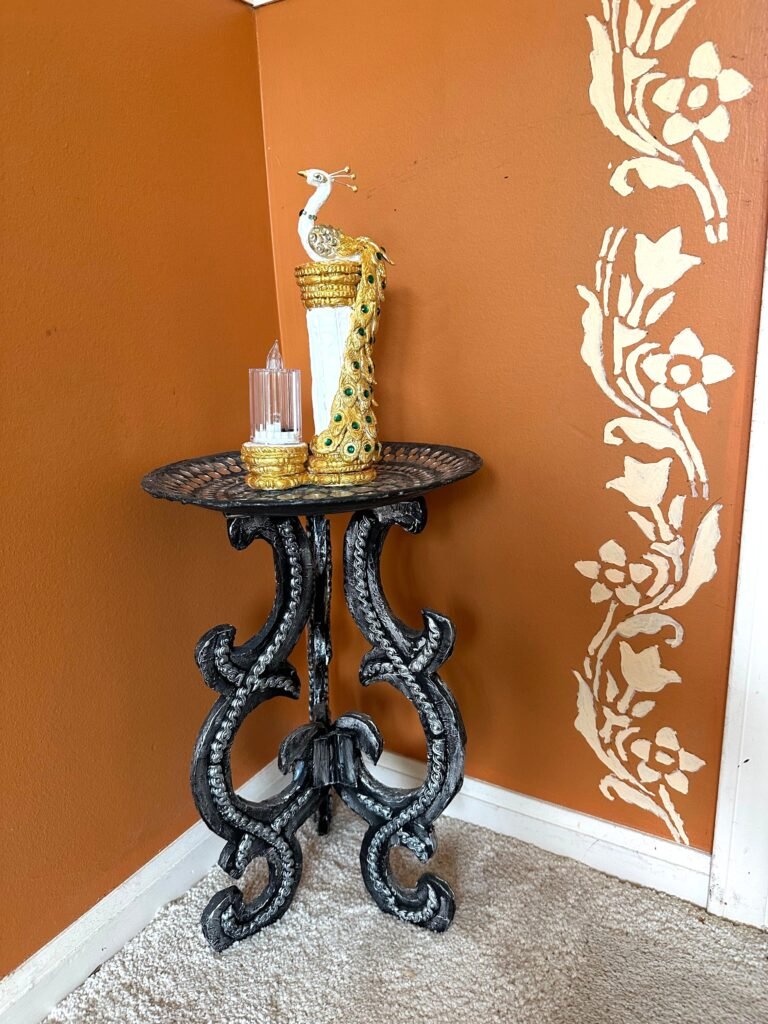
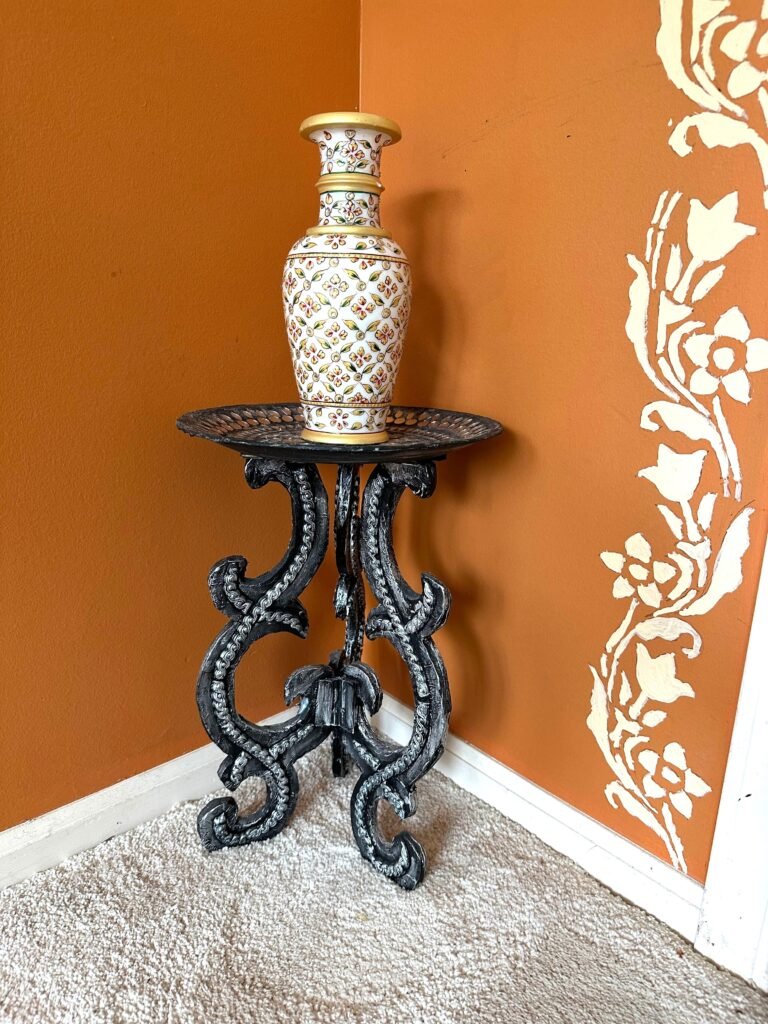
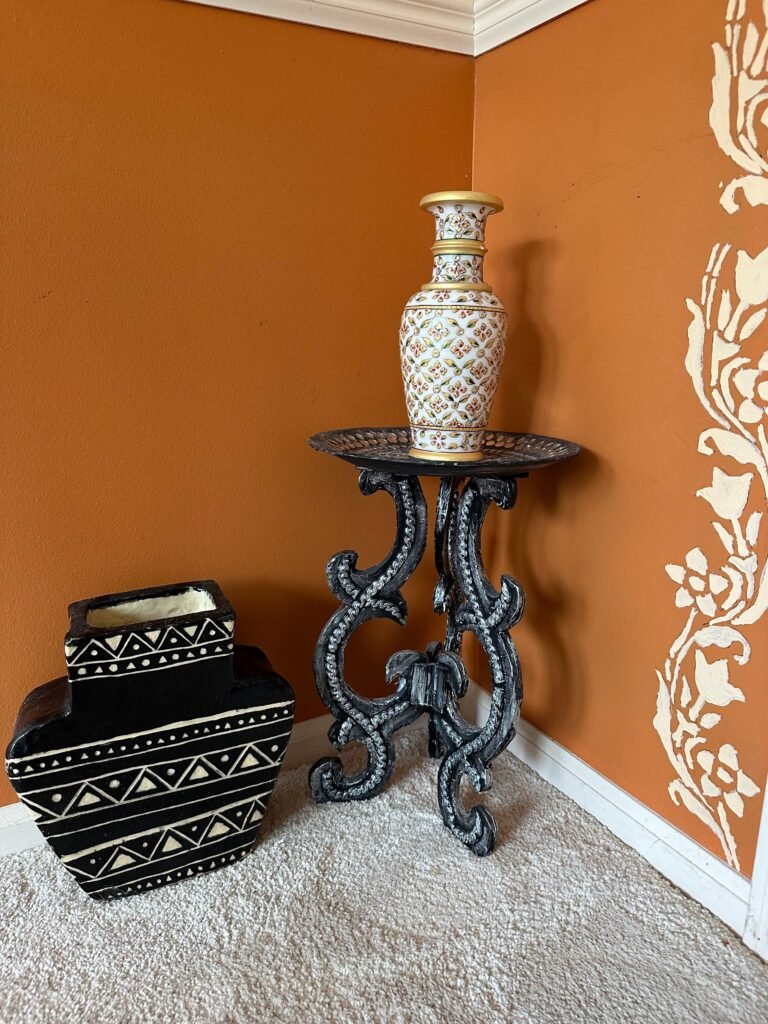
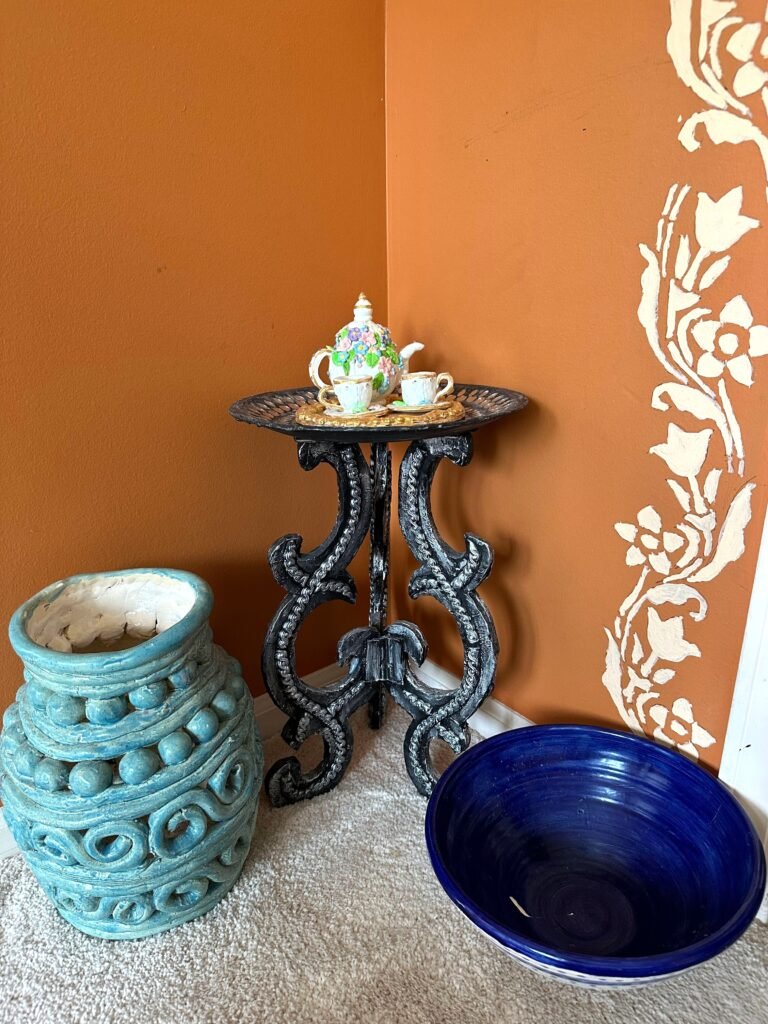
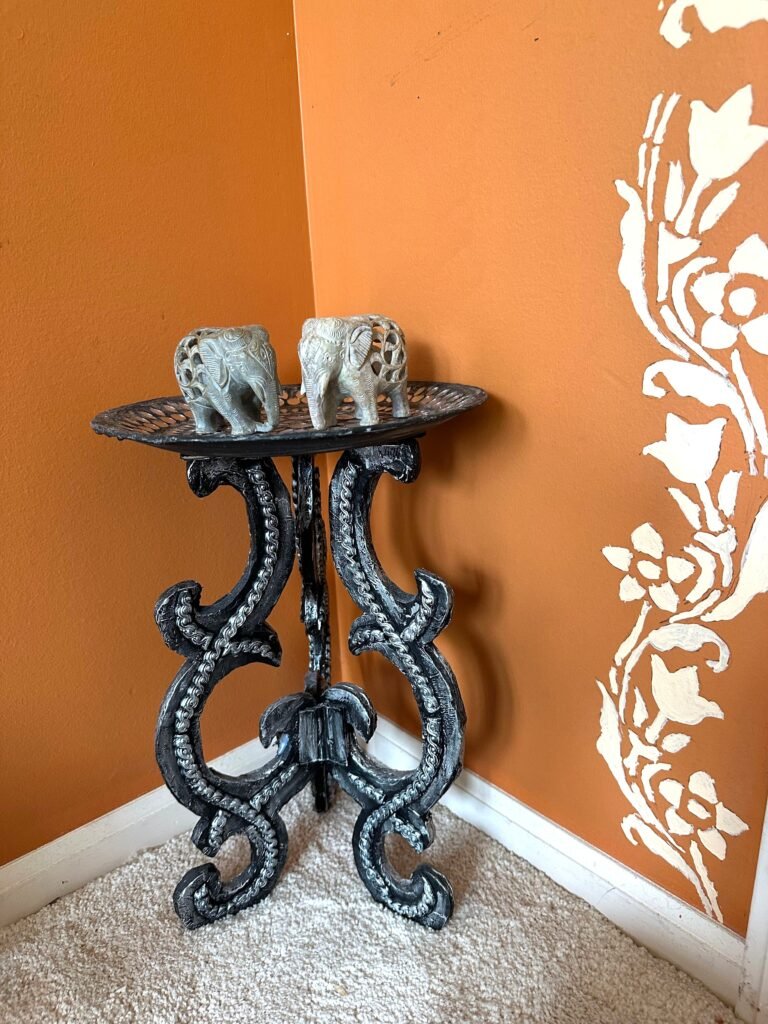
Because of its intricate design, this mosaic table is used mainly as a gorgeous display piece. I styled this corner by keeping lightweight items on top of the table to let the artwork shine. To complete the look, I placed elegant ceramic pots around the base to bring life and texture into the space. The brilliant mirror mosaic is the ultimate show-stopper, instantly turning a plain corner into a high-end design feature!
Explore My Blog:
Final Word
This project was created using simple cardboard and recycled materials, as part of my ongoing experiments in building functional furniture from waste materials.
Each build helps me explore new techniques, improve structure, and find better ways to turn cardboard into usable furniture pieces.
If you enjoyed this project, feel free to share your thoughts in the comments. I’d love to know what stood out to you in this design.
Thank you for reading and watching