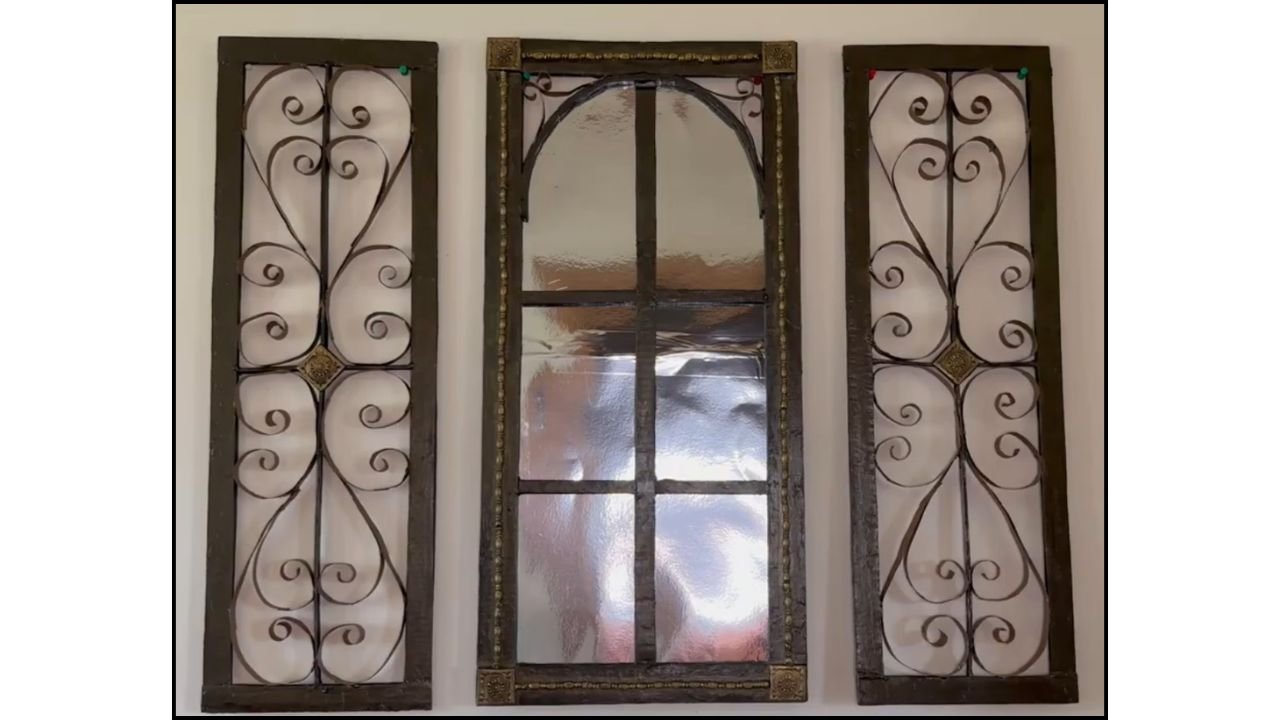
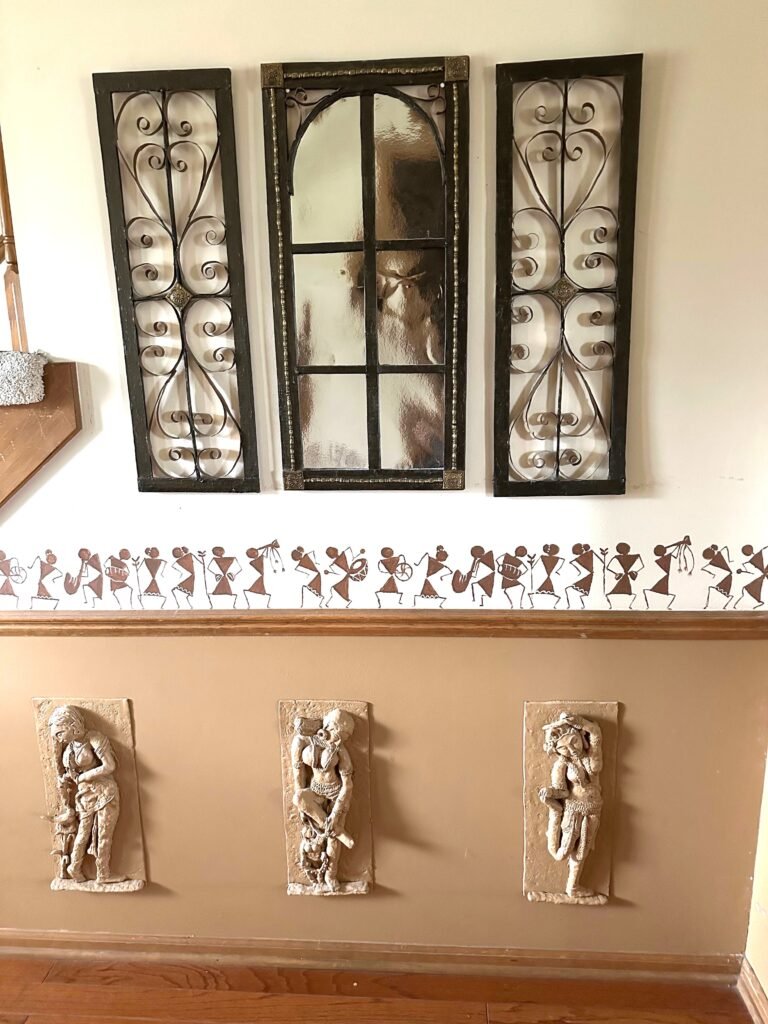
Would you believe this architectural entryway mirrored window was made entirely using faux wood and everyday studio materials? I used mirror reflective paper to create the mirror effect, along with some reflective trim, and just a touch of clay for the decorative embellishments.
What looks like heavy forged metal and glass is actually lightweight, completely recycled, and entirely handmade! I was brainstorming ideas for my creative channels when I came across a beautiful window design online and suddenly, a light bulb went off in my head. I’d seen plenty of traditional scrollwork designs before, and somehow, everything just clicked. As soon as I saw that window, the entire design started forming in my mind using the materials I already had. That’s the magic of designing: sometimes, inspiration strikes out of nowhere, and before you know it, you’re creating something unexpected with the simplest materials. It’s always amazing to see how an idea evolves and surprises you along the way.
Dimensions:
Side Panels: 29.5″ By 9″
Mirror Panel : 29.5″ By 13.5″
Styling Ideas
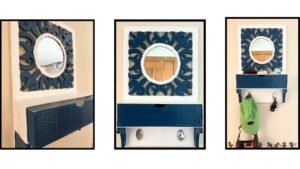
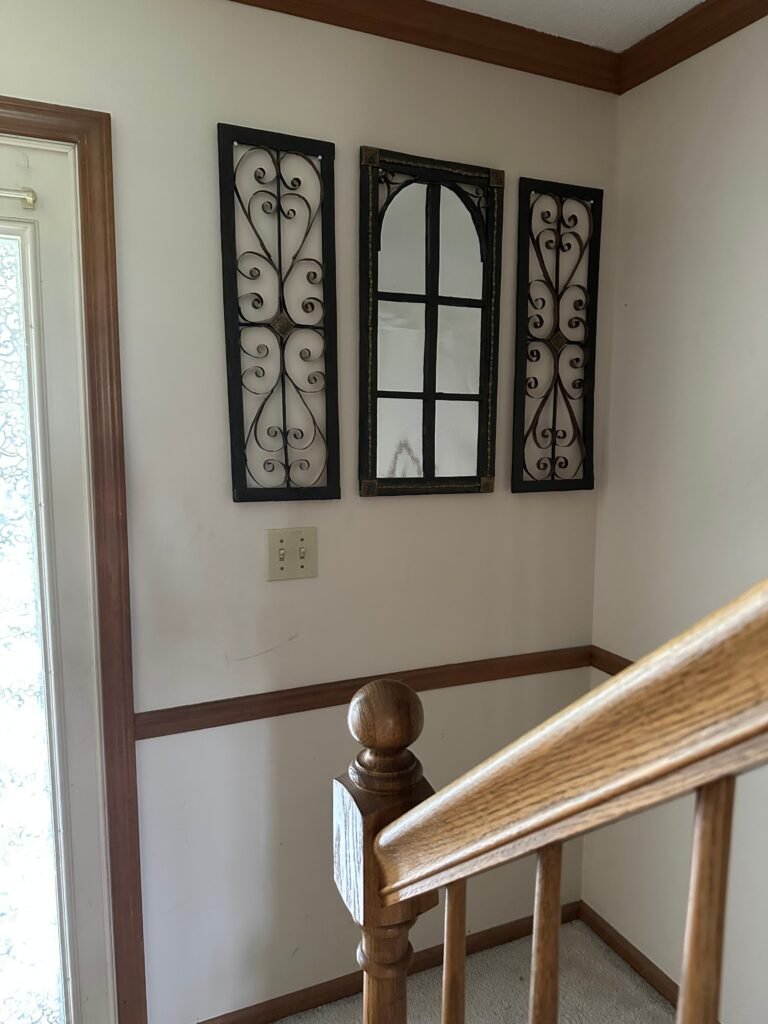
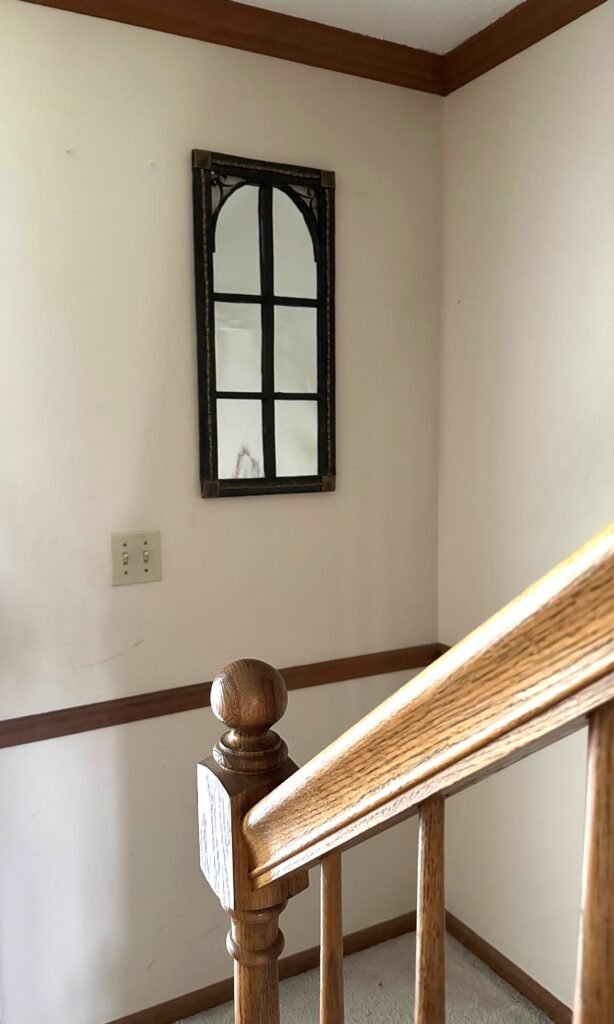
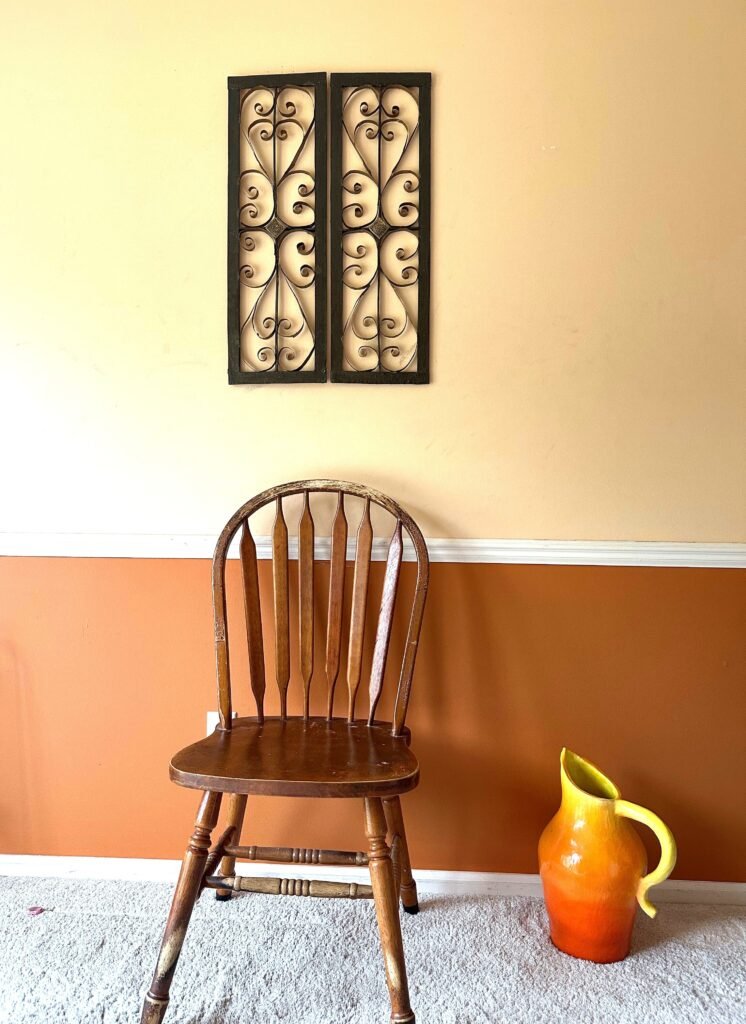
This window can be placed in a room without a big window. Under it place a table and on that table you can place a vase with branch with leaves. This will give a vibe of real window. Or can be placed on a big wall in your home as a wall decor. You also can use this window as three different wall decors.
Shop The Look Elements
- Wooden Version of the mirror window: Amazon
- Screws to hang the panels and mirror : Amazon
- Wooden Chair: Amazon
- Ceramic Pot: Amazon
Explore my site. You will find more faux wood furniture and styling ideas to impliment.
Happy crafting and thanks for stopping by!