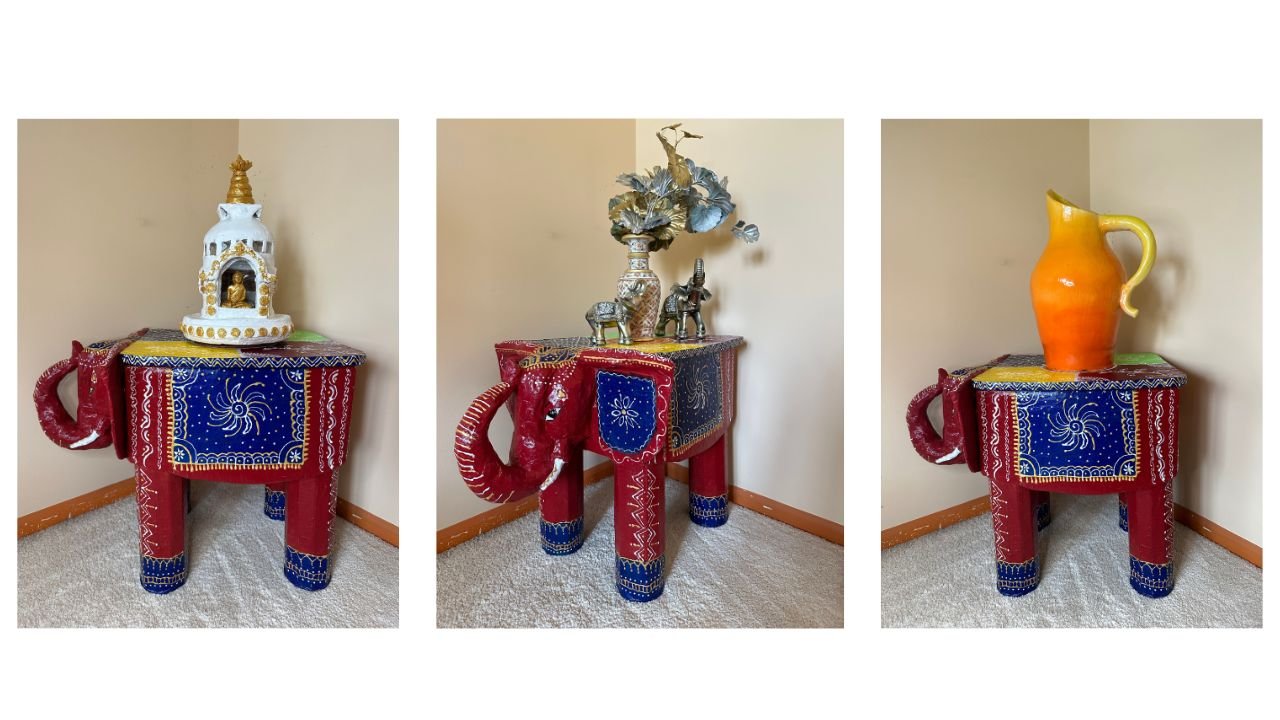
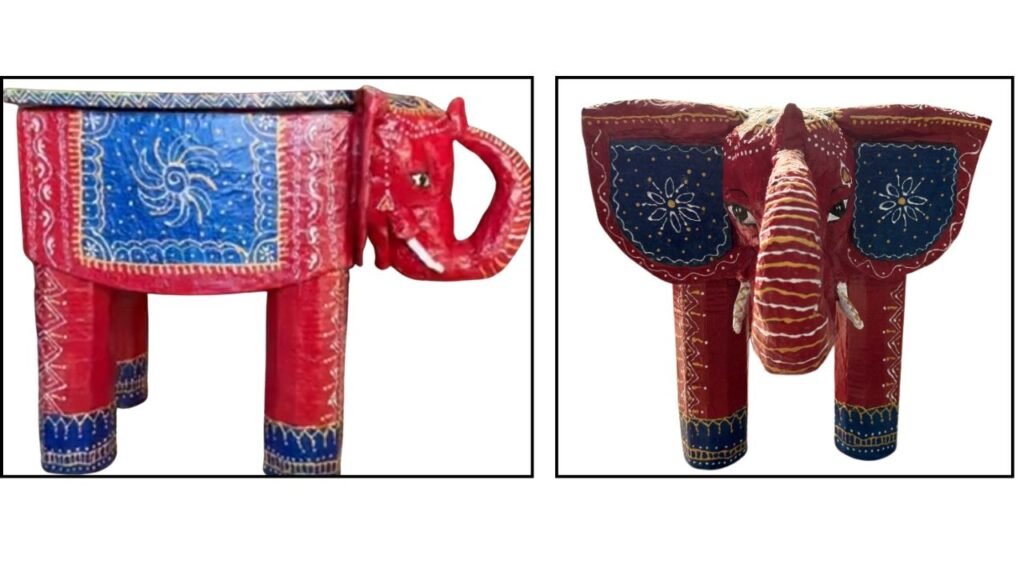
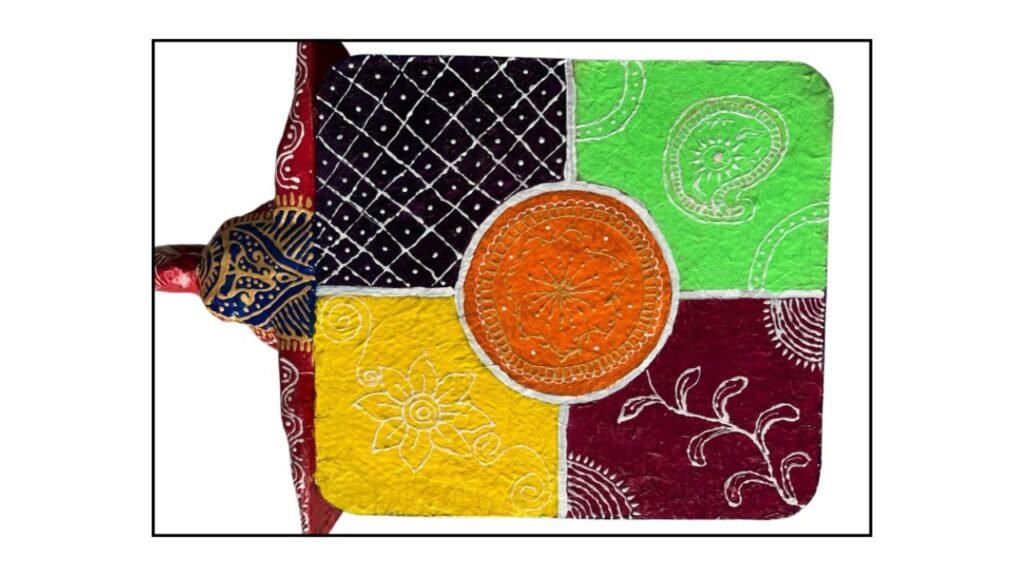
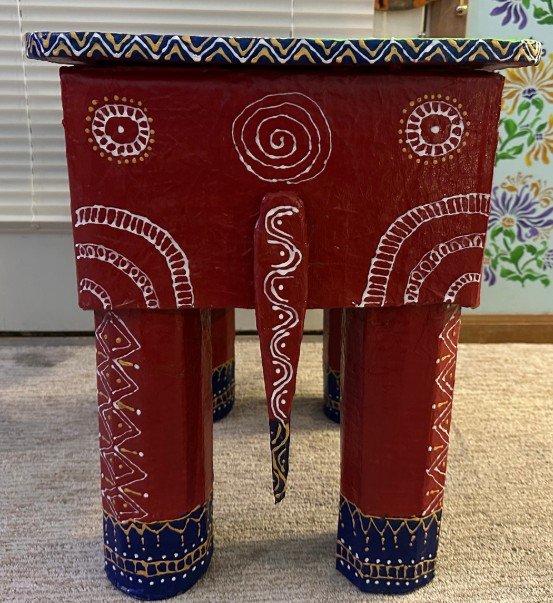
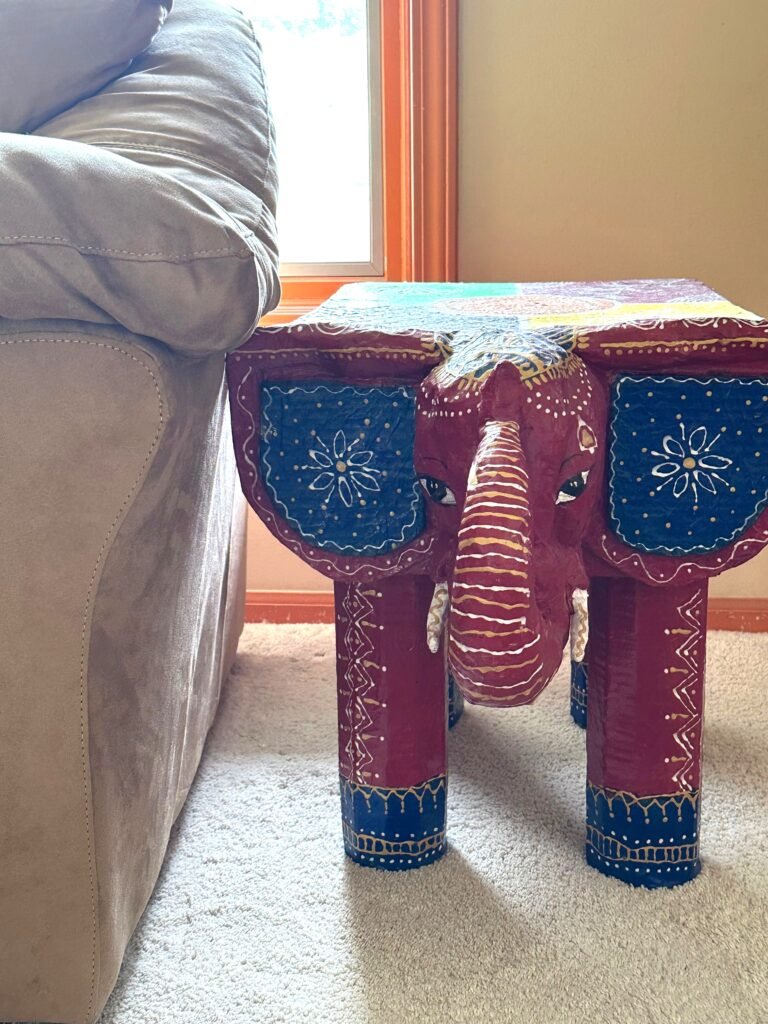
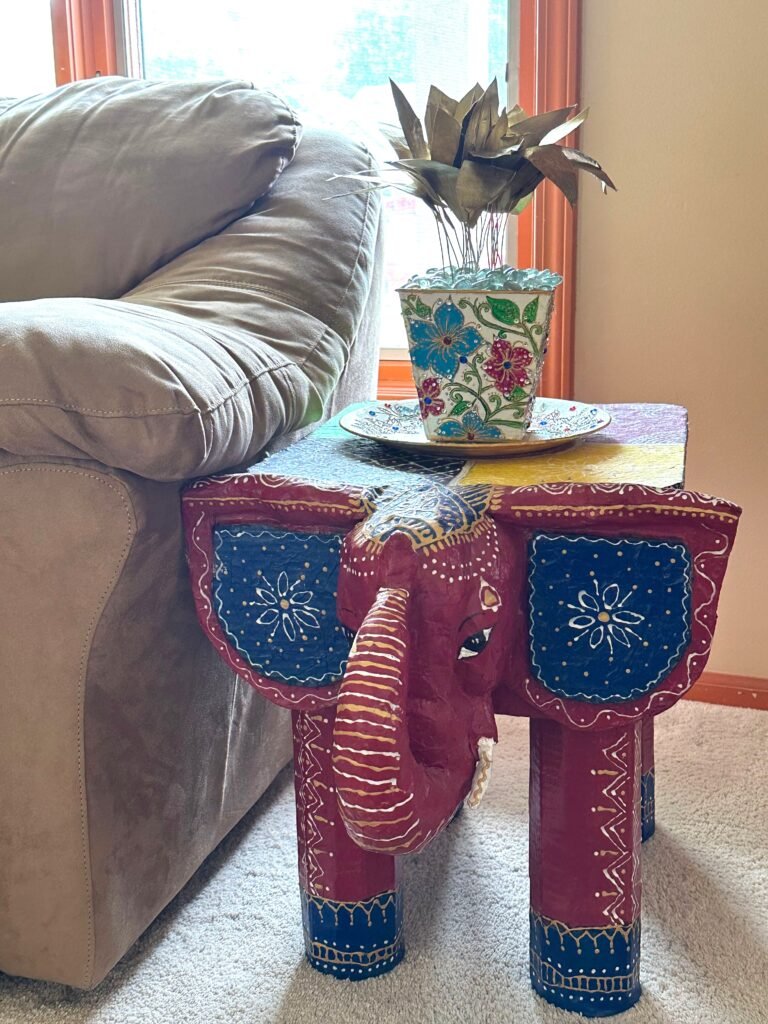
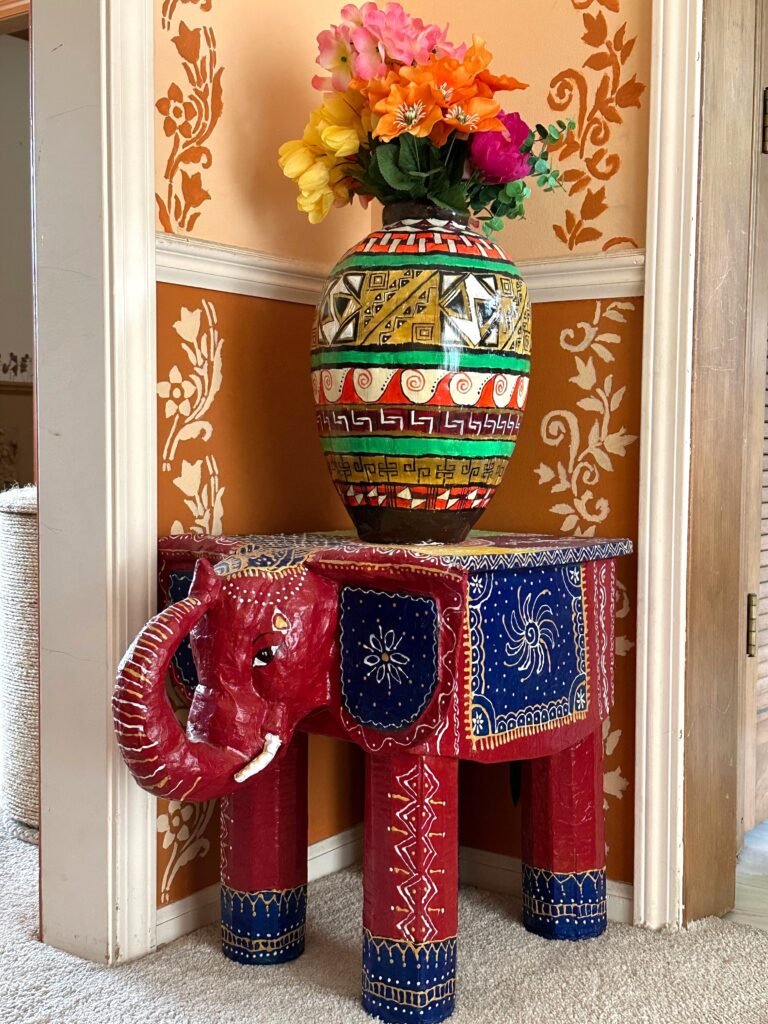
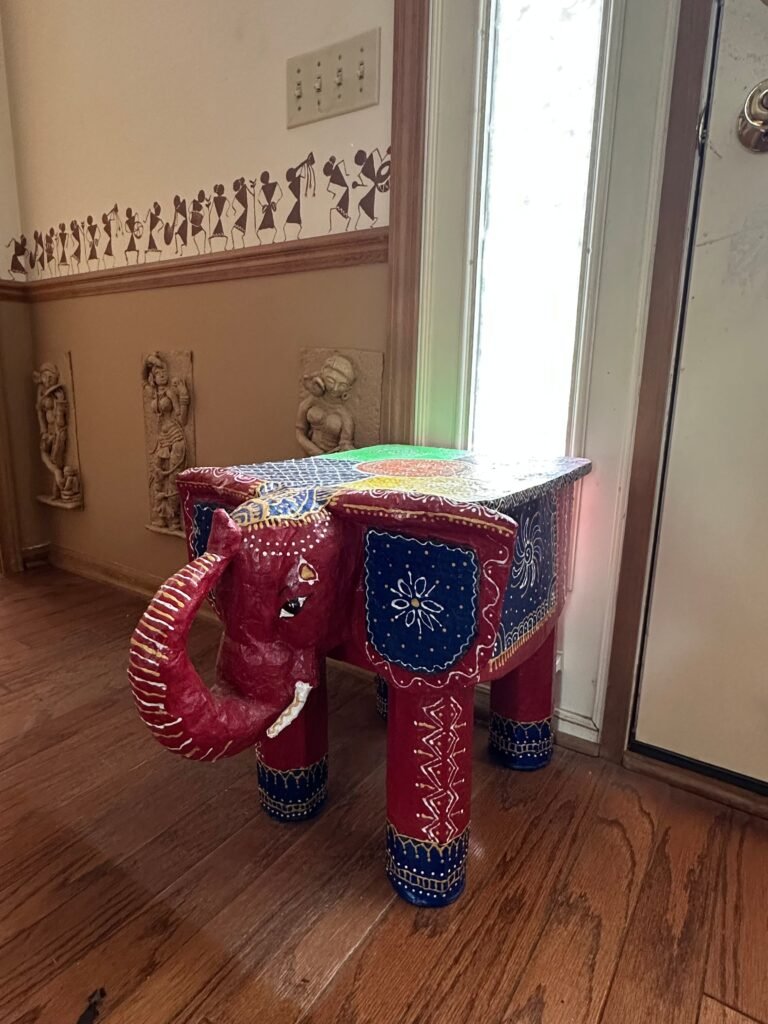
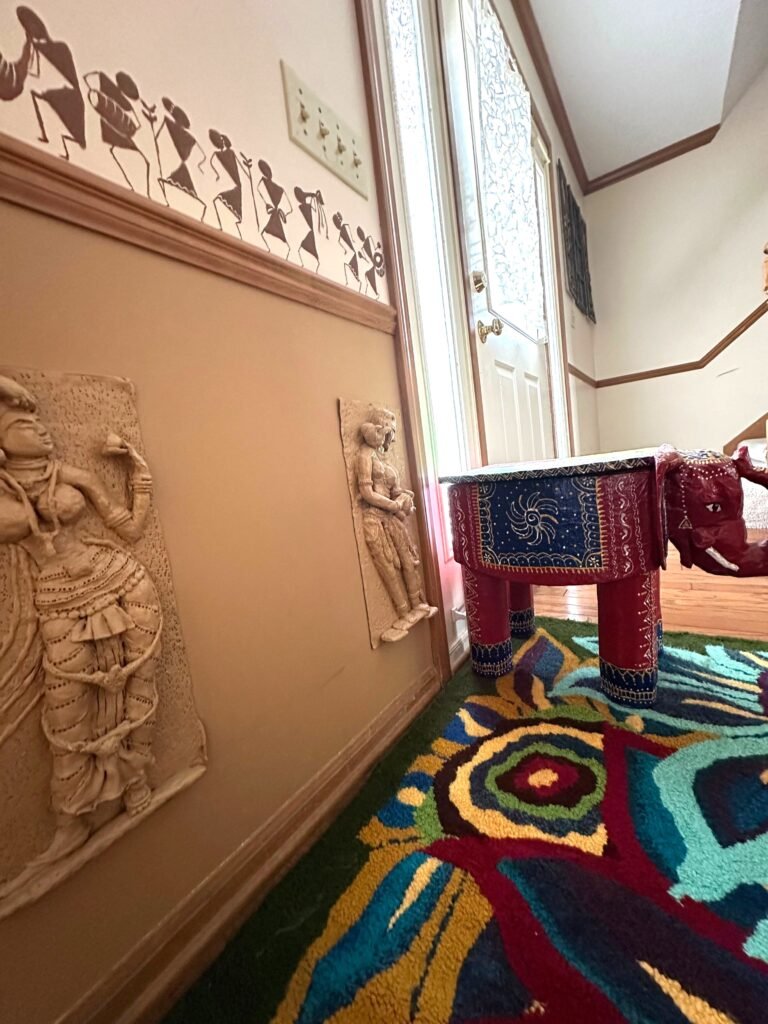
I first came across a traditional hand-carved Indian wooden elephant stool online and fell in love with its festive, whimsical shape. As always, I wondered how I could recreate that beautiful cultural presence in my studio using my favorite lightweight materials instead of heavy timber. I engineered this entire elephant side table from scratch using simple everyday items and an ordinary Exacto knife. To give it an authentic, hand-painted look, I decorated the surface with vibrant red, deep blue, and intricate white folk art patterns that capture the essence of traditional Indian artistry. This table turned out to be a truly unique piece of home decor that is quite sturdy and functional! I styled it in a cozy corner of my room with a bright, ombre orange ceramic pitcher on the top surface. The bold colors look so beautiful together and make the whole corner stand out. You could also style this piece with a simple green plant, or paint it in different color combinations to match your own space. Below you can see how the painted patterns on the Elephant look up-close.
Styling Elephant Table
Shop To style
- Wooden version of Elephant Stool available on Amazon
- Ceramic Vase Available on Amazon
- Marble vase available on Amazon
- Fake Plant available on Amazon
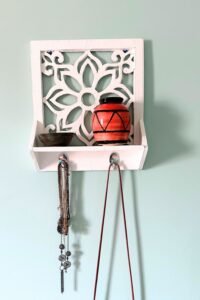
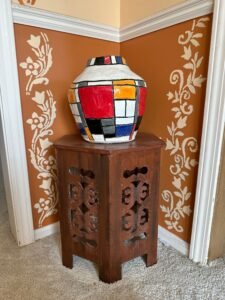
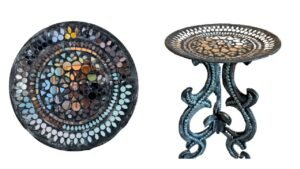
Explore My Other Furniture Designs