Description
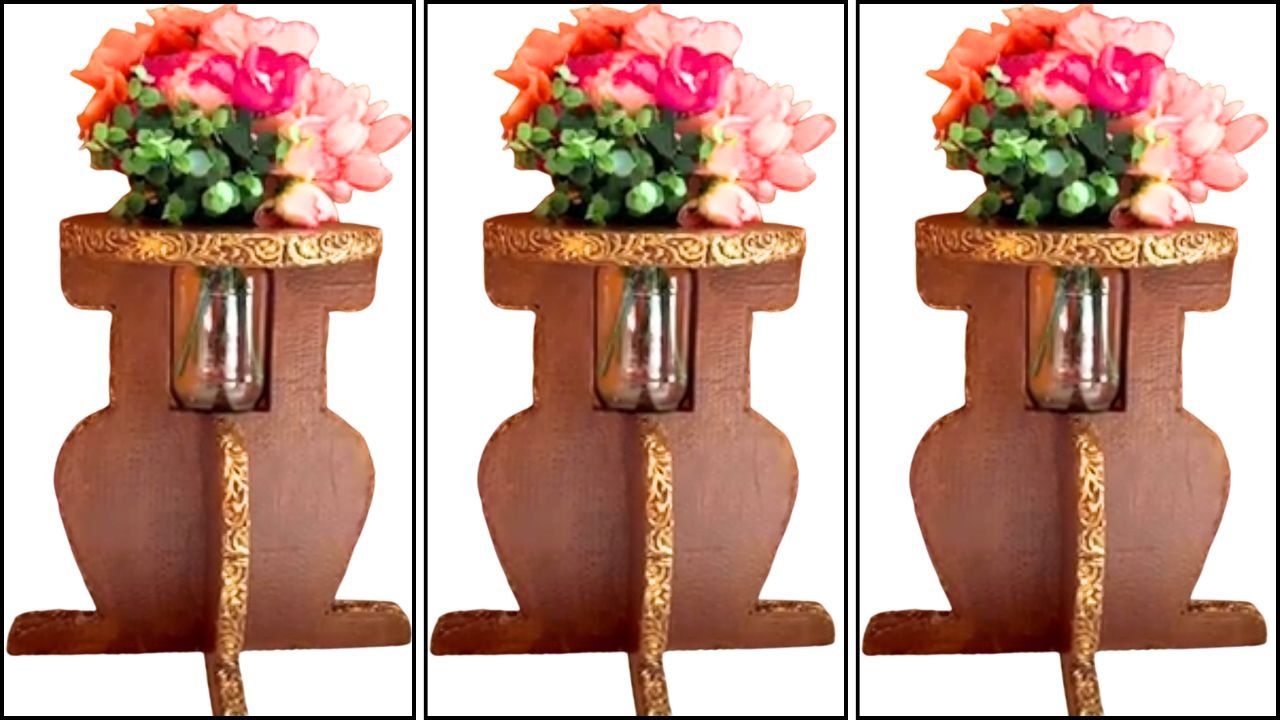
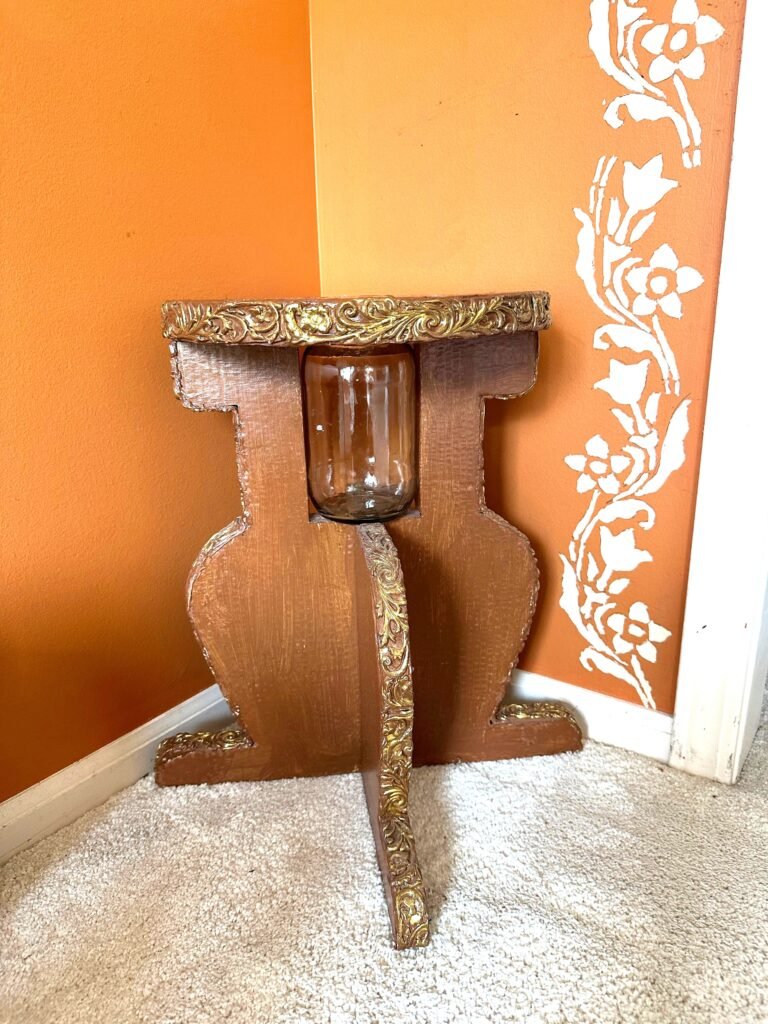
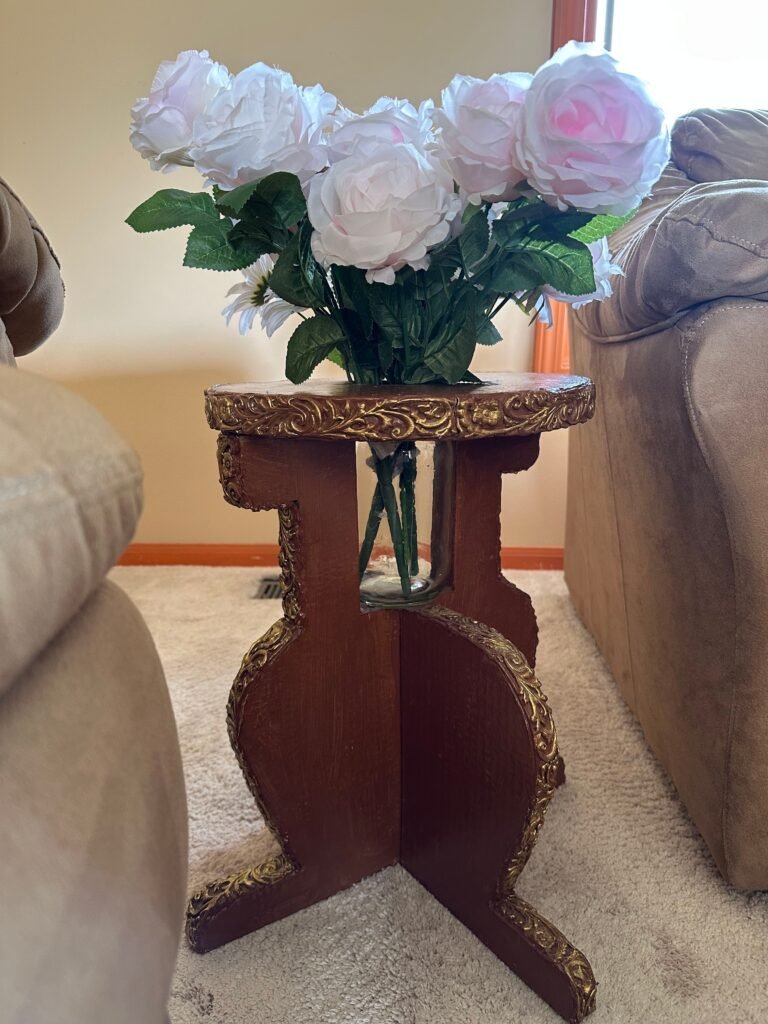
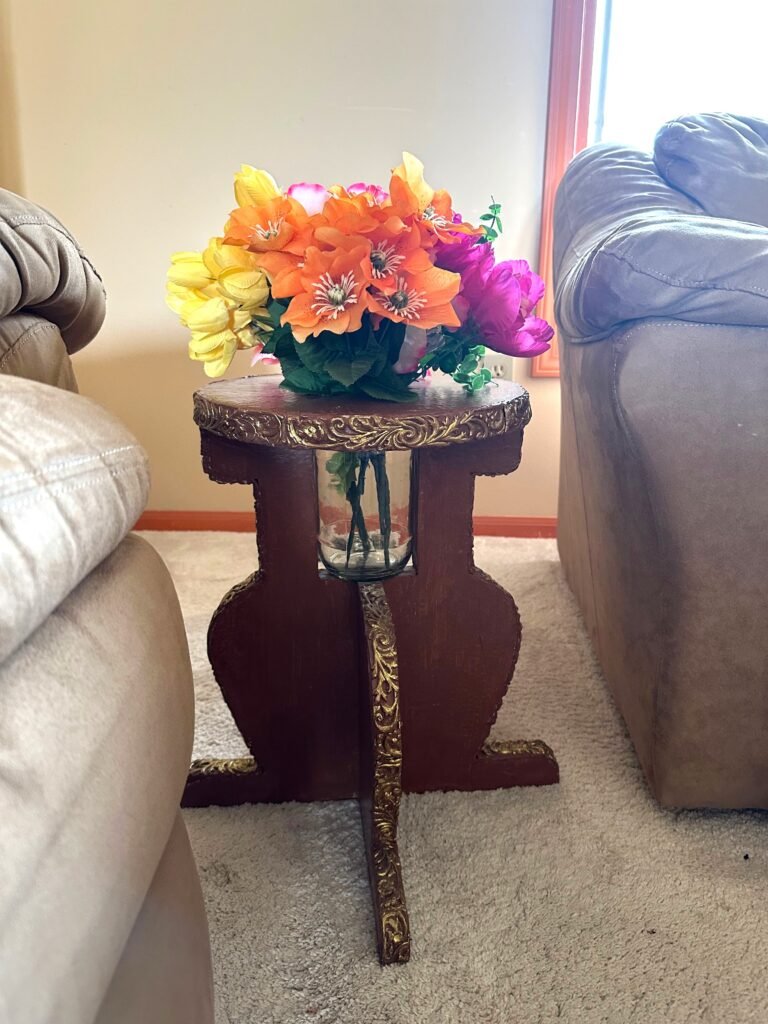
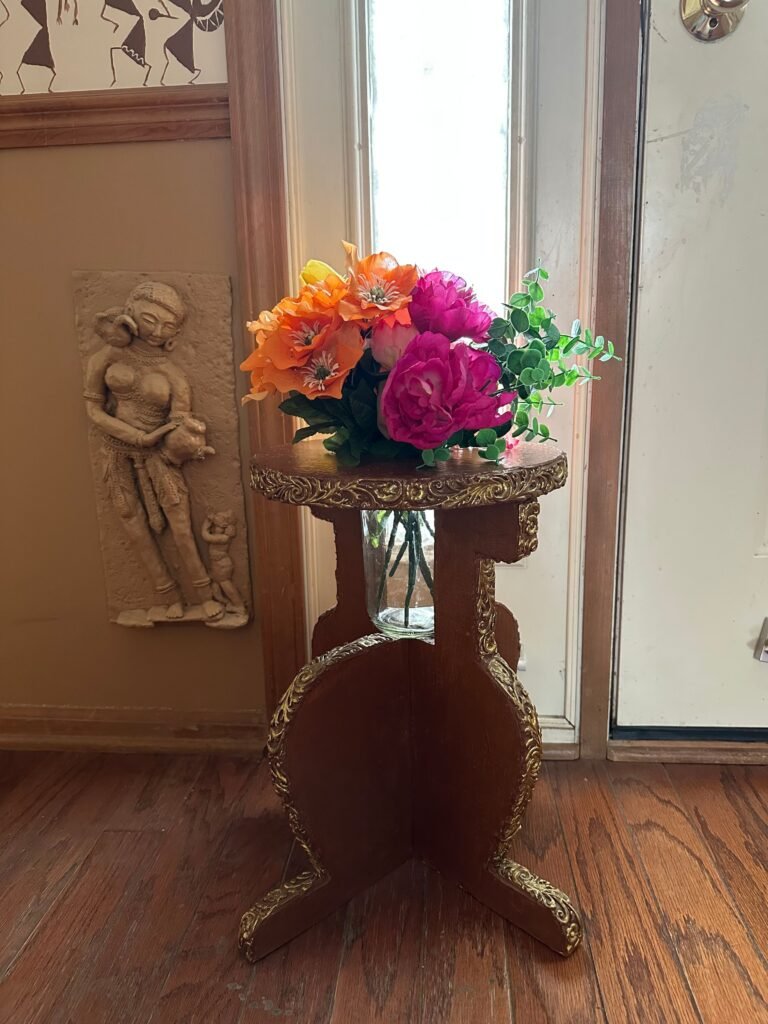
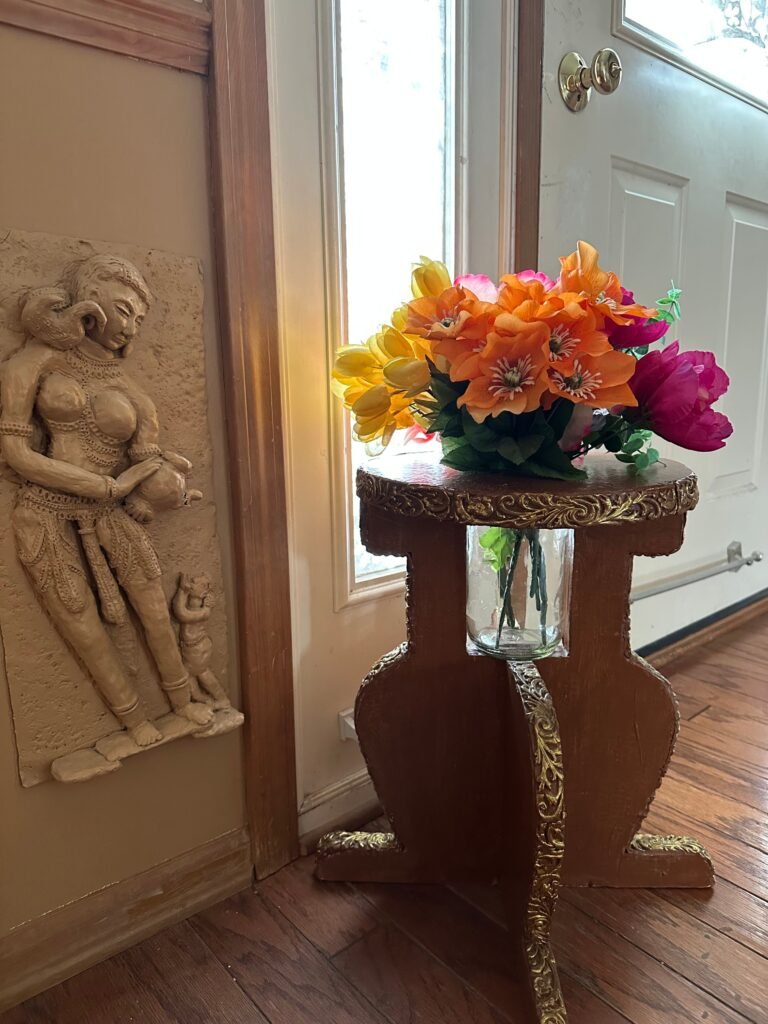
This sustainable vase stand is suitable for small spaces and looks like a side table. It is unique and made with recycled cardboard and glass jar.
Watch How This Vase Stand Is Made
Note: Please use this video as a tool for clarity on step by step overview of the process.
Backstory
I made a vase stand using cardboard, and to give it a carved look, I decorated the edges with decorative clay borders. It features an inbuilt glass jar that serves as the vase. This project turned out to be a truly unique piece of home decor!
I first came across a wooden vase stand like this online, and I absolutely loved the idea, a piece of furniture with an inbuilt vase! It looked modern, versatile, and truly out of the box. As always, my first thought was how I could recreate the concept using my favorite cardboard, instead of wood.
But this piece had no carving done to it so I decided to add carving using decorative clay borders. Now this started looking like my brand! I painted the stand with a wood-like finish. I was so proud of myself! I took the original idea, but re-imagined it in my own style!
Material List
- Cardboard
- Utility Knife
- Glue Gun
- Air Dry Clay
- Silicon Mold
- Acrylic Paints
- Glass Jar
- Paint Brushes
Step By Tep Overview of Making process
Making the Glass Jar Holder and Vase Stand Body (0:14–1:15)
I. First took measurements of the glass jar that would be used as the vase.
II. Next cut a decorative shape out of cardboard. This shape forms the body of the vase stand and two of its legs.
III. Using the jar measurements, cut an opening in the cardboard shape to hold the glass jar securely.
Making Two Additional Legs (1:16–2:00)
I. Using the same shape as a guide, drew two more legs on a separate sheet of cardboard and cut them out.
Note: The vase stand is designed to resemble a side table with a circular tabletop and a circular opening in the center for the vase.
Making the Tabletop (2:02–2:23)
I. Measured the width of the stand and drew a circle of the same diameter.
II. Since the jar opening measured 3 inches, drew a smaller circle in the center of the tabletop.
III. Cut out both the large circle and the center opening.
Strengthening the Structure (2:23–3:00)
I. Cut out three additional body pieces and three additional pieces for each leg.
II. Glued all body pieces together and all matching leg pieces together to create sturdy components.
Making a Thicker Tabletop (3:01–3:09)
I. Cut out three additional circular pieces.
II. Glued them together to form a thicker tabletop.
Assembling the Vase Stand (3:09–3:38)
I. Attached each leg to the vase stand body.
II. Positioned the legs opposite each other to create a stable four-legged stand.
III. Placed the glass jar into the holder and positioned the tabletop on top to ensure everything fit correctly.
Finishing the Edges (3:40–4:07)
I. Covered all rough edges and joints using paper strips and glue.
Adding Decorative Borders (4:09–5:40)
I. Used silicone molds and air-dry clay to create decorative border pieces.
II. Attached the clay borders around the edges of the stand.
Painting and Finishing (5:41–6:11)
I. Allowed the clay decorations to dry completely.
II. Painted the entire stand in a wood-tone color.
III. Highlighted the decorative clay borders with metallic gold paint
Tips And Tricks
- Mark the exact center of the vase stand shape. This will help you position and glue the legs accurately.
2. Use a ruler to ensure each leg is glued at a 90-degree angle for proper balance.
3. When attaching the clay borders, keep the jar in place while working so you don’t accidentally glue over the area where the jar needs to fit.
4. Measure the width of the jar mouth carefully before cutting the opening in the circle.
5. Keep in mind that the jar itself will help hold the circle in place, so the opening must match it precisely.
This Is How I styled This Inbuilt Vase Stand (Side Table) In My Home
Checkout More Of My Furniture
Final Word
This project was created using simple cardboard and recycled materials, as part of my ongoing experiments in building functional furniture from waste materials.
Each build helps me explore new techniques, improve structure, and find better ways to turn cardboard into usable furniture pieces.
If you enjoyed this project, feel free to share your thoughts in the comments. I’d love to know what stood out to you in this design.
Thank you for reading and watching.