Description
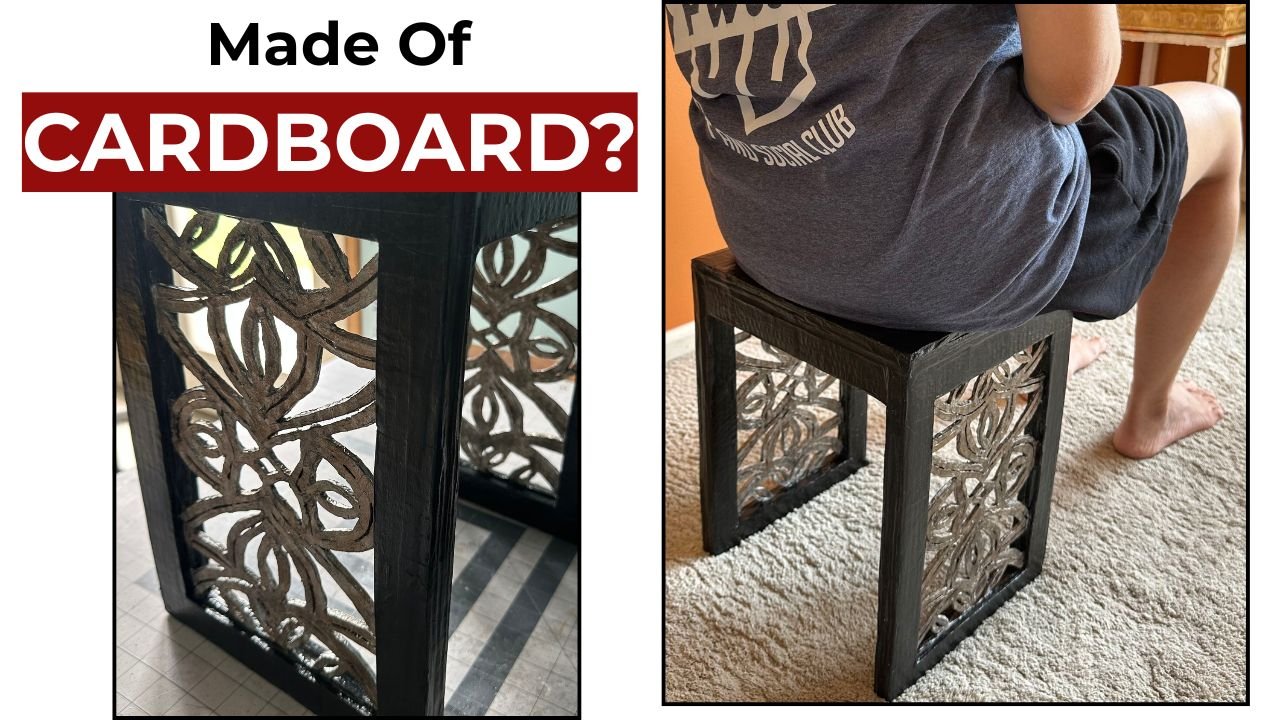
The side table I made is fully functional and sturdy and you see a proof in the video.
Note: Use the video with timestamped written overview of the process for clarity.
Backstory
I am always on the lookout for carved furniture. It has to be smaller in size, and is accent furniture so I can make it using my exacto knife. While looking for ideas for my next project I stumbled upon nesting stools, then bench and even coffee tables which had solid top and carved legs. I was absolutely taken a back by their beauty. I found suitable cardboard and started working. The design looked quite straight forward, nothing complicated. that was icing on the cake. And in no time this side table was ready. I just didn’t paint it in wood color. I put my spin on it by painting it bicolor. I think bicolors made this table look modern and fresh!
Dimensions Of The Side-Table
14.5″ H, 11.75″W, 9.25″D
The Making Process Of Cardboard Side-Table
Note: Use the video with timestamped written overview of the process for clarity.
Material List
- 2-ply and 1-ply cardboard sheets
- X-acto knife
- School Glue or White Glue
- Big ruler
- Acrylic paints
- Paint Brushes
- Paper strips
Step-By-Step Overview With Time-stamps
1. Prepare the Carved Leg Panels (0:29- 2;16)
Transfer the carving design onto the two cardboard panels that will become the decorative sections of the table legs. Carefully carve the design using a sharp X-Acto knife for clean and precise cuts.
2. Finish the Carved Details (2:17- 2:56)
Cover the rough edges of the carved design with thin strips of paper napkin and white glue. This smooths the edges and helps strengthen the carved details.
3. Build the Table Legs (2;57- 3:28)
Glue two cardboard frame panels together using white glue to create a stronger structure. Attach the carved panel between the frame panels, then add the third frame panel on top. Repeat the process to create the second leg.
4. Make the Tabletop (3:29-3:54)
Laminate three cardboard rectangles together using white glue to create a thick and sturdy tabletop.
5. Assemble the Table (3:55-4:32)
Attach the first leg to the tabletop using hot glue. Use a large quilting ruler to ensure the leg is positioned at a perfect right angle. Repeat the process to attach the second leg.
6. Add Support Beams (4:33-5:19)
To reinforce the structure, glue three strips of cardboard together to create a strong support beam. Make two support beams and attach them between the legs.
7. Cover the Exposed Edges (5;21-6:10)
Cover all exposed cardboard edges and joints with small pieces of brown paper and white glue. This helps create a smoother surface and gives the table a more finished appearance.
8. Prepare the Surface for Painting (6:12-6:17)
Apply a coat of gesso over the entire table. Once dry, the gesso seals the cardboard and provides a smoother surface for painting.
9. Paint the Table (6:18- 6:46)
Paint the entire table black. Once the base coat dries, paint the carved details in silver to highlight the decorative pattern. Add rich espresso and black acrylic highlights to create depth and make the carving stand out.
10. Protect the Finish (6:47-6:55)
Apply a coat of gloss varnish to protect the painted surface and give the finished table a polished appearance.
11. The Finished Side Table (6:56-7:06)
Simple cardboard sheets have now been transformed into a functional piece of furniture with a strong structure and decorative carved details.
Tips And Tricks
1. Putting the Legs Together:
After gluing the leg frames together, place masking tape near all four corners of the legs. This will hold the glued pieces firmly together and prevent them from shifting or drying with gaps. I used the same technique when assembling the tabletop.2. How to Determine the Length of the Support Strips:
Once the legs and tabletop are made, place the legs on the tabletop wherever they are supposed to be positioned. Draw a line along the inside edge of the leg. Repeat this with the other leg. You will now have two lines drawn near the two edges of the tabletop.Measure the distance between these two lines. This measurement is the length of your support strips.
Since the leg frames are 1.25 inches wide, the support strips should also be 1.25 inches wide.
3. Experiment with Colors:
You can experiment with different color combinations instead of using black and metallic paint.4. For a Sturdier Piece:
The more layers of cardboard you add, the stronger your side table will be.5. Cardboard Type:
Make sure to use 2-ply cardboard for the leg frames, except for the carved section of the frame, which should be made from 1-ply cardboard.
This Is How I style This Side-Table In My Home
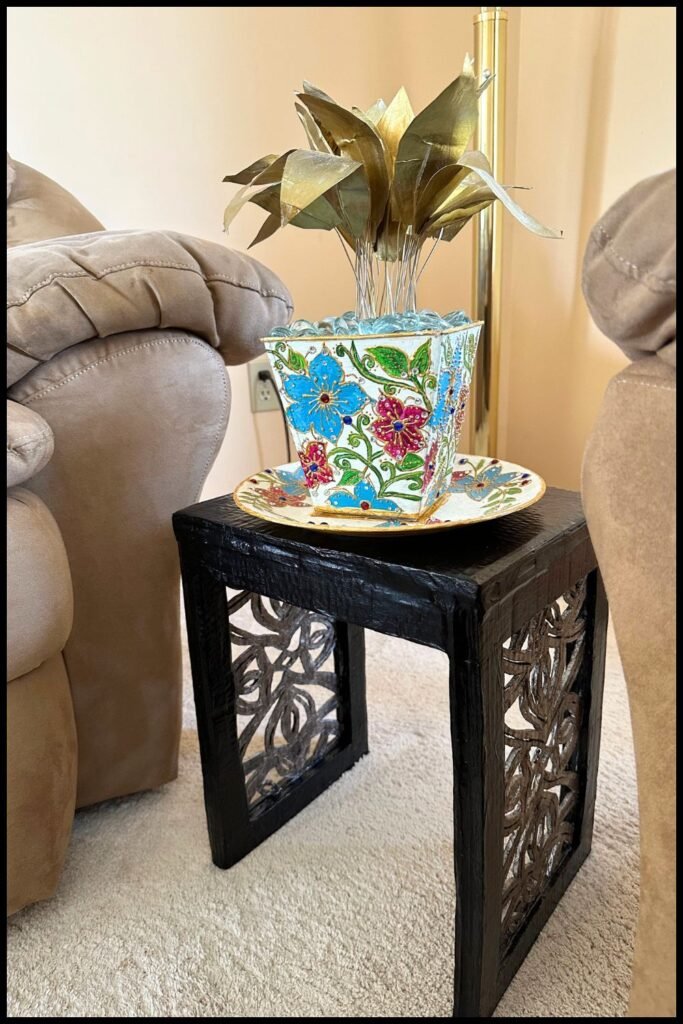
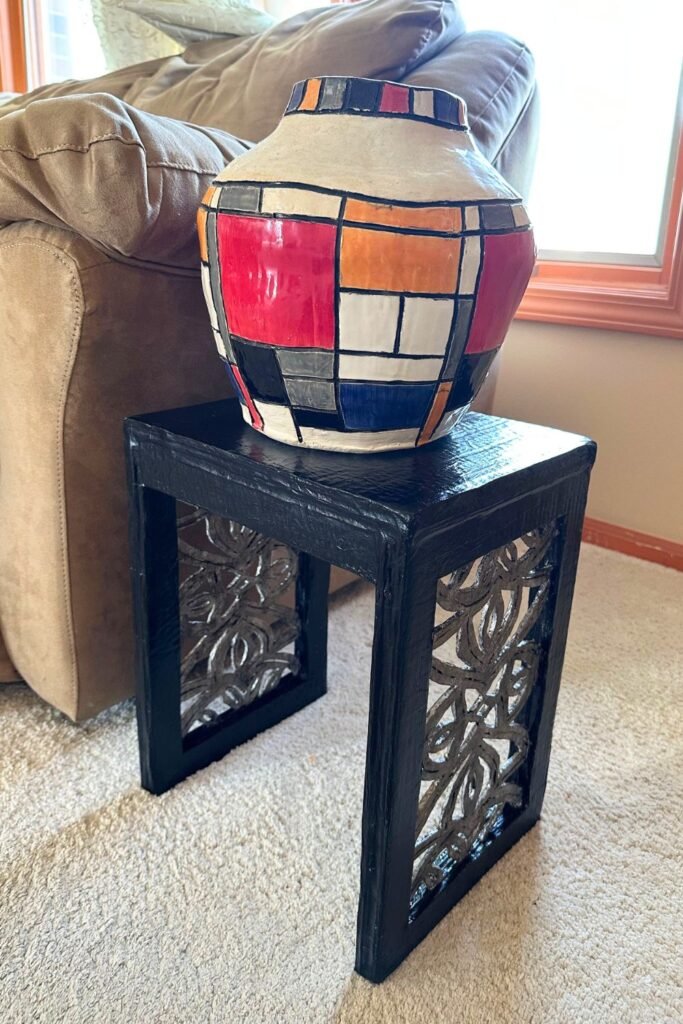
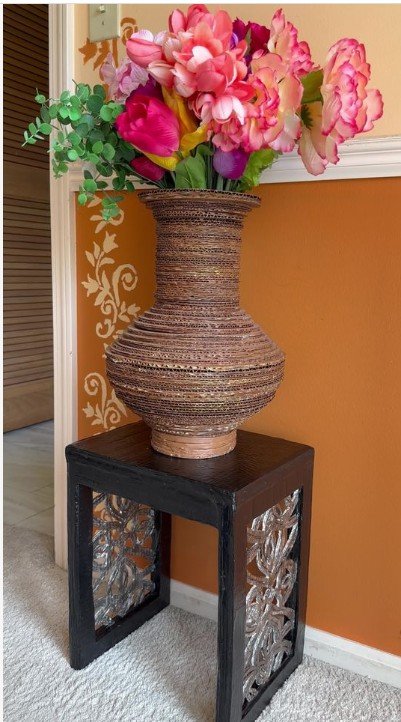
I made another version of the side table in Black and White color. It is bigger too. I didn’t make a video for this but the process of making it is identical to side table I made. Anyway, I do have styling photos.
The dimensions of this bench are 16″L 14″W 11″H
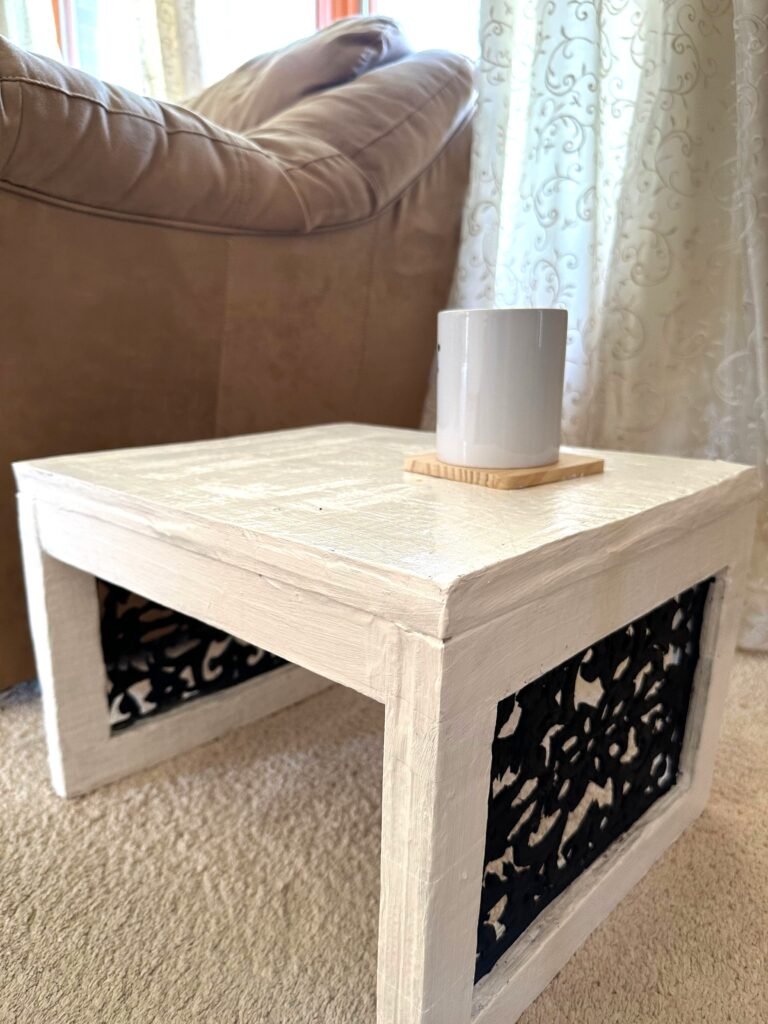
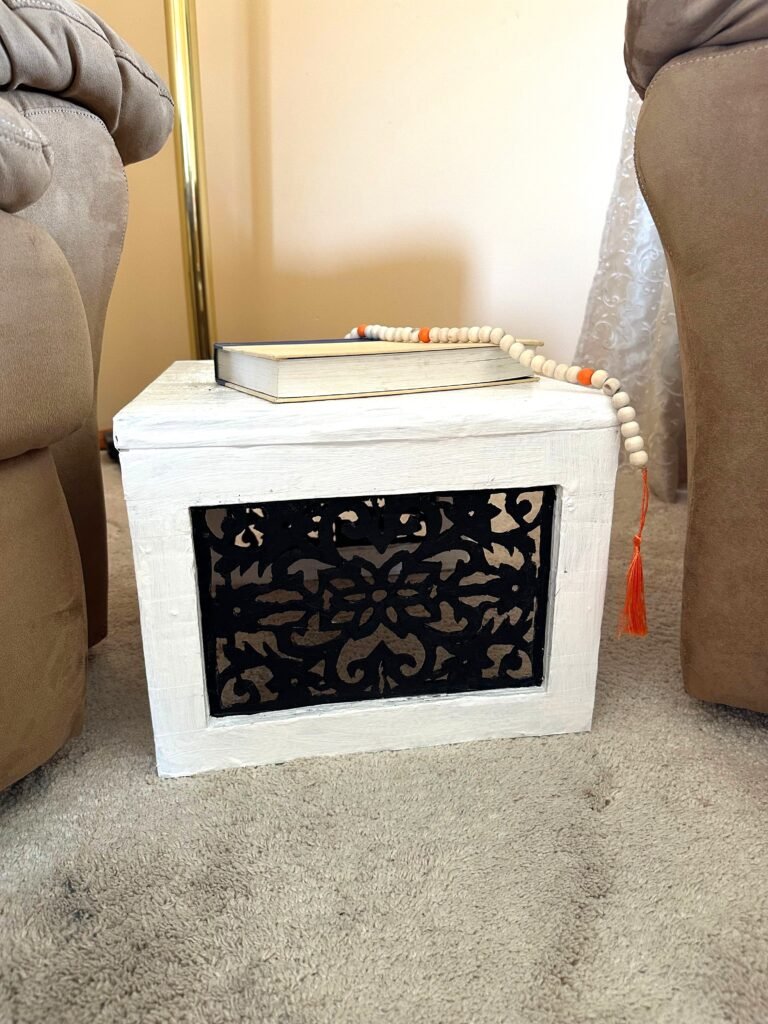
Styling The Table By The Front Door
To show versatility of this table or bench, I situated it next to my front door and placed a ceramic pot painted in primary colors on the bench. My pot has a handmade small paper plant incerted in the ceramic pot. This styling makes you feel welcomed the sec you enter.
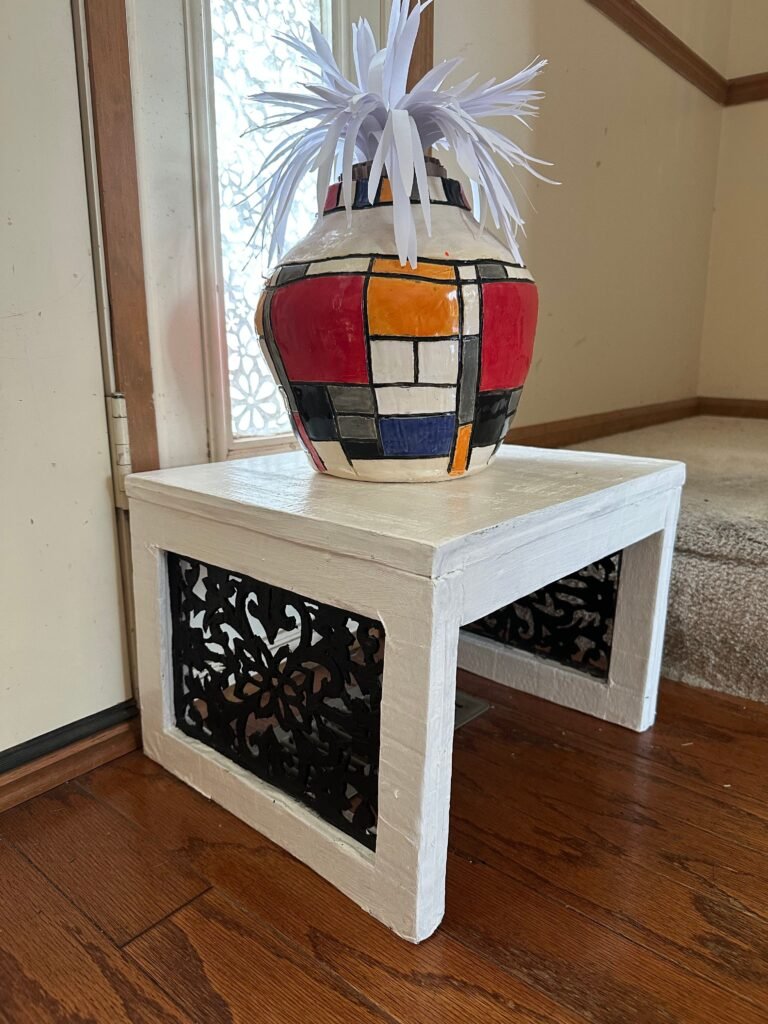
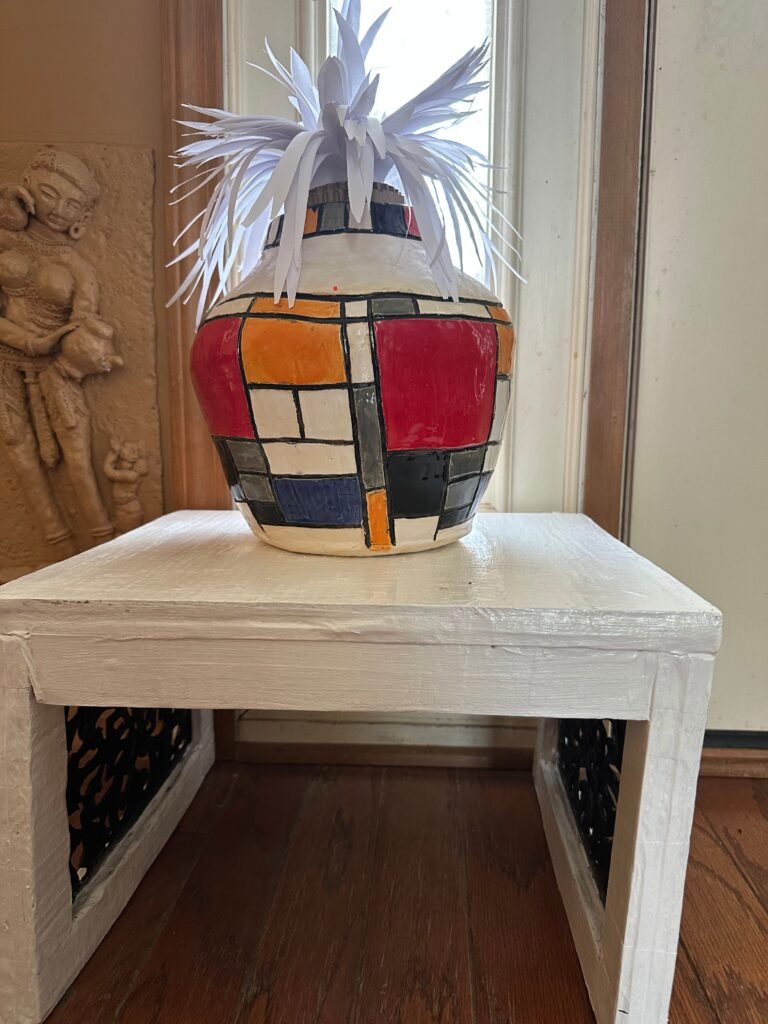
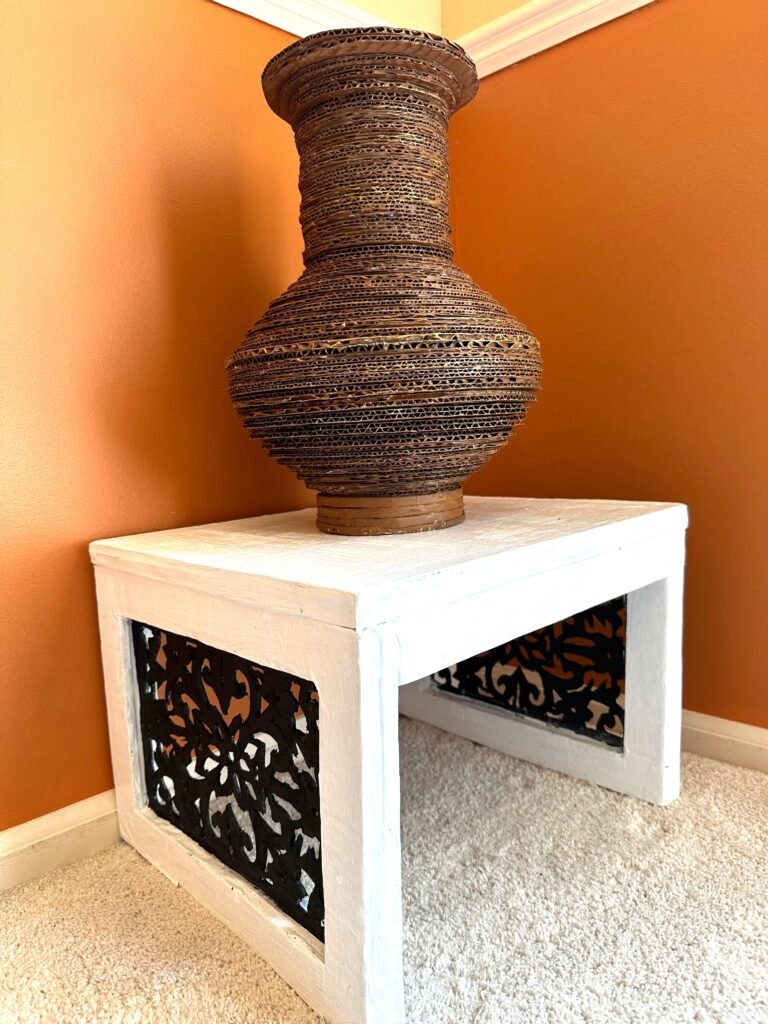
Styling The Bench In A Cozy Corner
I wanted to see how the bench would look in a quiet corner of the home with my handmade corrugated vase placed on it. It looked quite creative and artsy! What do you think?
Shop To Style
Interesting Story Behind The Scenes
After covering all the exposed edges and joints of the side table with paper strips and school glue, I left it in my backyard to dry.
Then I got busy with housework and completely forgot about it.
Unfortunately, it started raining.
By the time I noticed, the top of the table had already gotten soaked. I rushed outside, brought the table in, and honestly, I was almost in tears. I grabbed a dry towel and gently dabbed away as much of the water as I could, without wiping off white glue on it. Then all I could do was hope for the best.
To my amazement, once the table dried, you could hardly tell that it had been caught in a rain shower. The table remained completely intact!
Isn’t that a little miracle?
By no means am I claiming that cardboard is waterproof. But if this hadn’t happened to me, I would never have known just how resilient cardboard can be!
Seeing my side table survive an unexpected rain shower was a real eye-opener for me. It made me appreciate cardboard even more as a material and showed me that, when properly constructed and finished, it can be far more durable than most people might expect.
Links to My Other Carved Furniture Styling
Final Word
This project was created using simple cardboard and recycled materials, as part of my ongoing experiments in building functional furniture from waste materials.
Each build helps me explore new techniques, improve structure, and find better ways to turn cardboard into usable furniture pieces.
If you enjoyed this project, feel free to share your thoughts in the comments. I’d love to know what stood out to you in this design.
Thank you for reading and watching