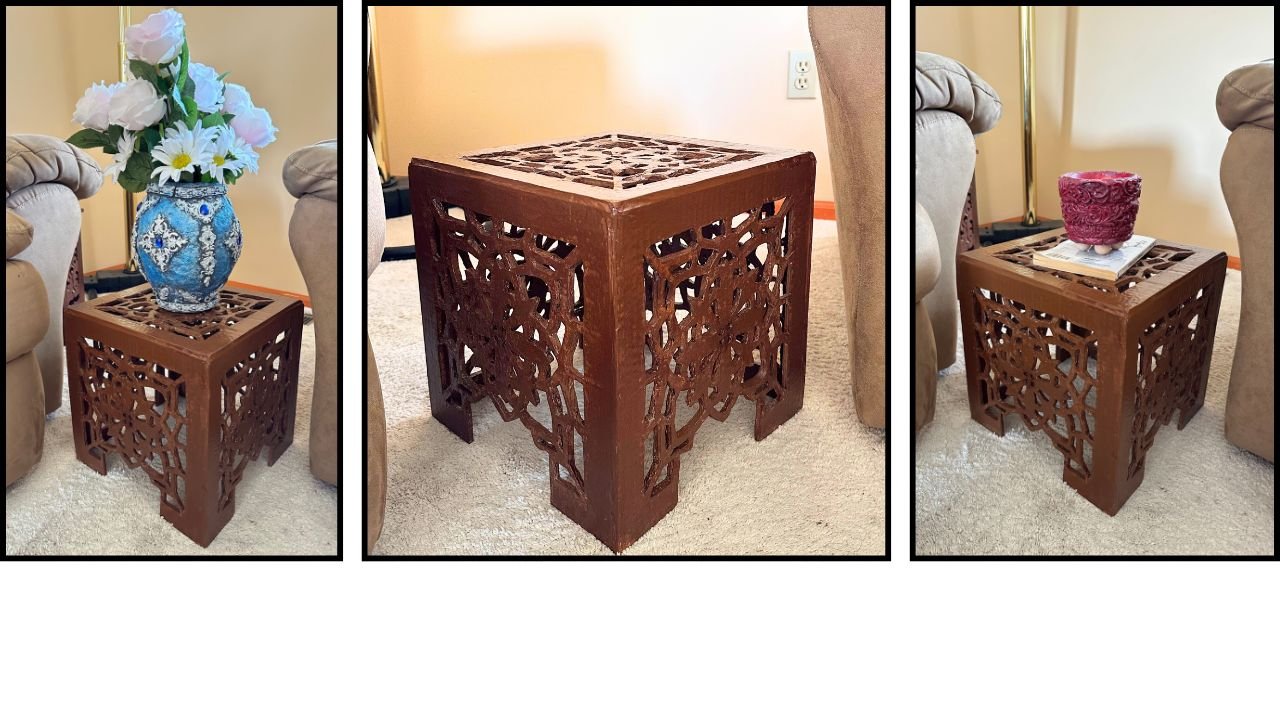
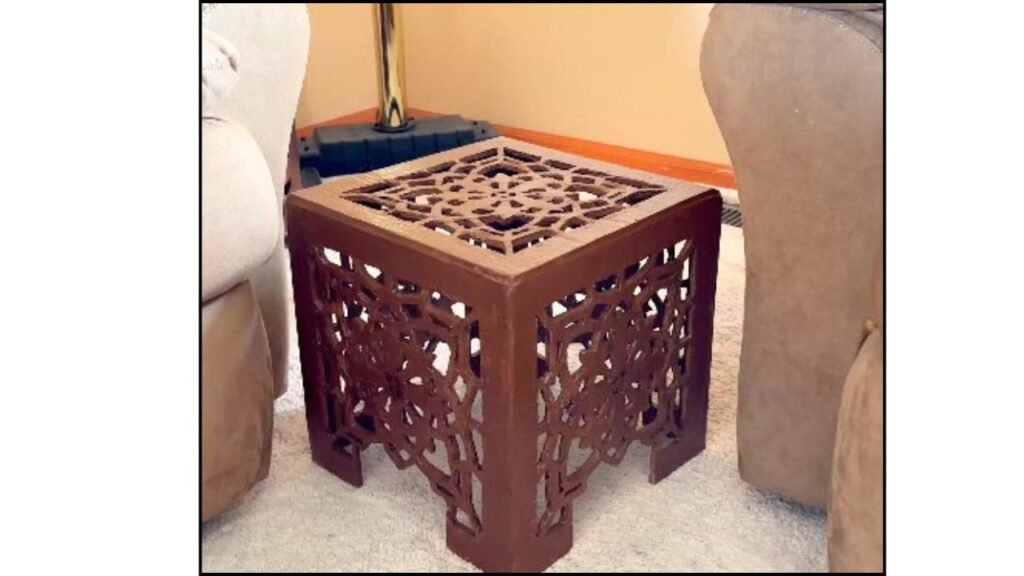
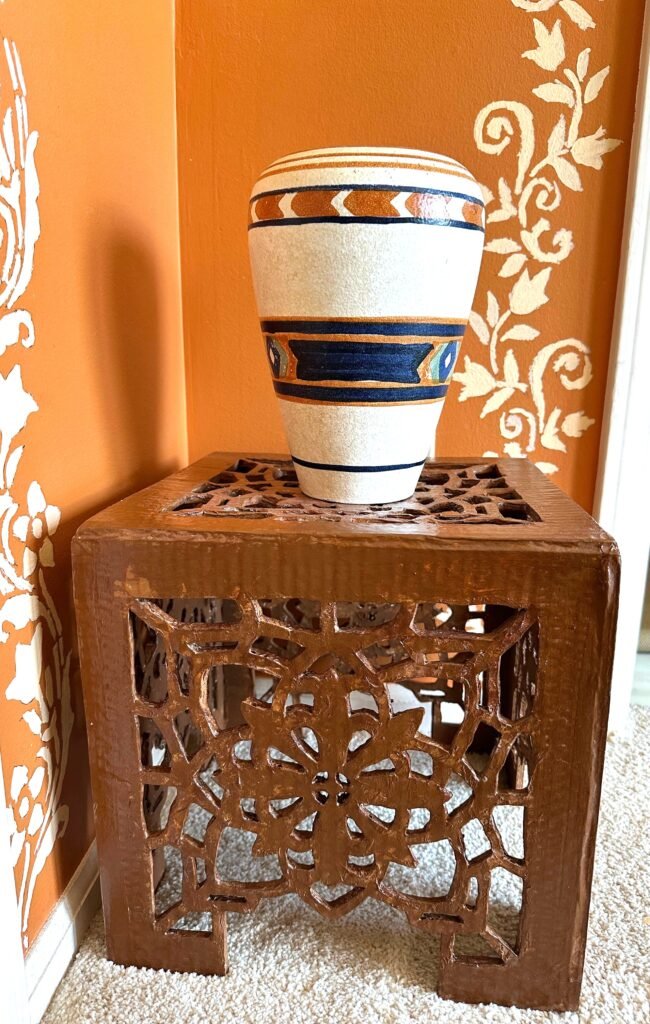
This kind of accent table has an elegant look that mirrors real wood, and the design on it has a beautiful laser-cut feel. While it’s not meant for sitting, it’s sturdy enough to hold lightweight decorative items. It is perfect as a display piece in any room. I used simple everyday materials to get this high-end look, making it a great example of how you can transform simple elements into stylish home decor. The above photo shows just how sturdy and functional the table is.
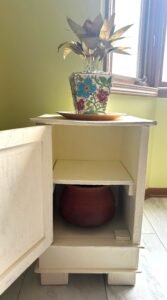
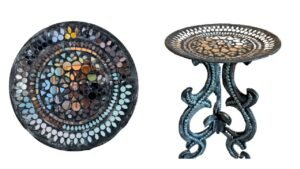
I was initially planning a mirror furniture for my next project. But as I was browsing the internet for inspiration, I stumbled upon a set of wooden nesting tables with stunningly intricate designs. It was love at first sight! Right then, I had a clear picture in my mind, a faux wood version with simplified cutout patterns. I knew I couldn’t replicate the full detail of wood carvings, but I was confident I could capture the essence using less intricate but equally beautiful patterns. After collecting some design inspiration, I finalized a pattern and built this faux wood table from scratch. I absolutely enjoyed the process, and I’m thrilled with how stylish and sturdy it turned out!
Dimensions of the stool : 12″ by12″
Styling Ideas
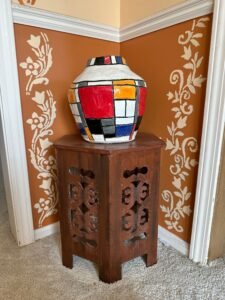
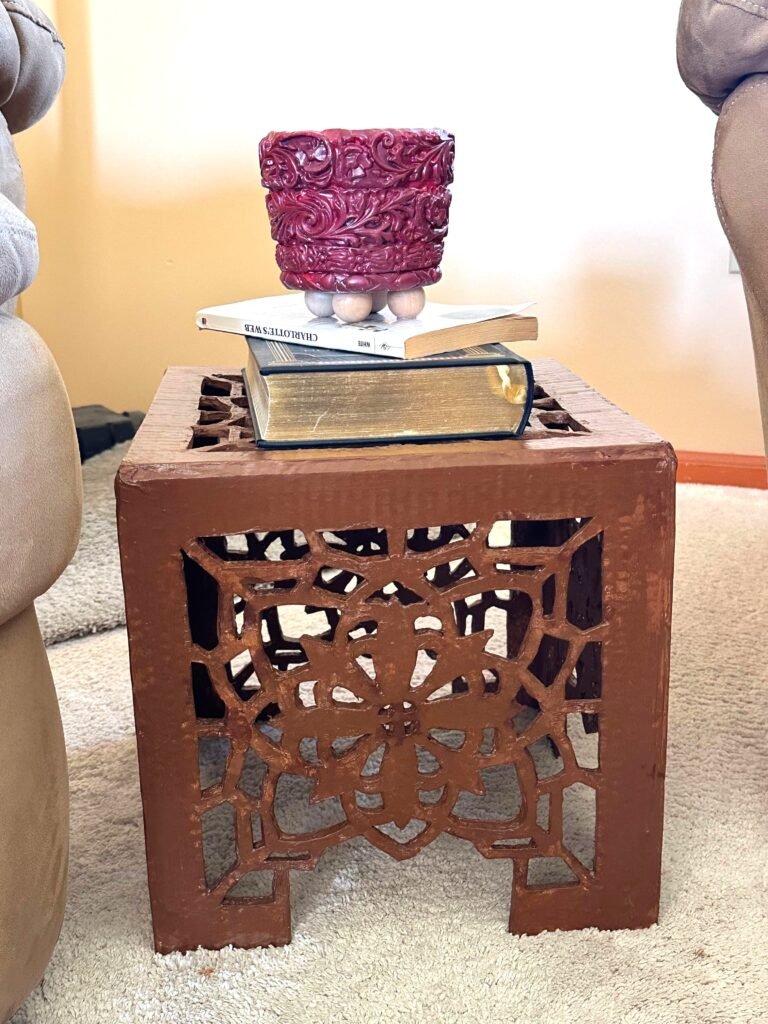
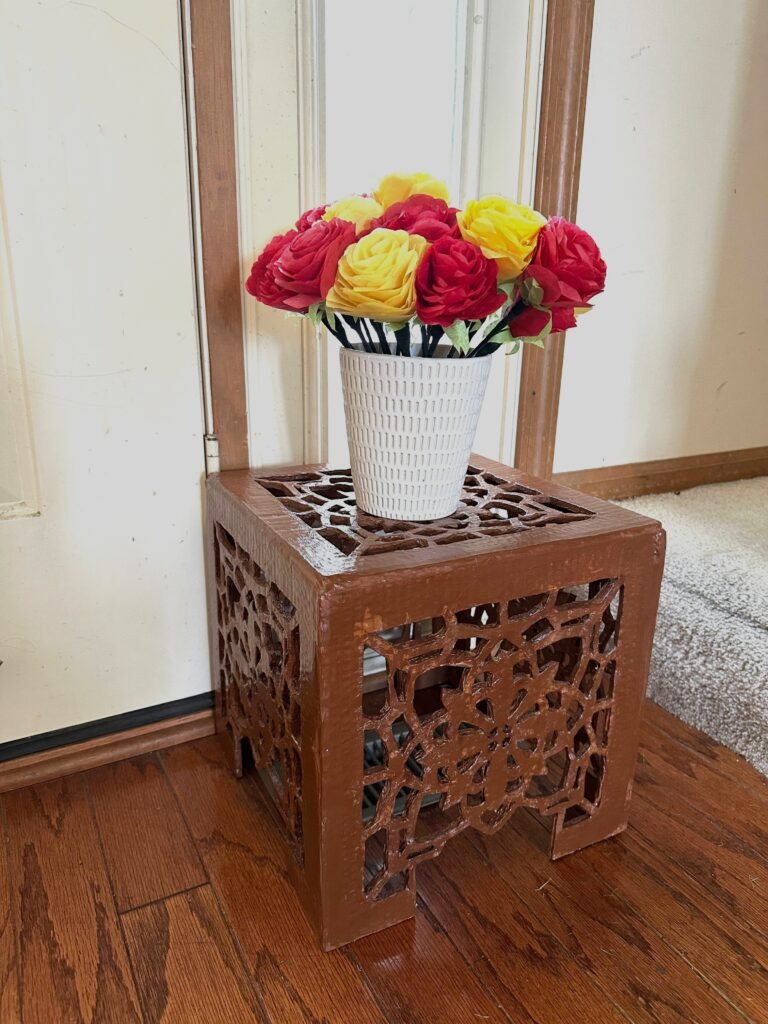
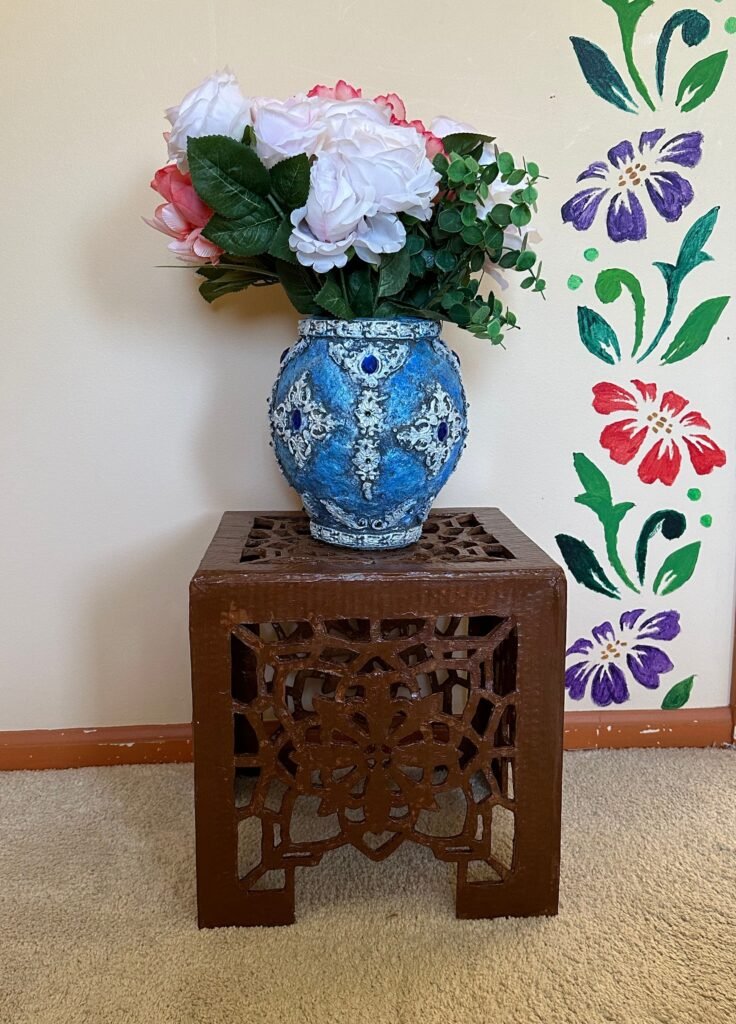
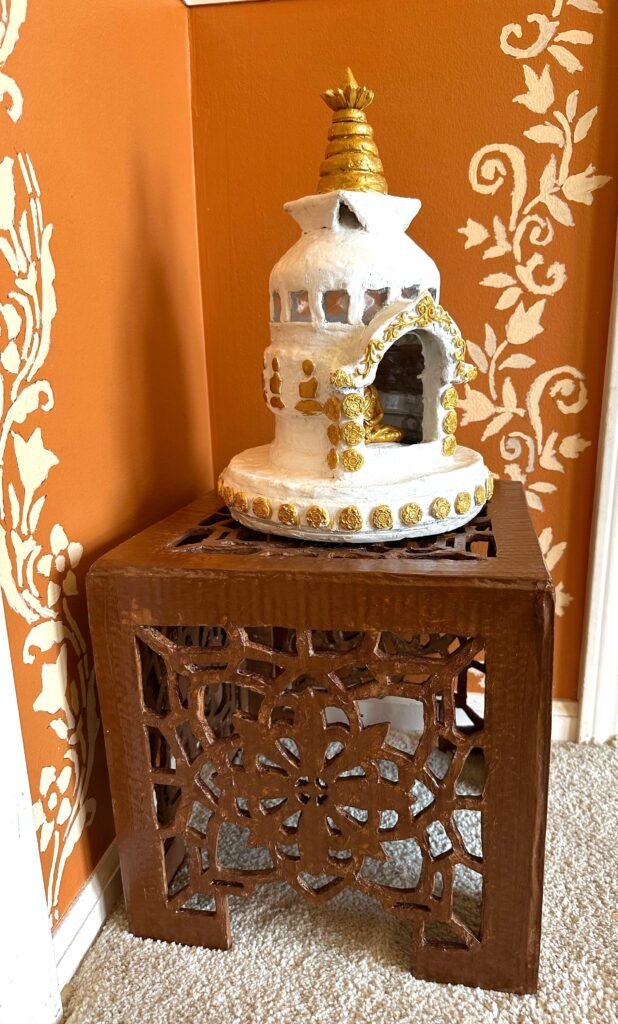
This versatile stool can be placed in the living room, entryway, dining room, or any space of your choice. I styled the stool using props, most of which are handmade by me. But in the ‘Shop the Look’ section, I have shared where you can find similar items.
As you can see, the stool is quite sturdy, even though it is made of faux wood. You might notice a little roughness on the edges, but that is simply because it is handmade
Shop The Look Elements
- Wooden version of this stool is available on Amazon
- Ceramic vase is available on Amazon
- Fake flowers available on Amazon
- Vase With Rhine Stones/jewels available on Amazon.
- Decorative Clay Pots available on Amazon.
- Budhha Statue on Amazon
- Paper Roses on Amazon
Explore other faux wood furniture on this site below.