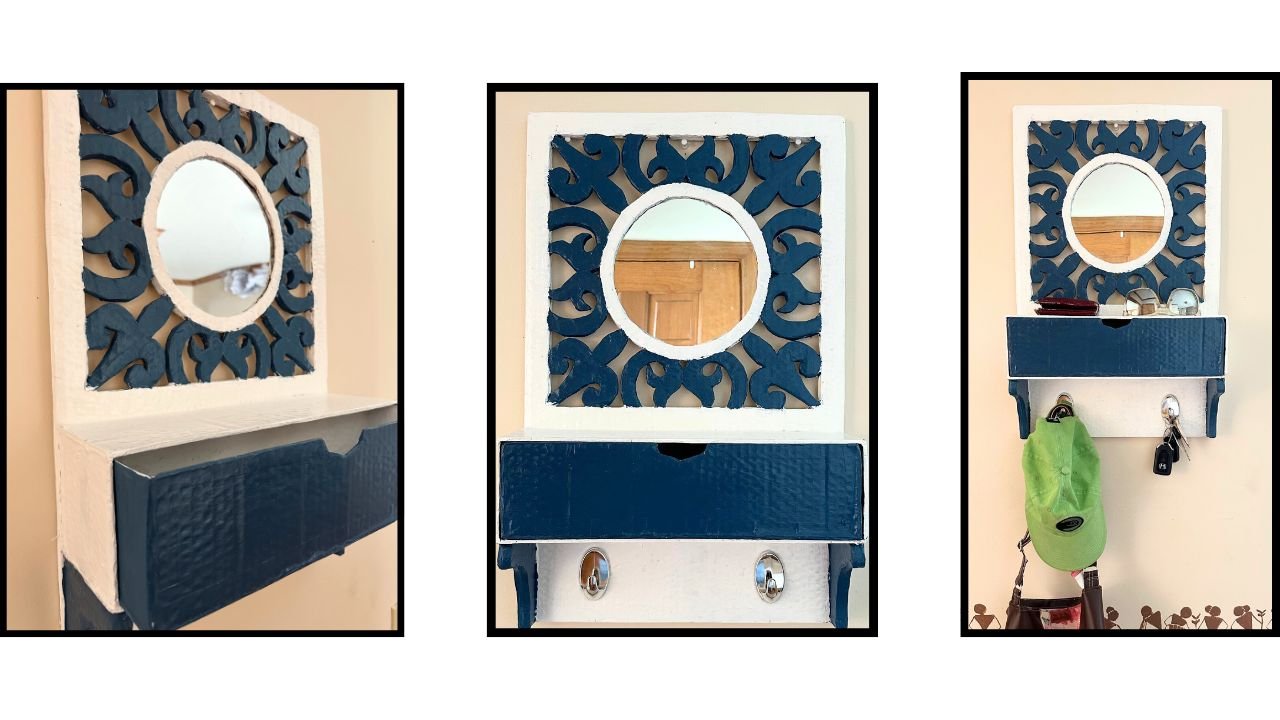
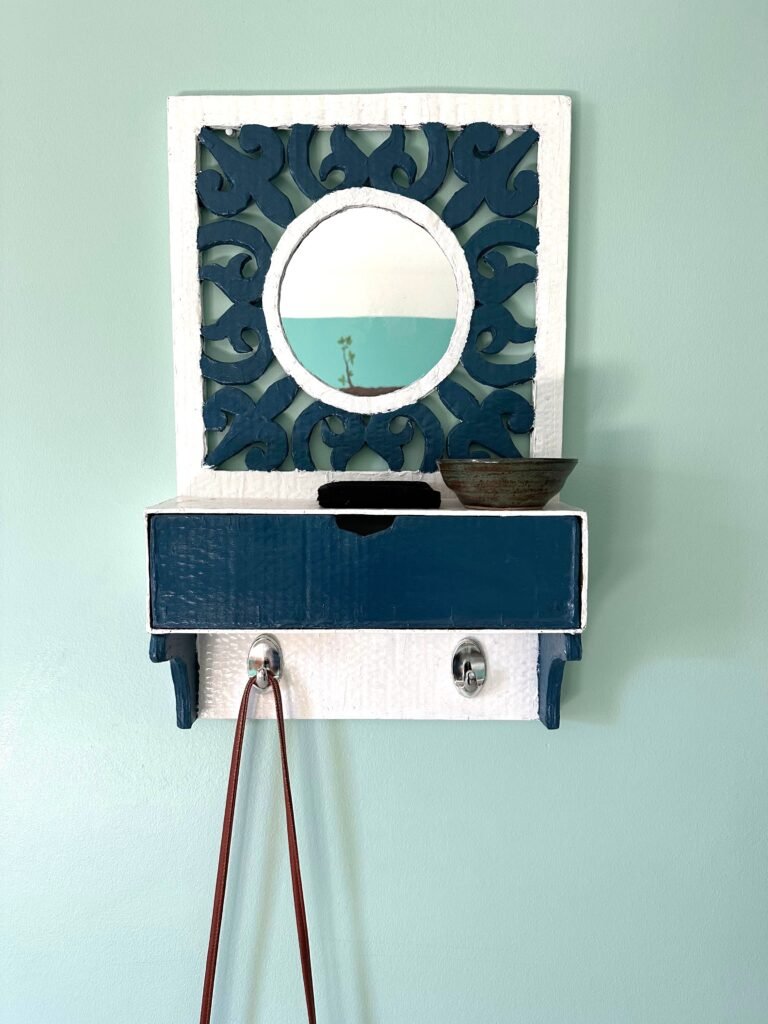
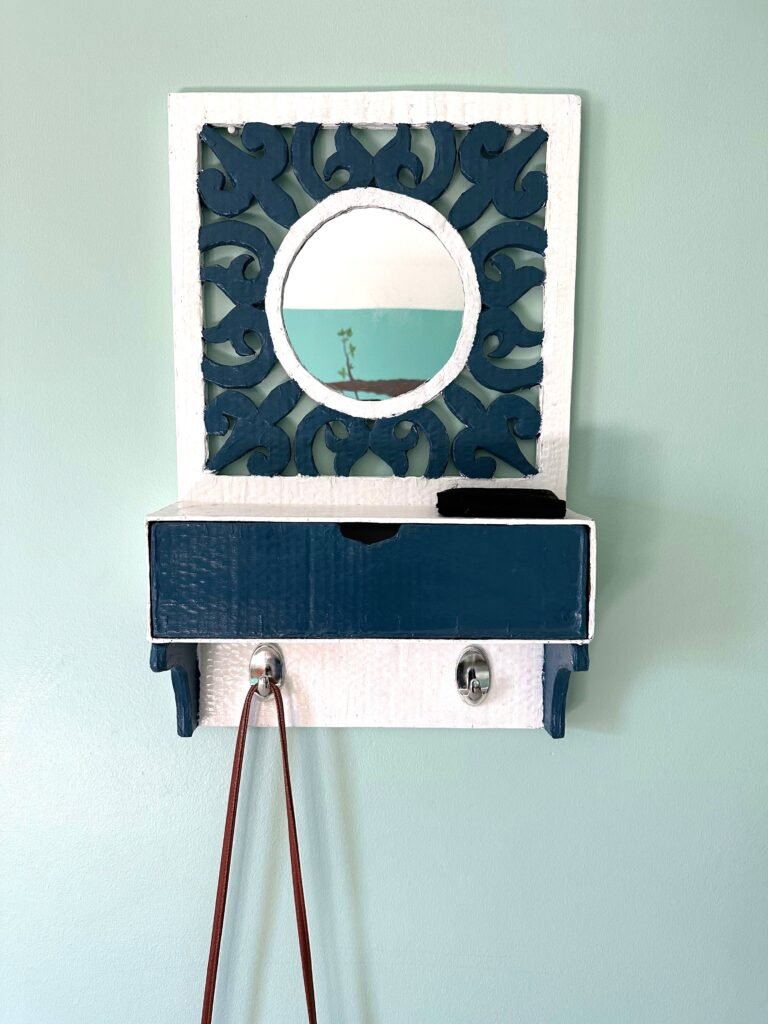
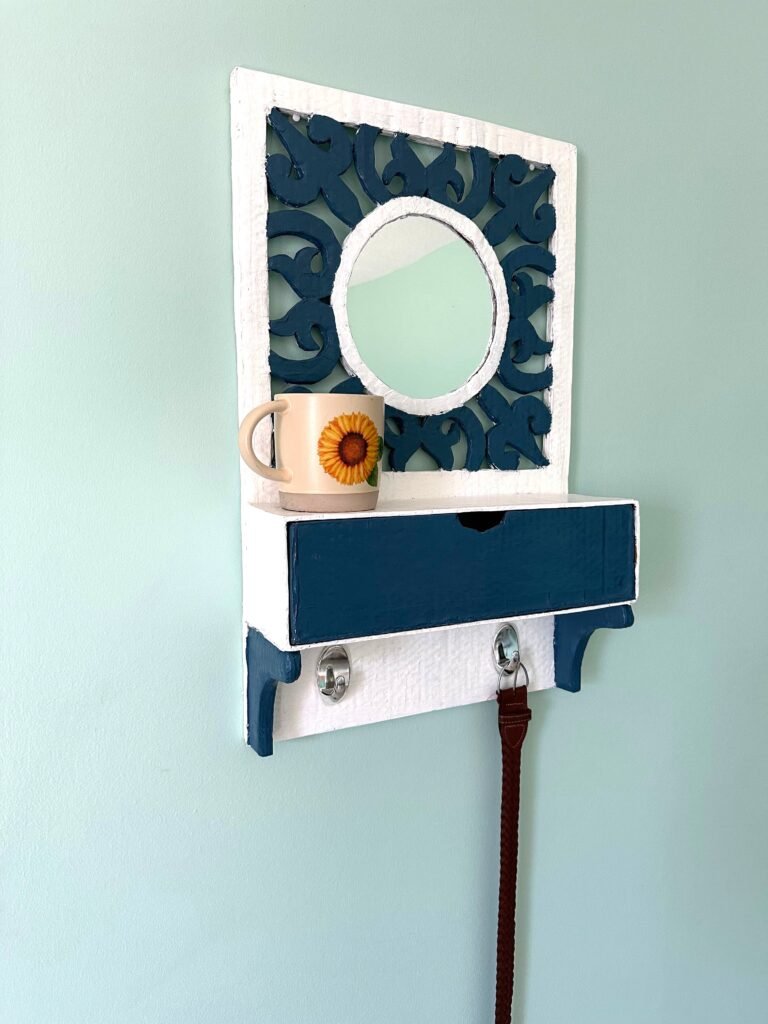
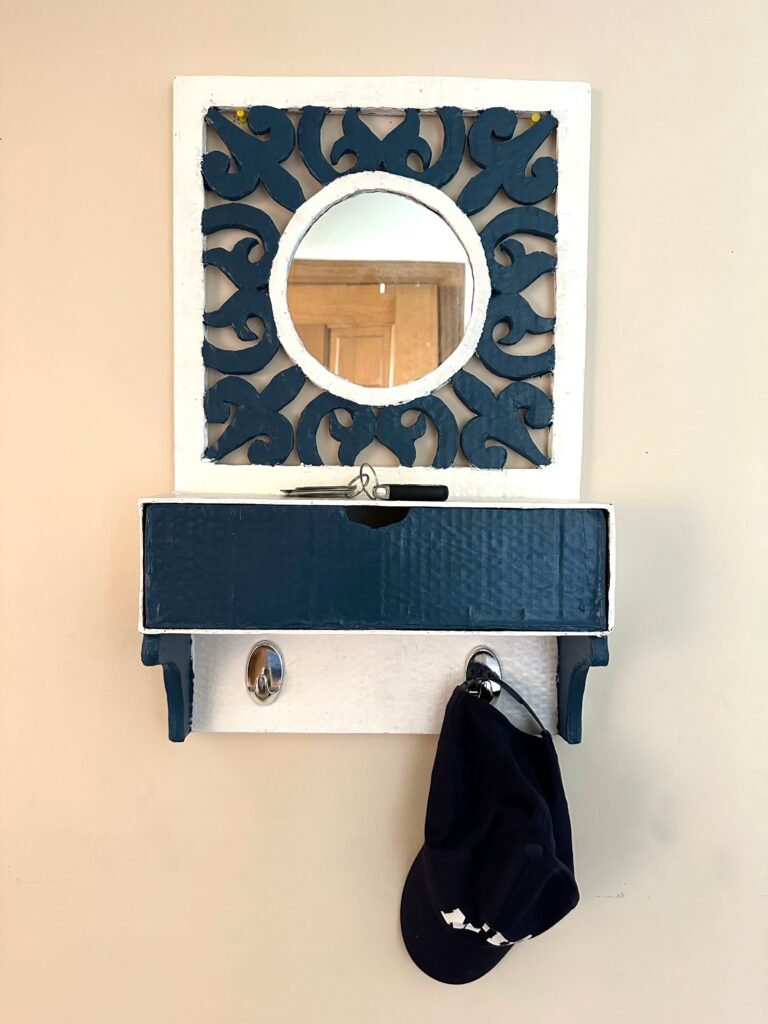
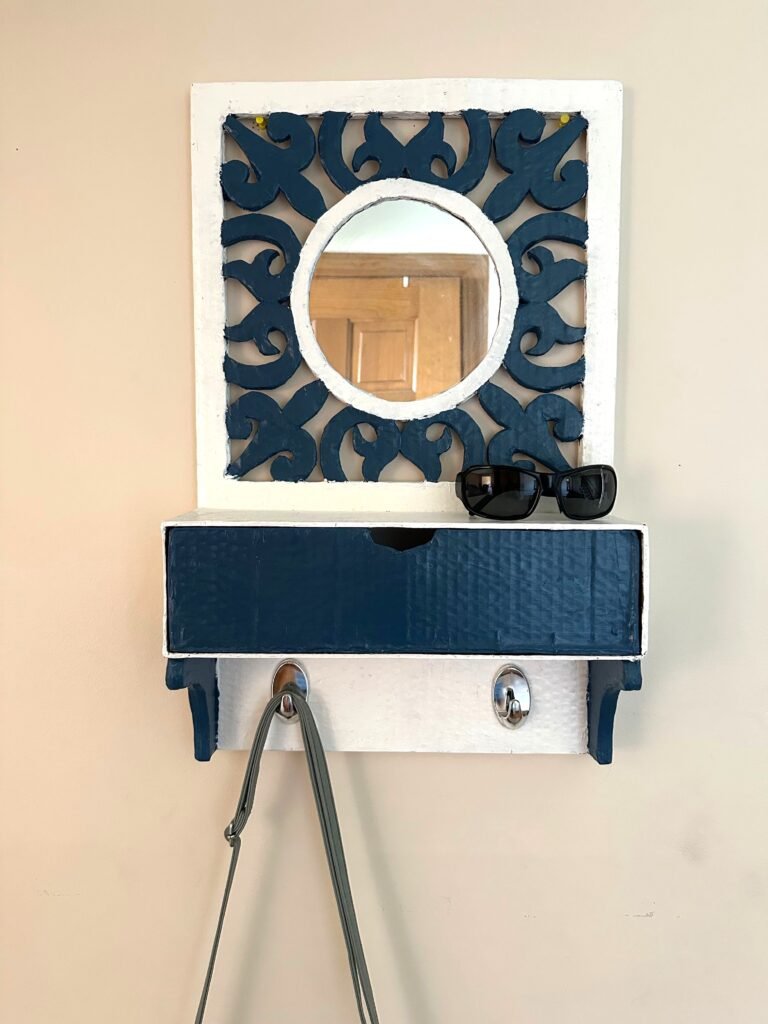
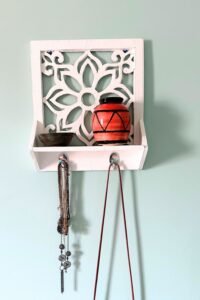
I first came across a luxury wooden entryway vanity unit online and absolutely loved the concept of having a mirror, a small storage drawer, and utility hooks all in one compact piece. I decided to recreate that beautiful concept in my studio using simple everyday items and an ordinary X-acto knife. This entryway shelf is truly multifaceted! It is highly decorative, features a round mirror, an intricate navy blue geometric scrollwork background, a functional pull-out drawer, and sleek hanging hooks. The entire unit is built to a substantial scale, measuring 24″ long and 15″ wide, while the sturdy storage drawer is 15″ long, 4″ wide, and 4″ deep. While I showed it styled in an entryway holding keys and a green baseball cap, this piece is also perfect for a bedroom. You can keep your favorite nail polishes and powder compacts right on top, place your belts and wallets inside the drawer, and hang a purse, bandana, or tie from the hooks below. Below you can see how unique and functional this multi-purpose mirror and shelf design looks in a home setting.
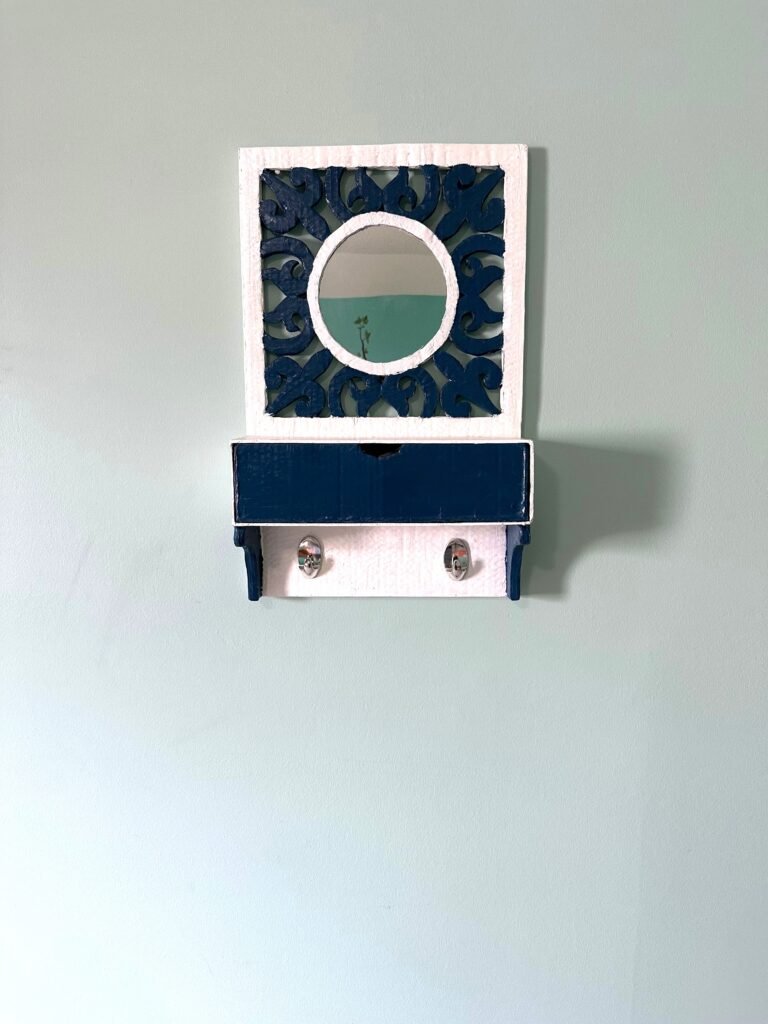
Styling The Mirrored Table
Shop The Look Elements
- Wooden Version Of Mirrored Shelf is at Walmart
- Glasses are available at Amazon
- Umbrella is available at Amazon
- Leather wallet is available on Amazon
- Baseball cap is available on Amazon
- Screws for mounting the shelf available on Amazon
Explore My Studio to see other furniture designs
At all I do not know, as to tell
——
https://the.hosting/en/help/chto-takoe-pakety-nginx
I hope you liked it!